[Updated 27-Aug-2021]
Now that the host has local storage for a Virtual Machine (VM), we can install the vCenter Server Appliance (VCSA).
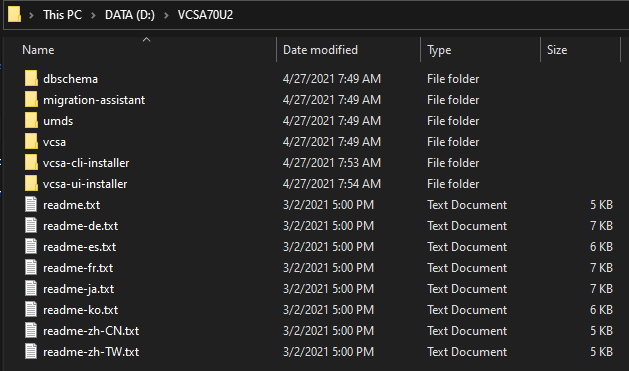
I downloaded the VCSA 7.0 U2 ISO, mounted it, and extracted all the files to a VCSA70U2 folder to make the installation more manageable, as shown in Figure 1.
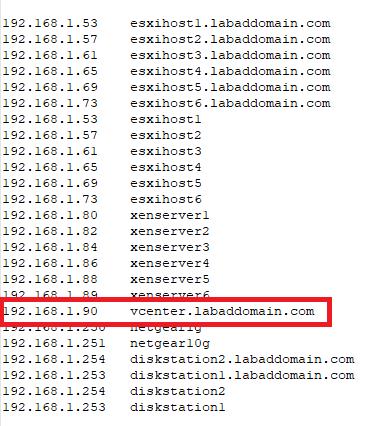
I am installing the VCSA from my Windows 10 computer. Since I use a Fully Qualified Domain Name (FQDN) of vcenter.labaddomain.com for the VCSA, I added a host file entry, shown in Figure 2, since my computer is not domain-joined.
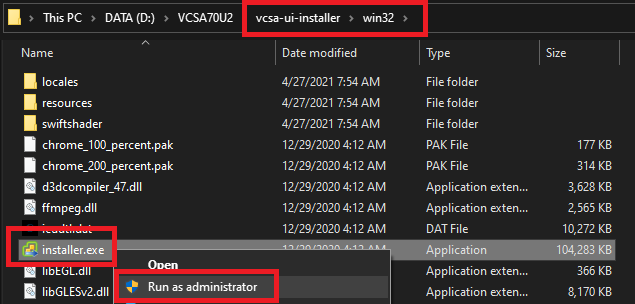
Change to the vcsa-ui-installer\win32 folder, right-click installer.exe and select Run as administrator, as shown in Figure 3.
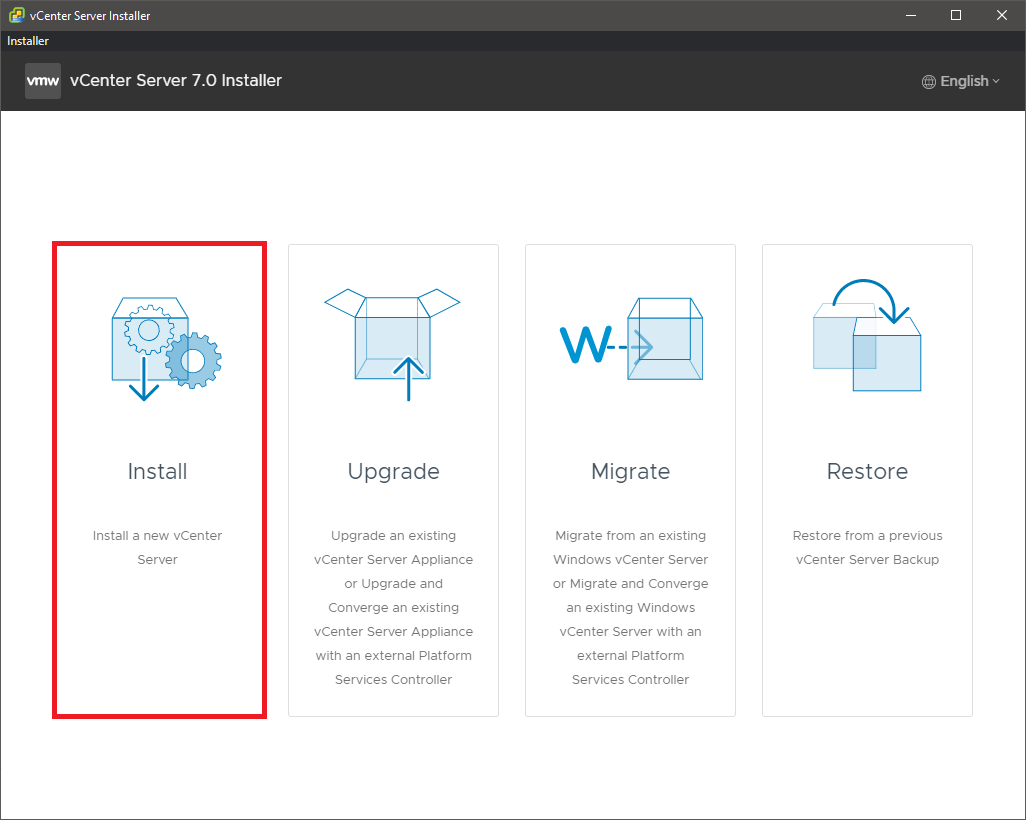
Select Install, as shown in Figure 4.
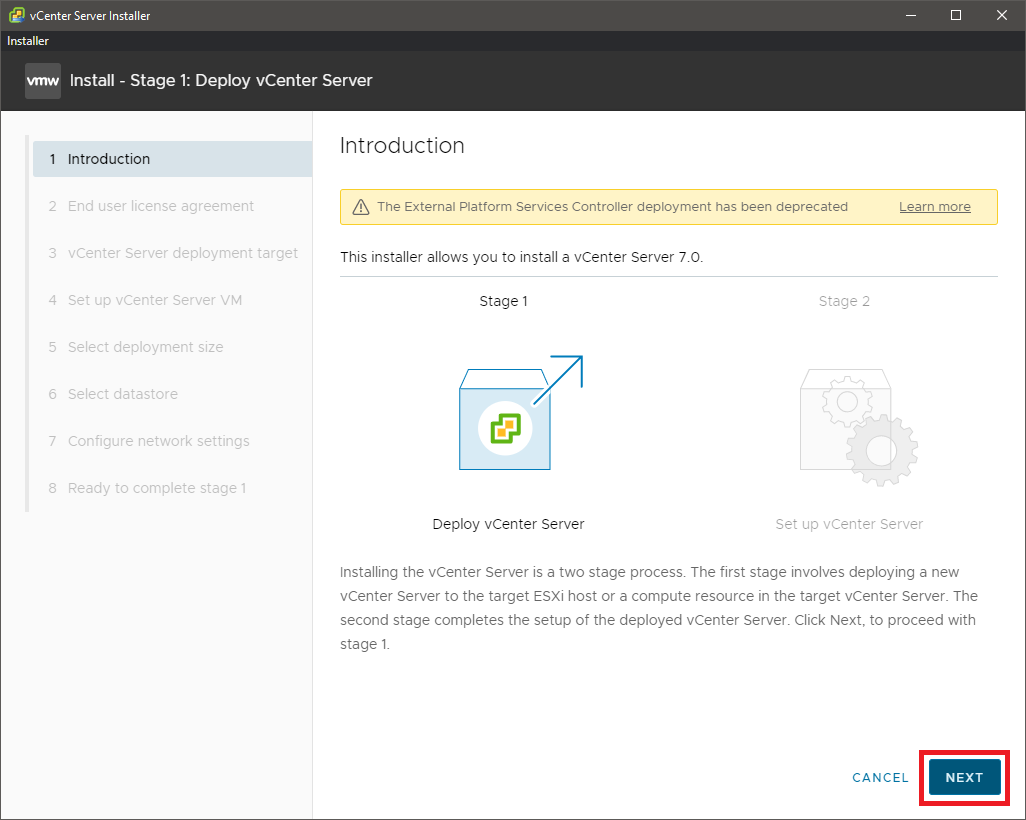
Click Next, as shown in Figure 5.
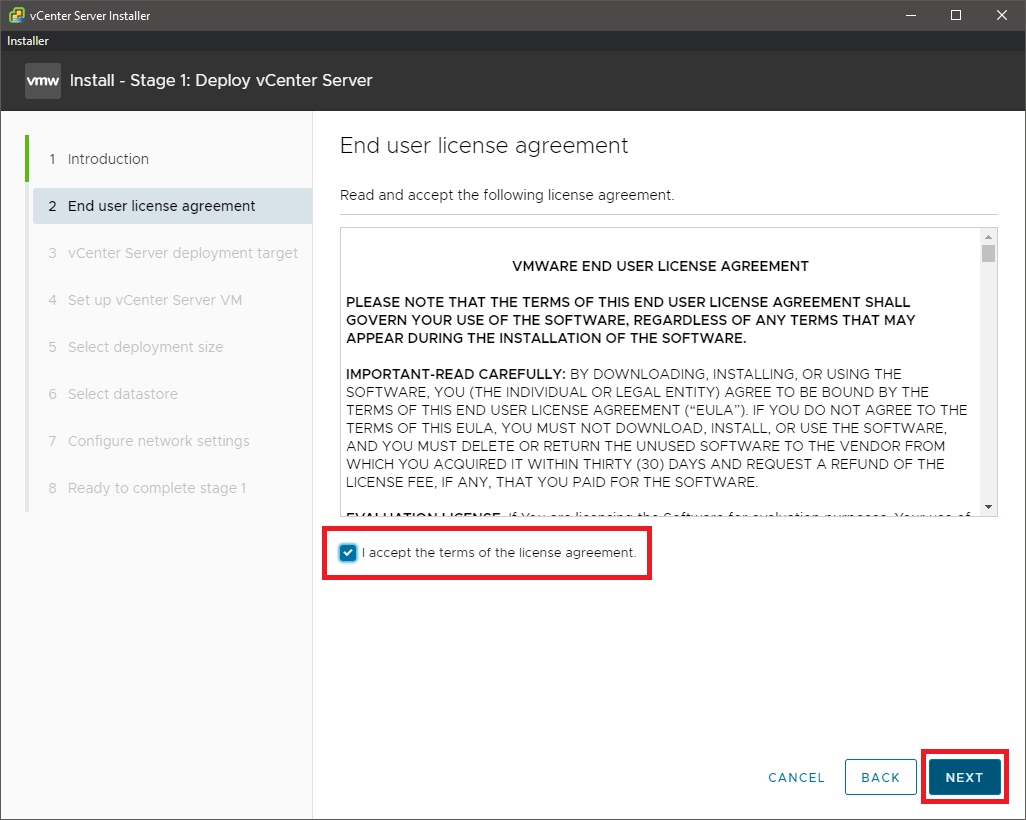
Select I accept the terms of the license agreement and click Next, as shown in Figure 6.
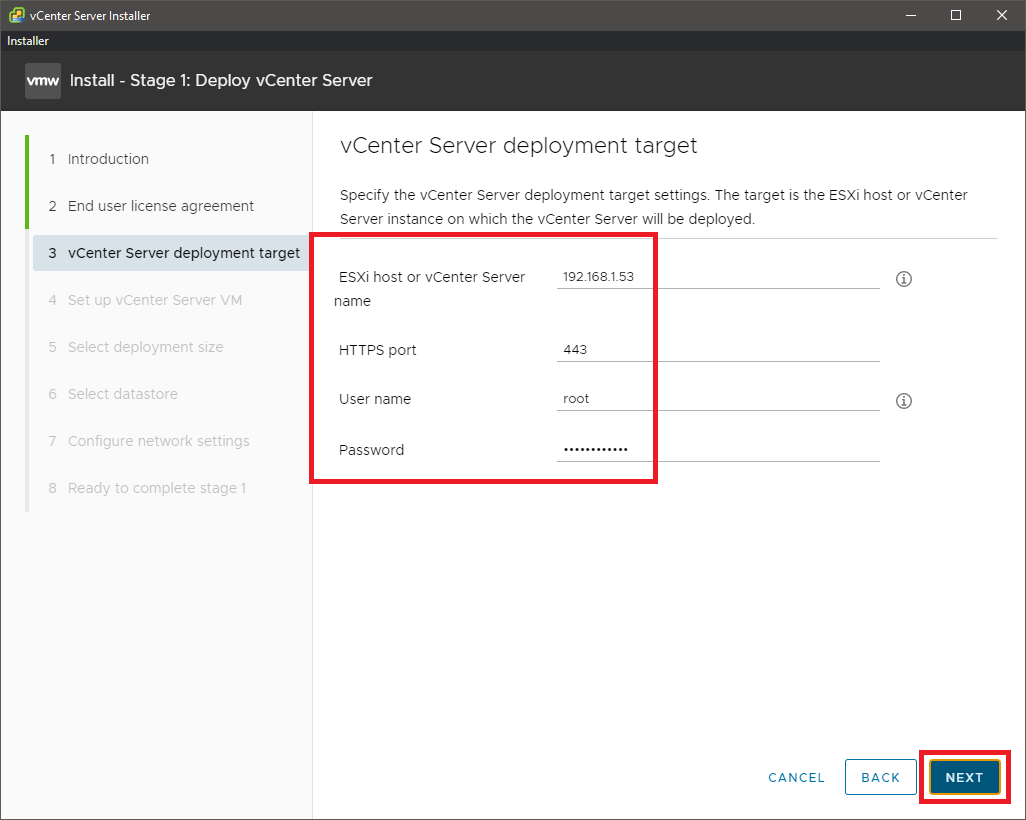
Enter the requested information and click Next, as shown in Figure 7.
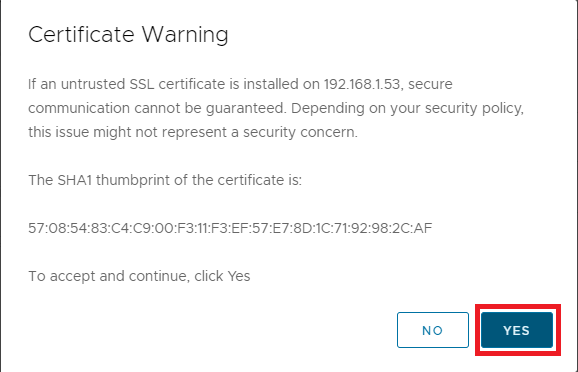
Since the ESXi host uses a self-signed certificate, click Yes to accept the warning, as shown in Figure 8.
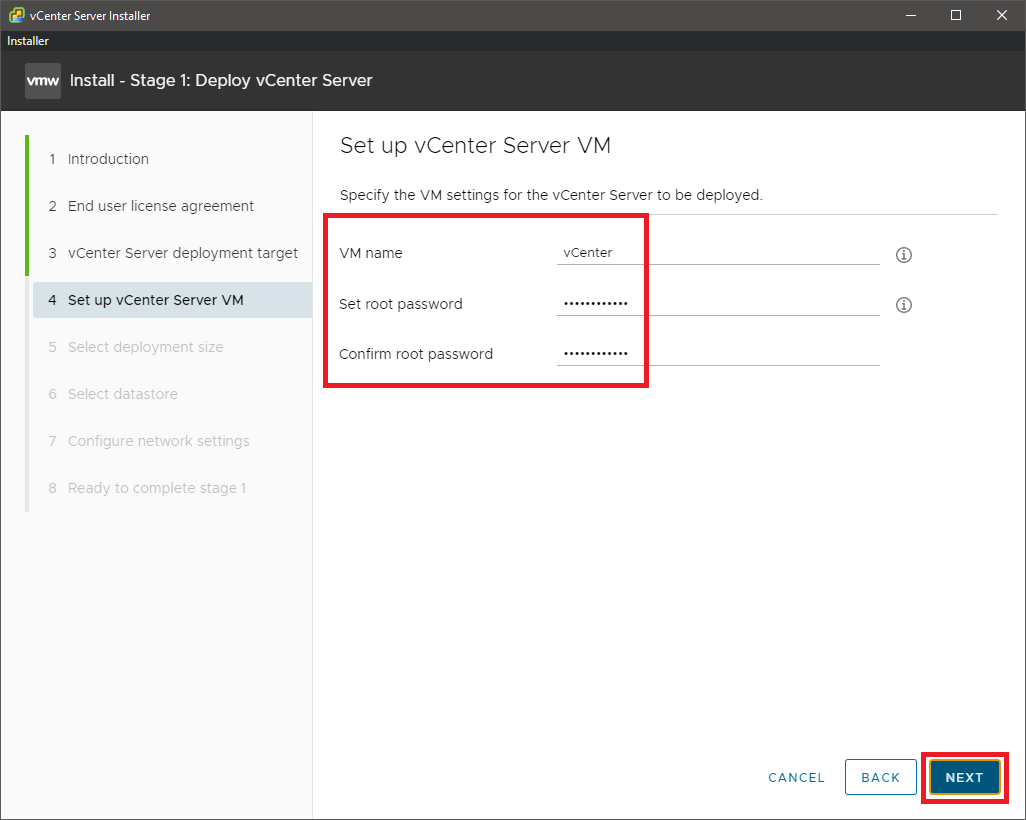
Enter the VM name for the VCSA VM, enter and confirm the VCSA’s root account password, and click Next, as shown in Figure 9.
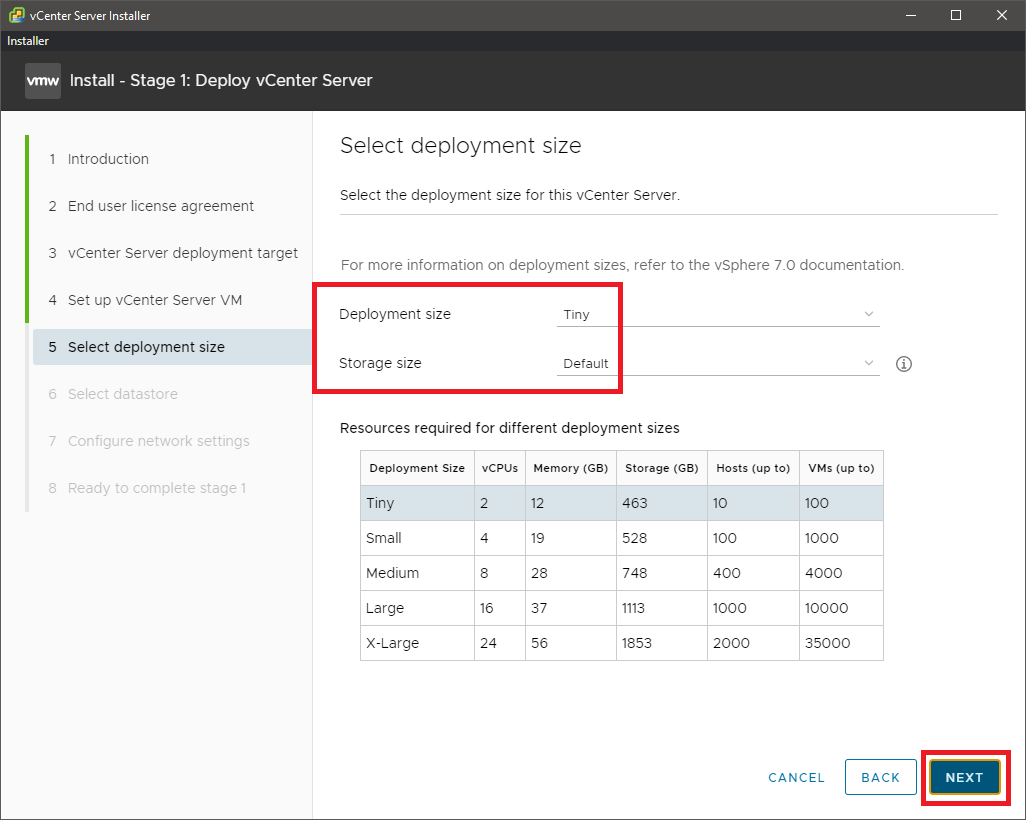
For my lab, there are six hosts, I doubt I need 100 VMs, so I went with the default values of a Tiny deployment and Default storage. Select the Deployment size and Storage size required, and click Next, as shown in Figure 10.
Note: As I worked through this article series, I kept receiving memory usage warnings for the vCenter VM. I shut down the vCenter VM and increased the memory from 12 GB to 16 GB.
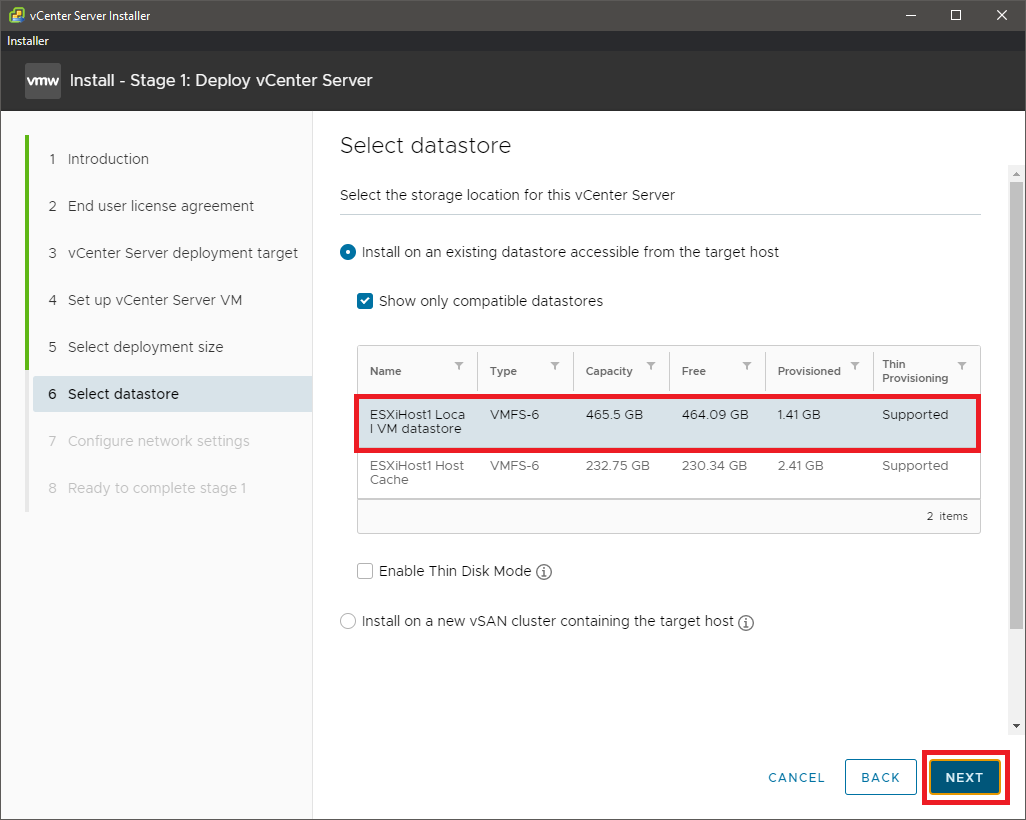
Select the ESXiHost1 Local VM datastore created in a previous article and click Next, as shown in Figure 11.
Enter the required information and click Next, as shown in Figure 12.
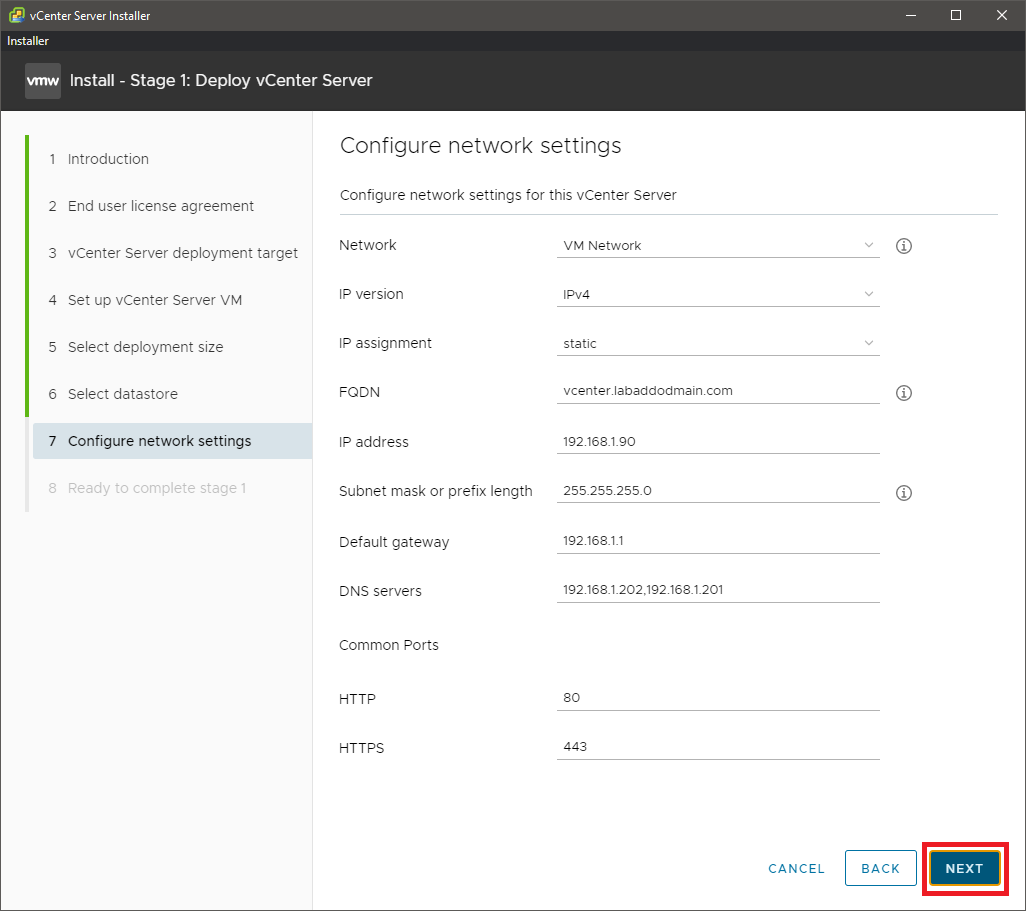
Figure 12
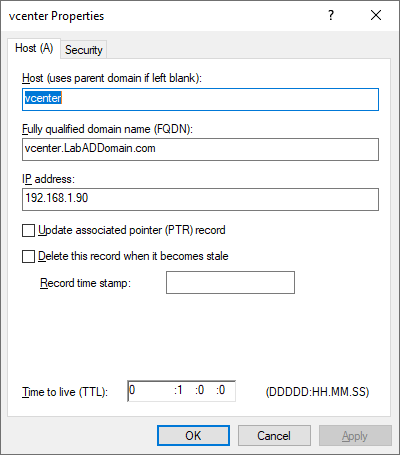
The DNS Servers listed must be able to resolve the FQDN entered. I created a DNS A record on my domain controller, as shown in Figure 13.
If you receive an error after clicking Next, verify name resolution for the FQDN entered in Figure 12 is working.
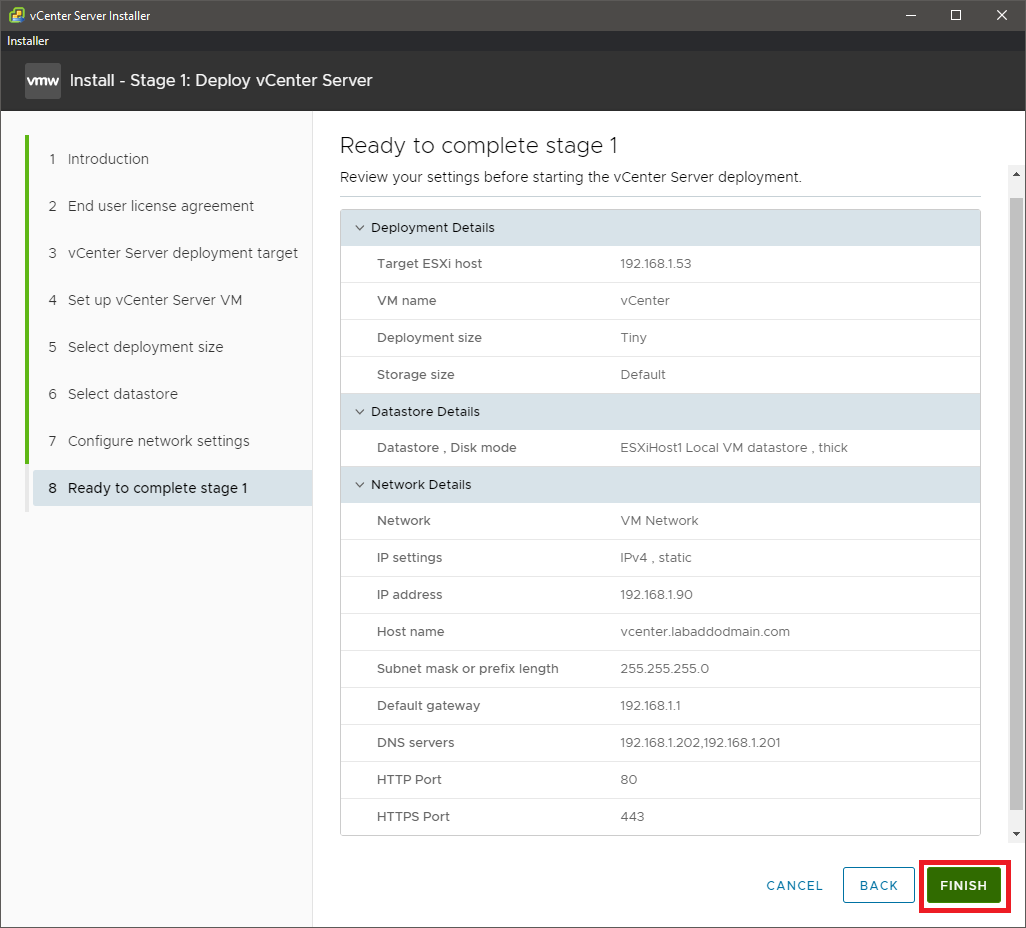
Verify that all the information is correct. If any information is not correct, click Back, correct the information, and continue.
If all the information is correct and verified that name resolution for the FQDN entered in Figure 12 is working both on the computer installing the VCSA and in your Active Directory, click Finish, as shown in Figure 14.
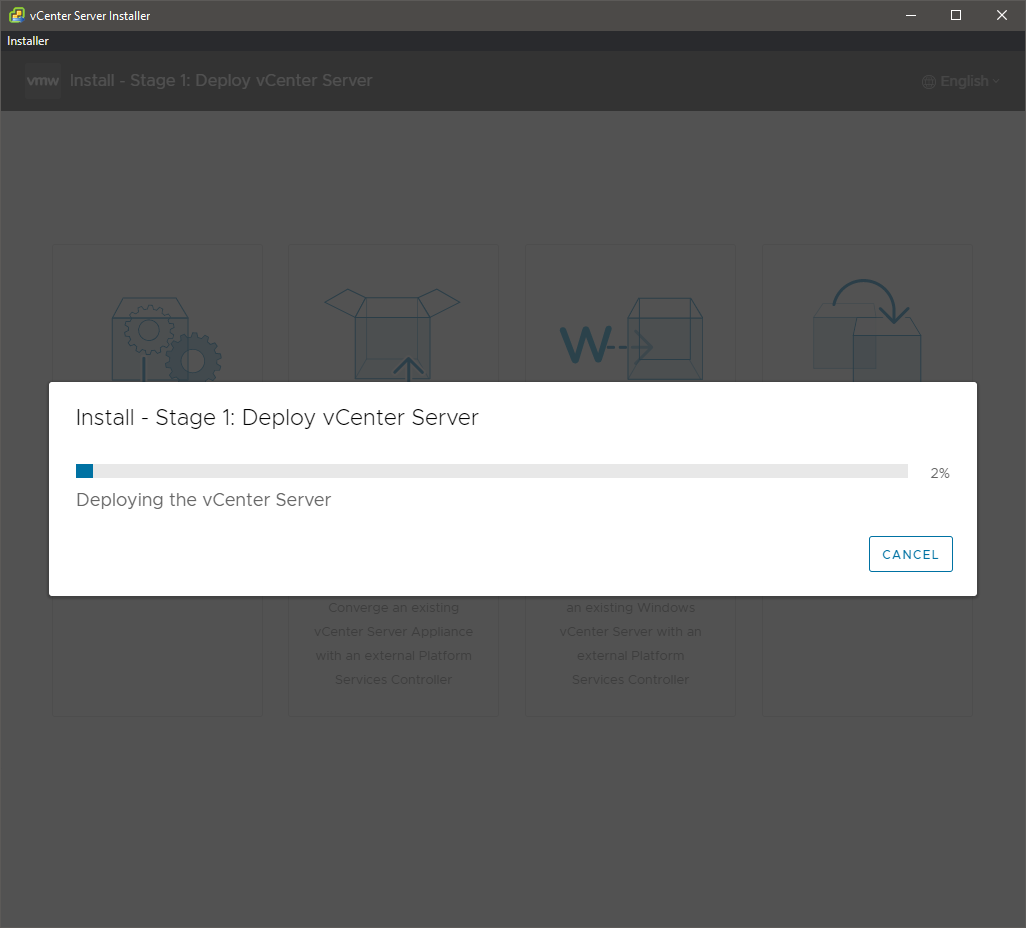
The VCSA installation begins, as shown in Figure 15.
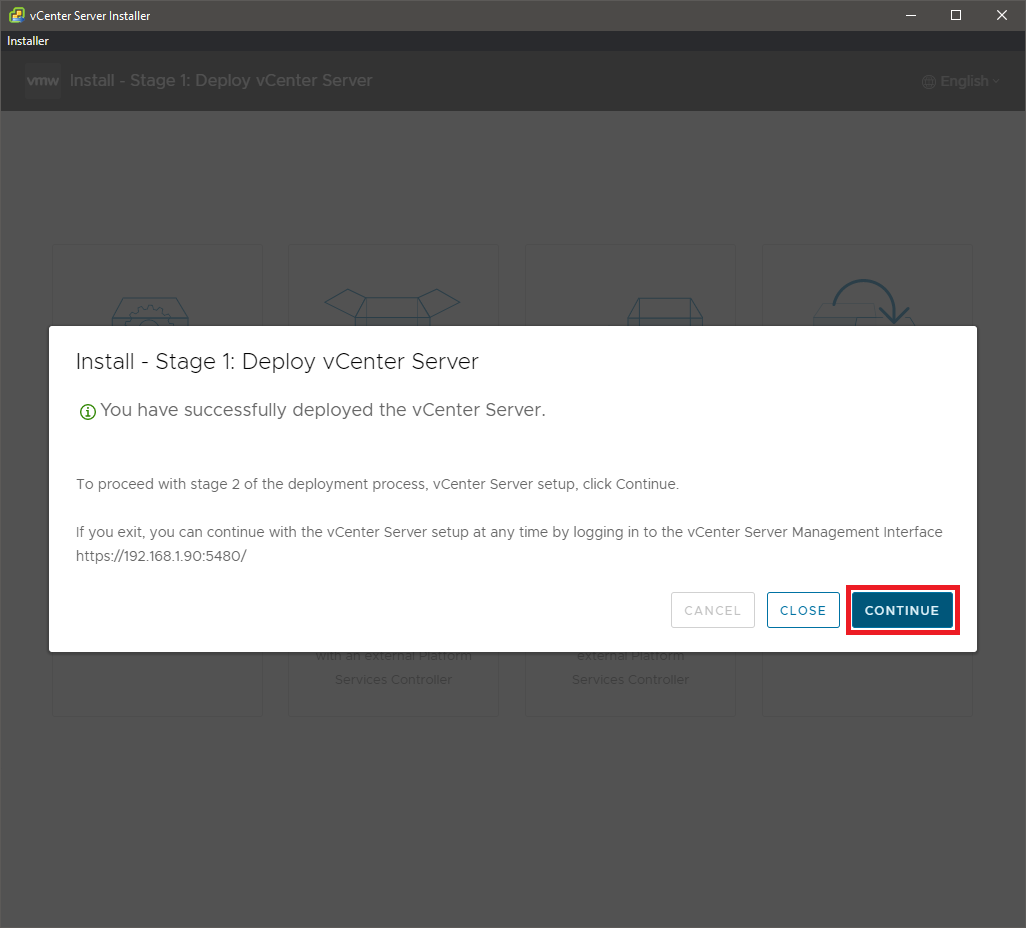
When the VCSA deployment completes, click Continue to proceed to stage 2 (appliance setup), shown in Figure 16.
Note: If you get an error message about finding the appliance, the name resolution for the VCSA’s FQDN is not working.
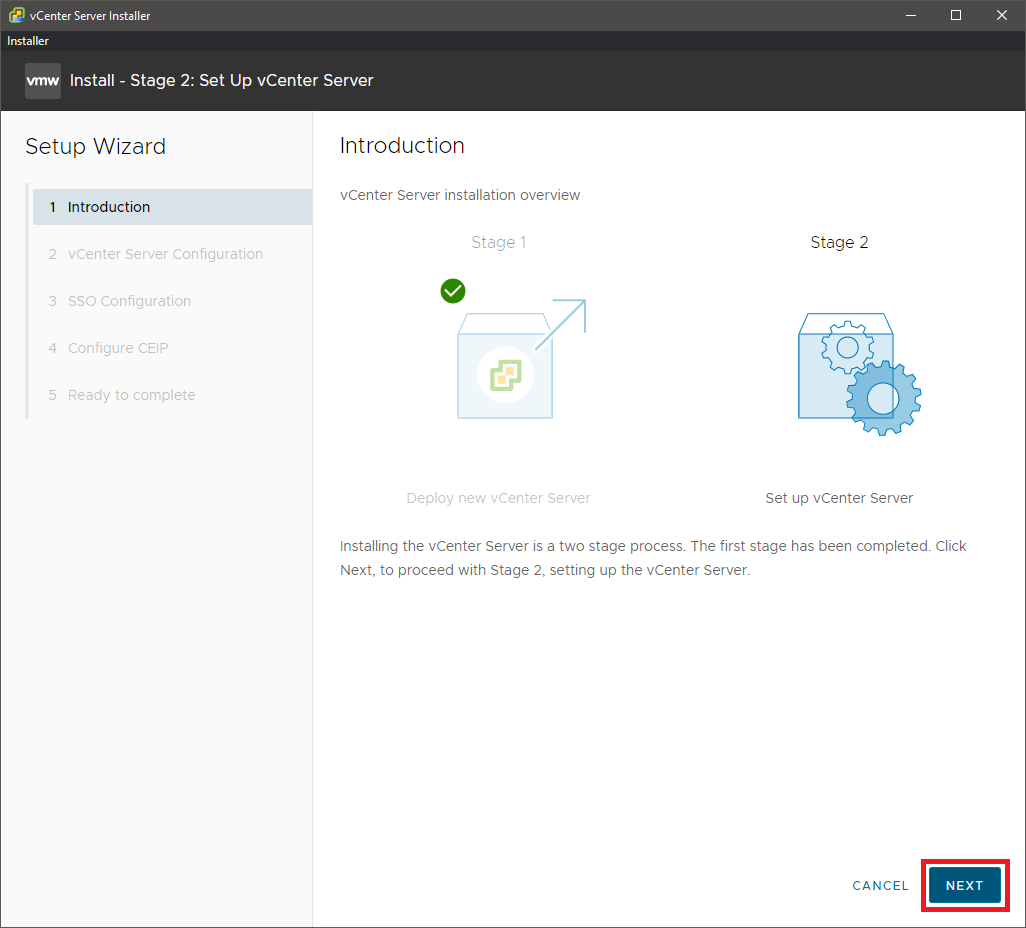
To continue to the VCSA setup, click Next, as shown in Figure 17.
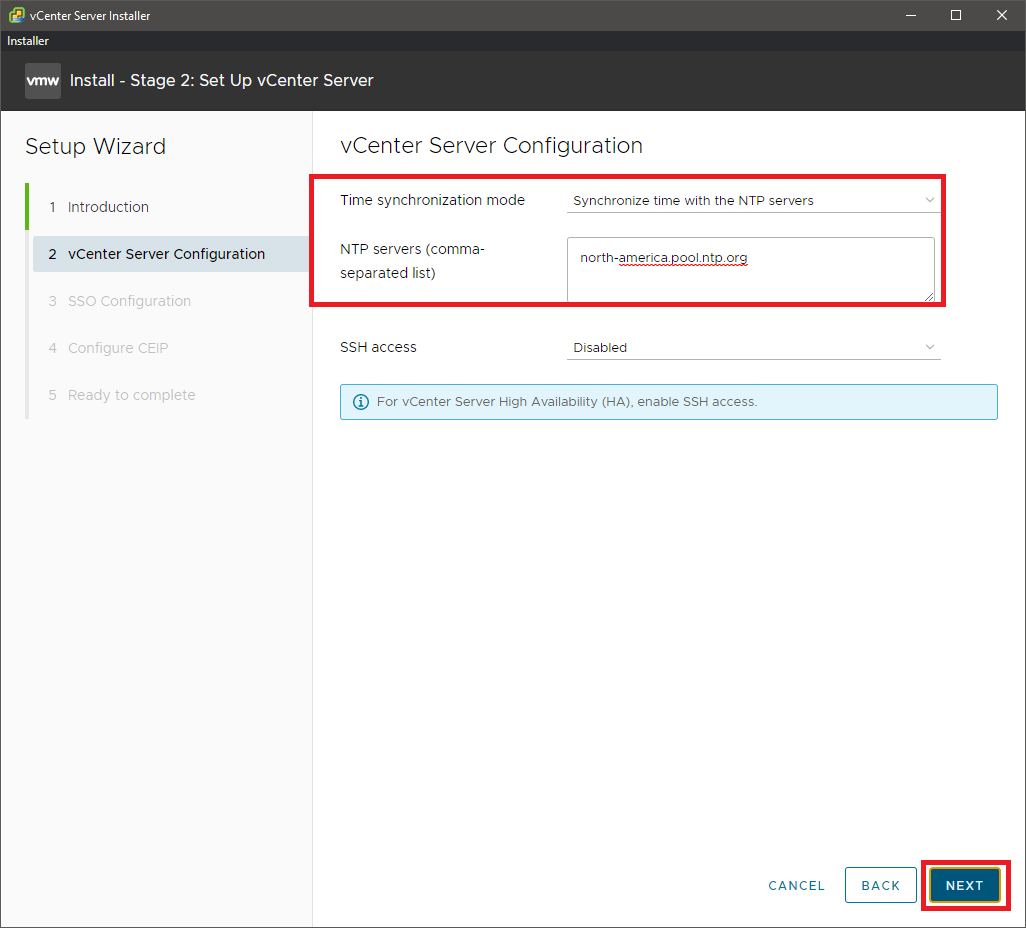
For the Time synchronization mode, select Synchronize time with the NTP servers from the dropdown. For the NTP Servers, enter north-america.pool.ntp.org (or the NTP pool servers for your geographic area). Click Next, as shown in Figure 18.
Select Create a new SSO domain and enter vsphere.local for the Single Sign-On domain name. Enter and verify the Single Sign-On password and click Next, as shown in Figure 19.

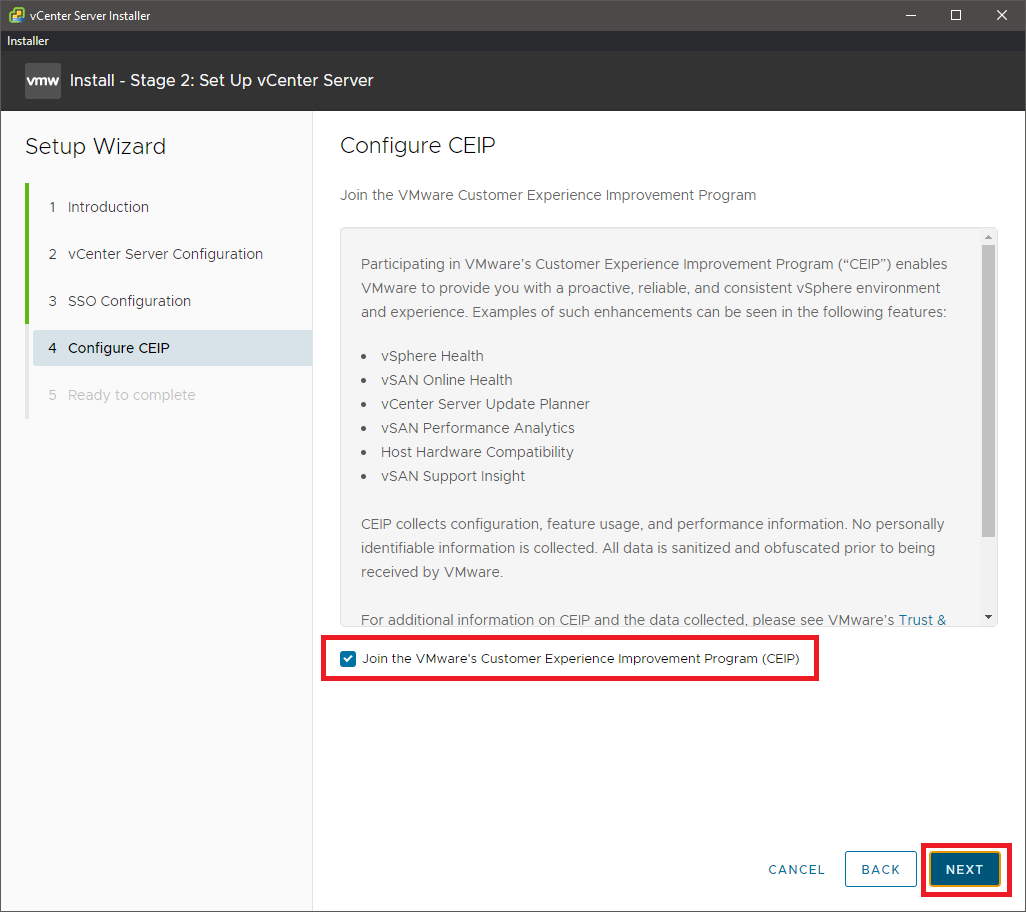
Decide whether to Join the VMware’s Customer Experience Improvement Program (CEIP) and click Next, as shown in Figure 20.
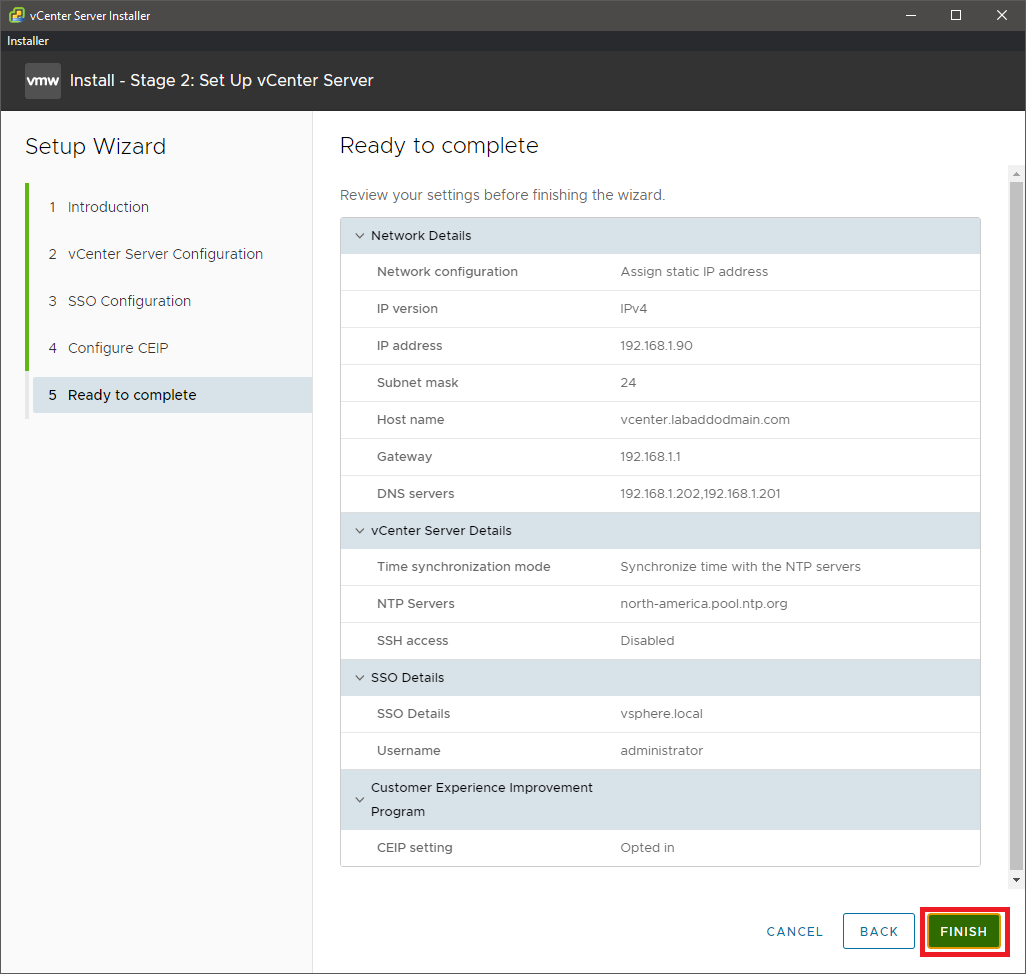
Verify that the information is correct. If it is not, click Back, correct the information and then continue.
If the information is correct, click Finish, as shown in Figure 21.
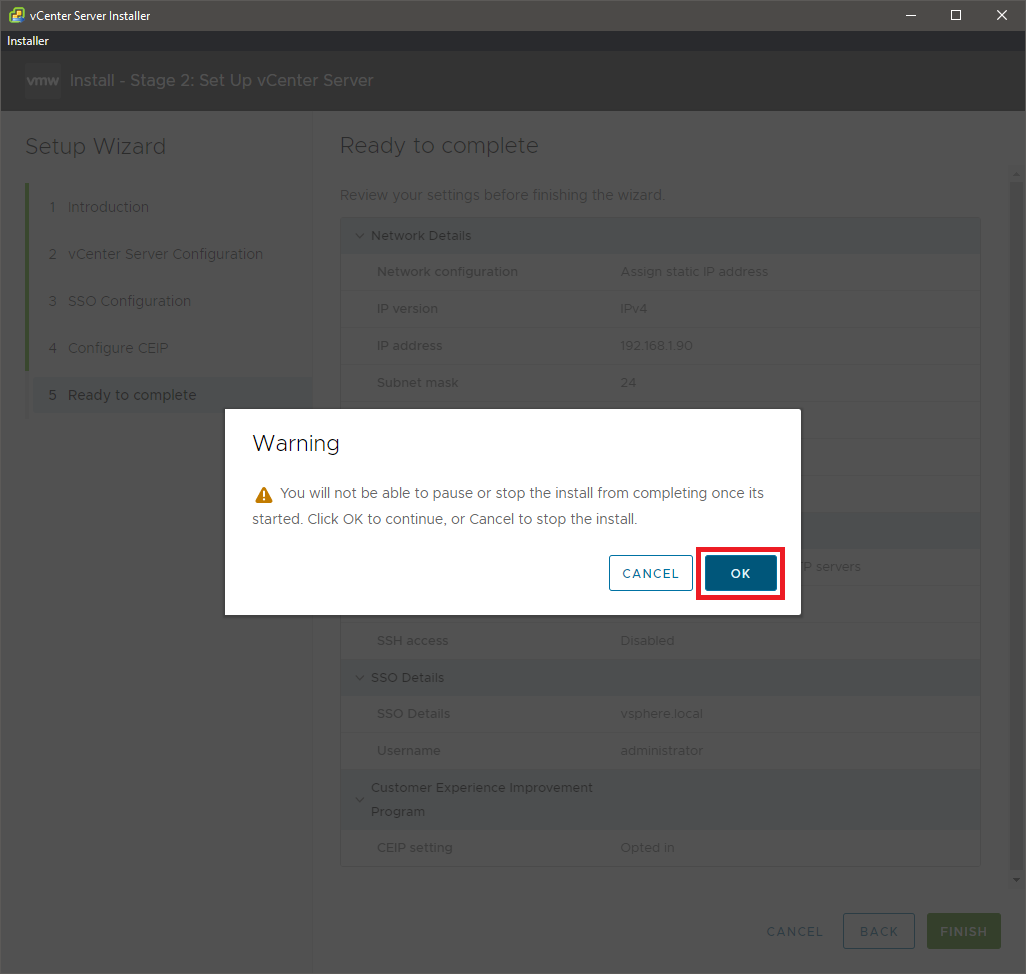
Click OK to complete the setup of the VCSA, as shown in Figure 22.
Stage 2 begins, as shown in Figure 23.
Note: Clear your browser’s cookies and cache if you get an error message about finding the appliance.

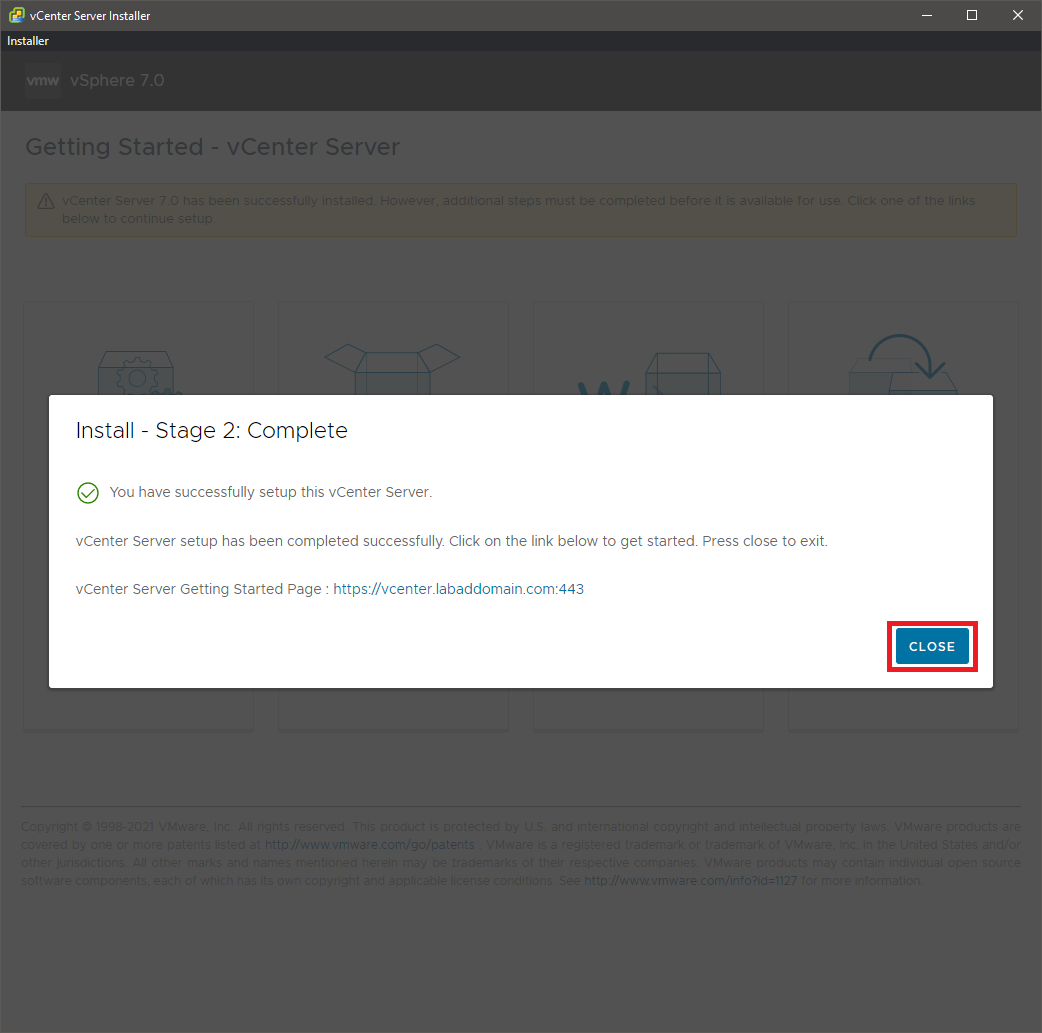
When Stage 2 completes, click Close, as shown in Figure 24.
Note: Stage 2 took 20 minutes to complete in my lab.
Make a note of the Appliance Getting Started Page link.
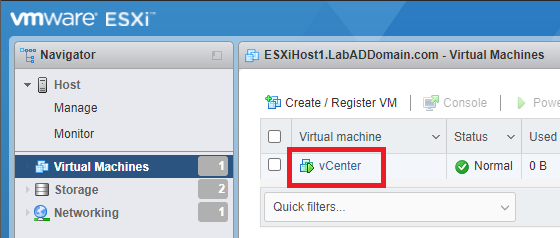
Back on the ESXi host, click Virtual Machines, and you can see the just installed VCSA VM, as shown in Figure 25.
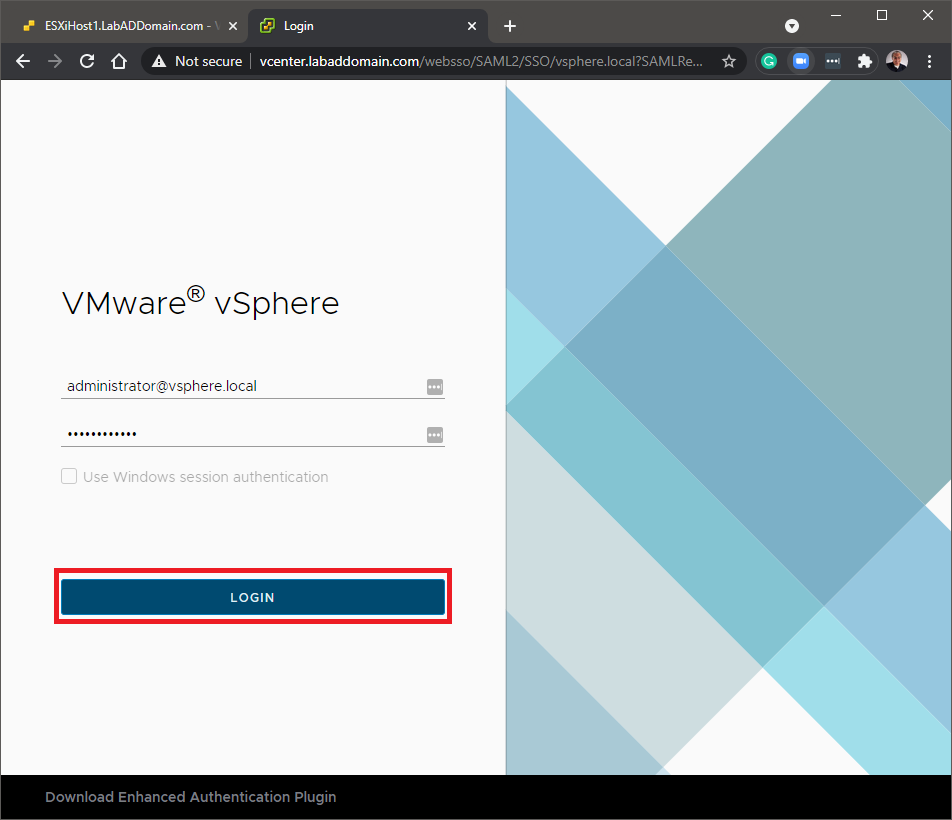
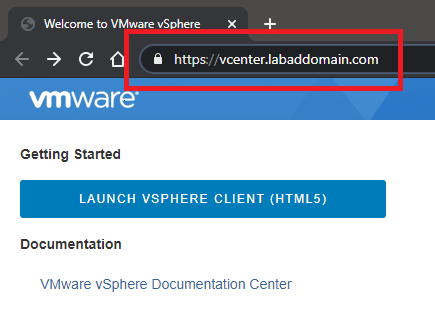
Using your browser, go to the link for the vCenter Getting Started Page. For me, that is https://vcenter.labaddomain.com, as shown in Figure 26. Click LAUNCH VSPHERE CLIENT (HTML5).
Note: Because of the VCSA’s self-signed certificate, you can safely proceed to vCenter.

Enter the Single Sign-On Domain credentials created earlier in Figure 19 and click LOGIN, as shown in Figure 27.
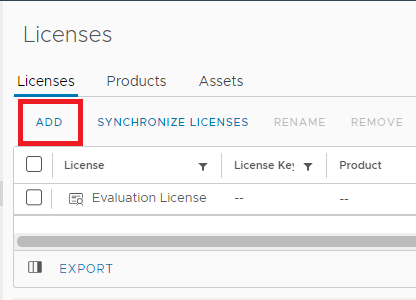
Click MANAGE YOUR LICENSES, as shown in Figure 28.

Click Add, as shown in Figure 29.
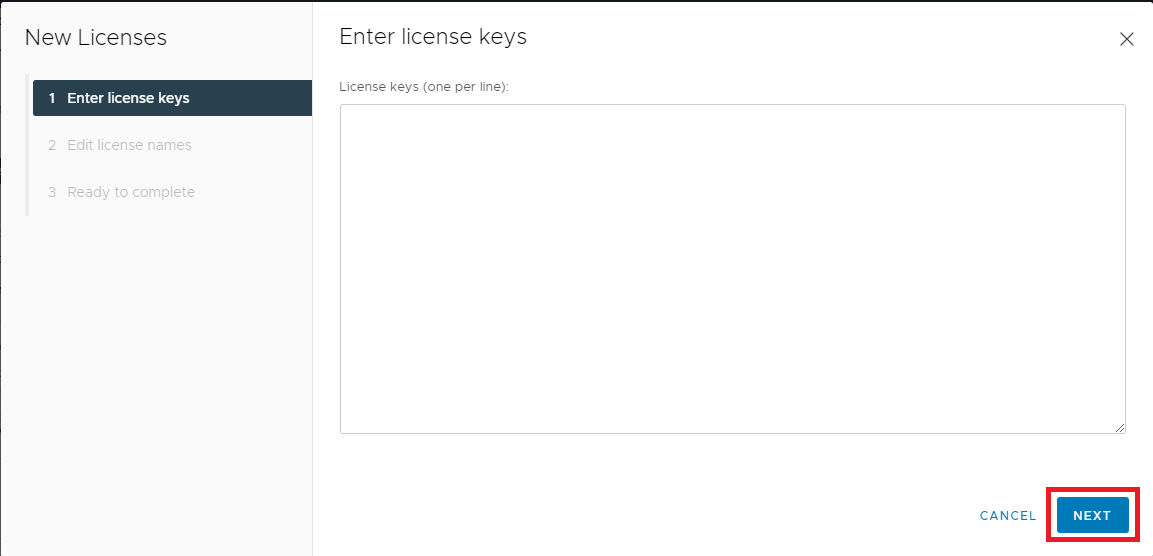
Enter the licenses. I used the licenses from the VMUG Advantage program. After entering the license information, click Next, as shown in Figure 30.
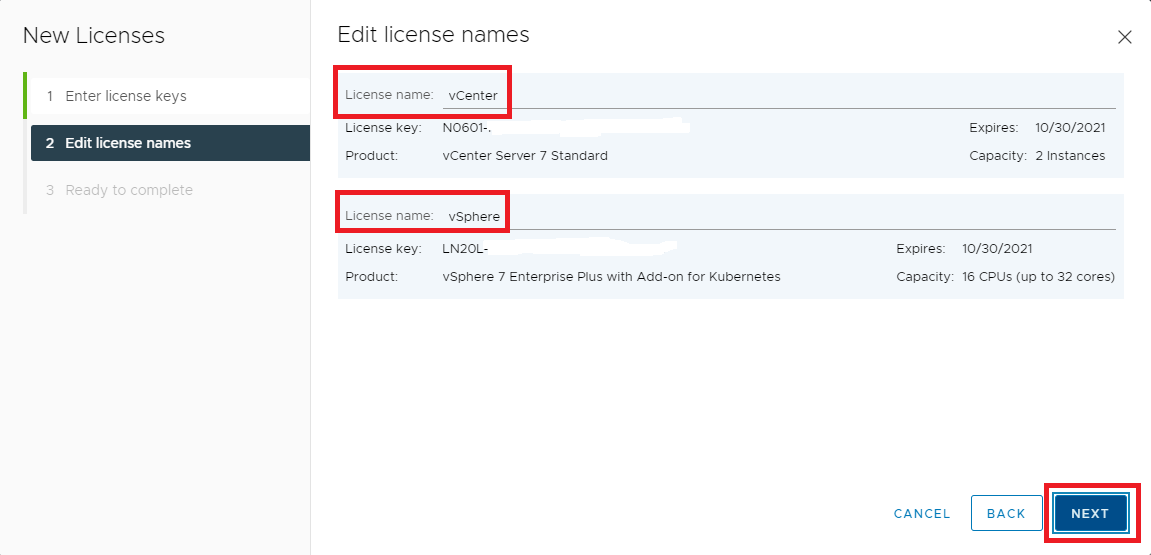
If you want to, enter a License name for the licenses and click Next, as shown in Figure 31.
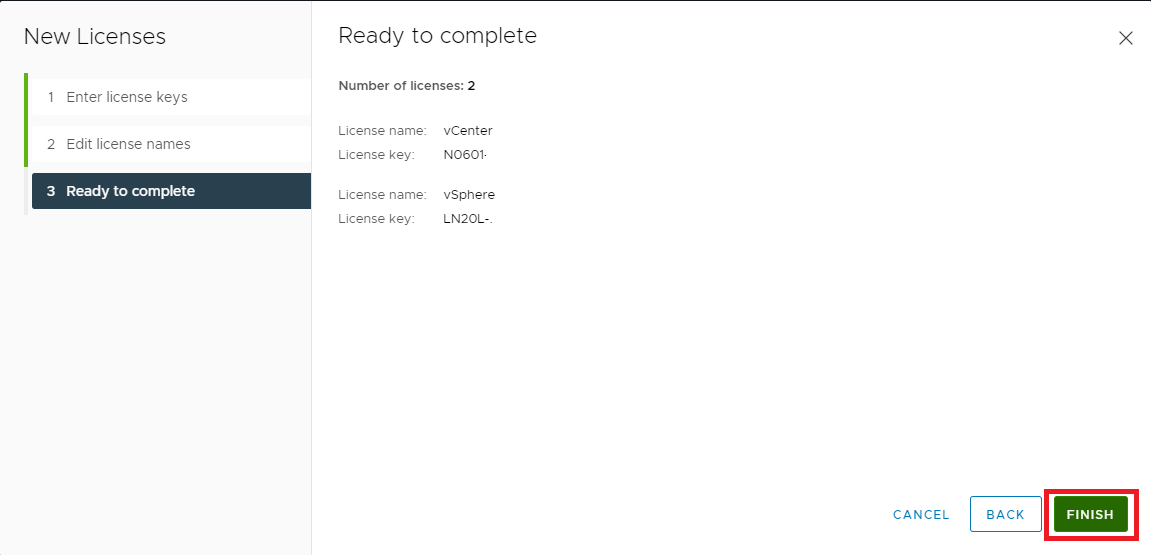
Click Finish, as shown in Figure 32.
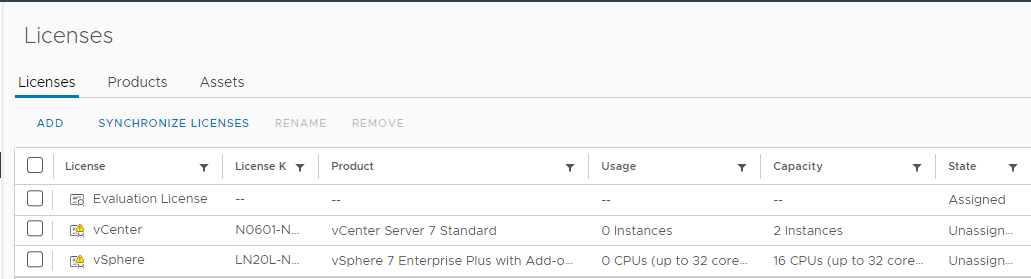
The licenses are displayed, as shown in Figure 33.
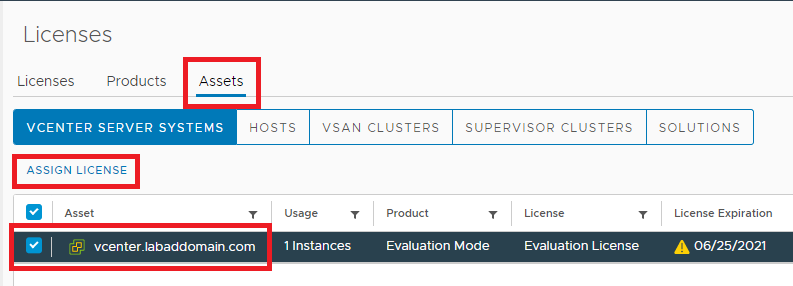
Click the Assets tab, select the vCenter asset, and click Assign License, as shown in Figure 34.
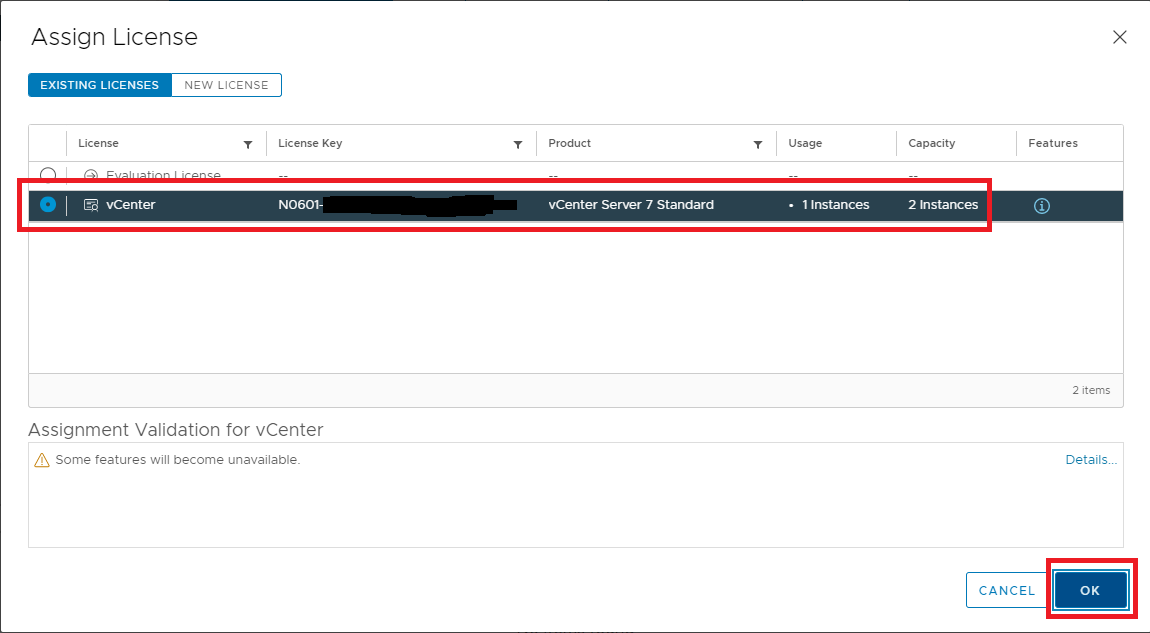
Select the vCenter license and click OK, as shown in Figure 35.
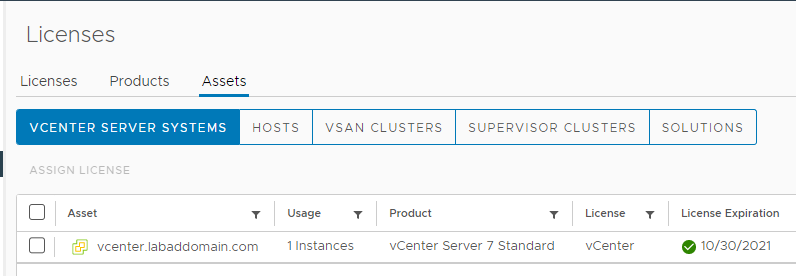
As shown in Figure 36, the VCSA is now licensed.
If you look at the browser connection shown in Figure 26, you see that it is not secure.
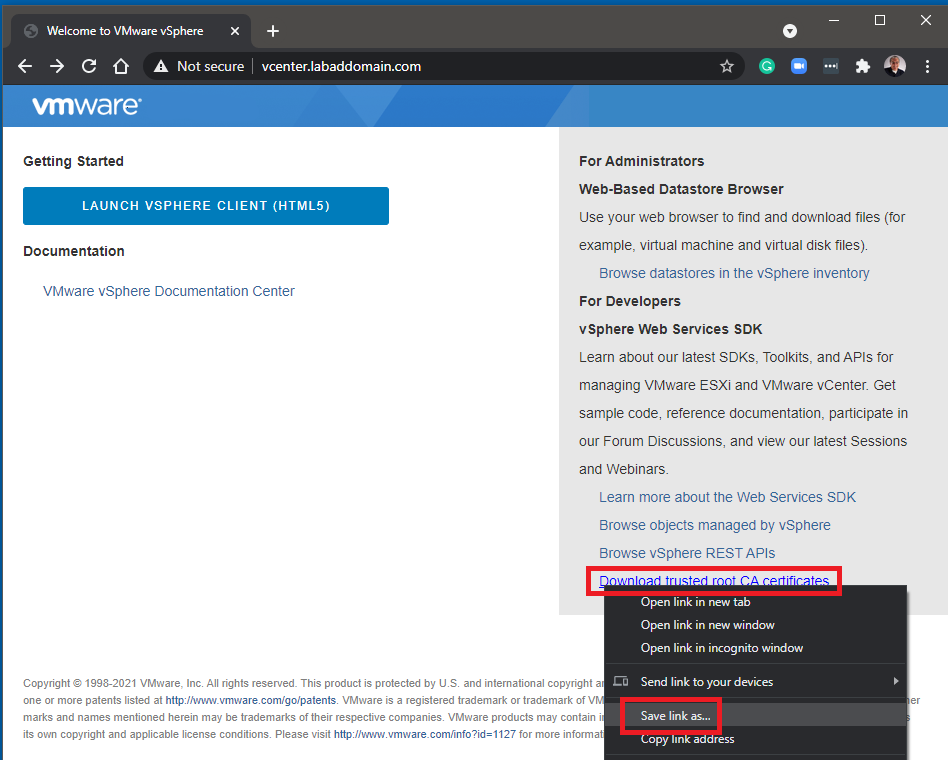
Go back to the main vCenter page shown in Figure 26, right-click Download trusted root CA certificates, and click your browser’s Save link, as shown in Figure 37.
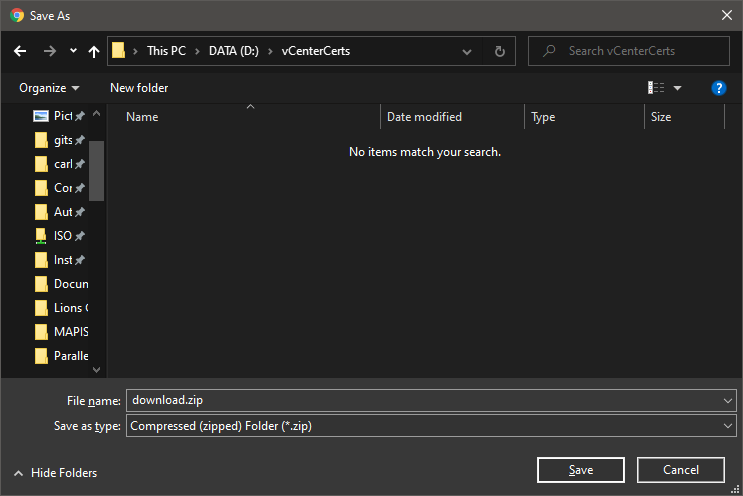
Save the file, Download.zip, as shown in Figure 38.
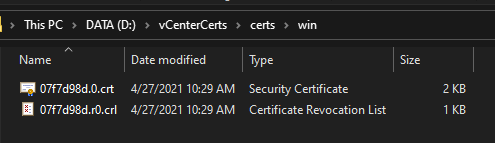
Extract Download.zip, as shown in Figure 39, and browse to the certs\win folder.
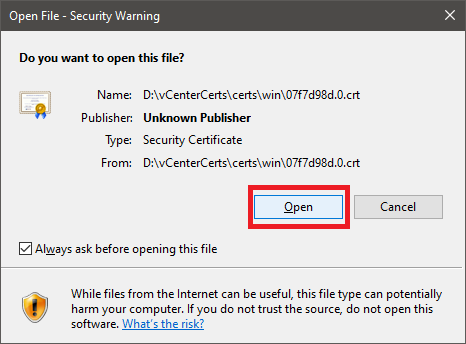
Double-click the file with the extension “crt”.
Click Open if you receive a file security warning, as shown in Figure 40.
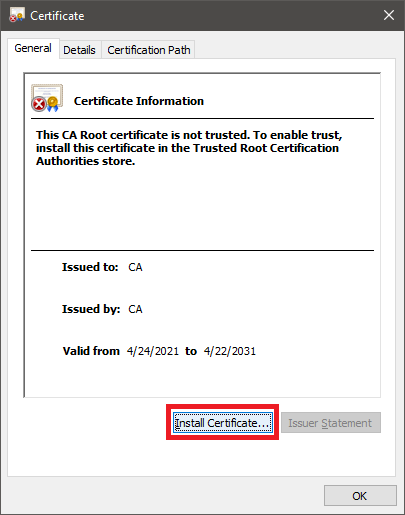
Click Install Certificate…, as shown in Figure 41.
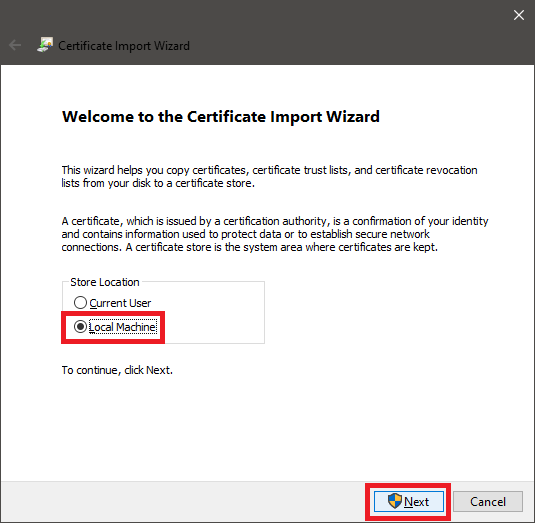
Click Local machine and Next, as shown in Figure 42.
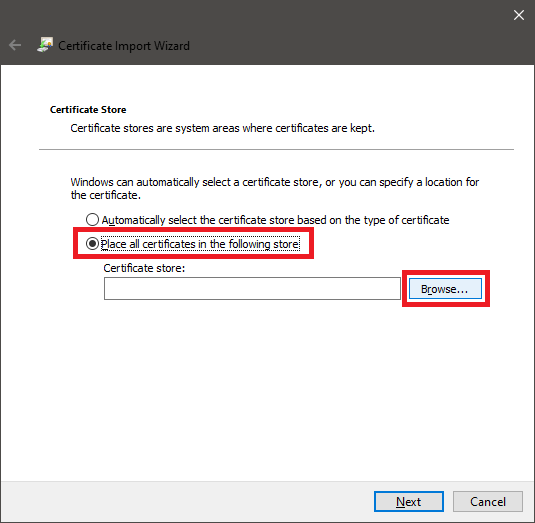
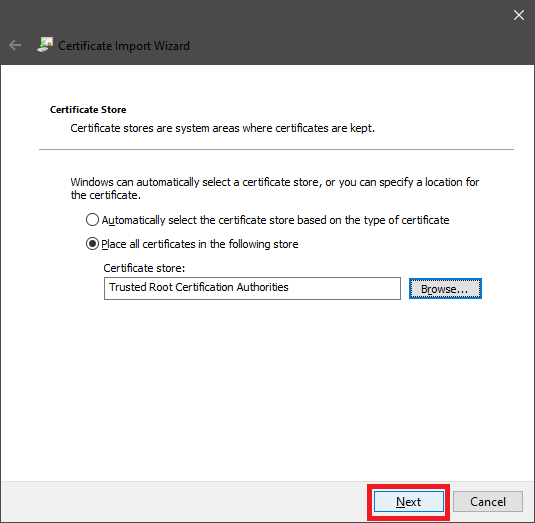
Select Place all certificates in the following store and click Browse…, as shown in Figure 43.
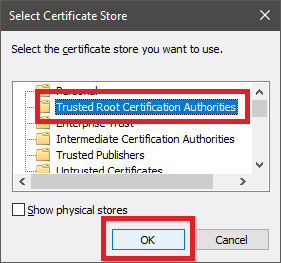
Click on Trusted Root Certification Authorities and click OK, as shown in Figure 44.
Click Next, as shown in Figure 45.
Click Finish, as shown in Figure 46.
Click OK, as shown in Figure 47.
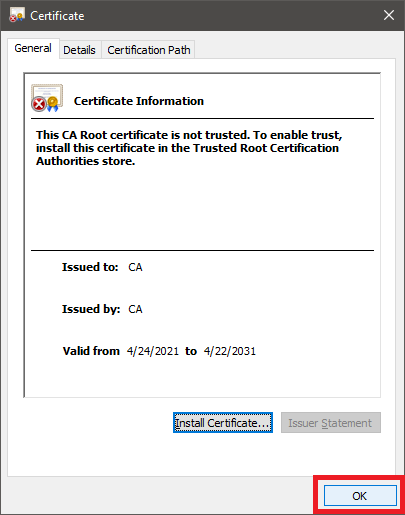
Click OK, as shown in Figure 48.
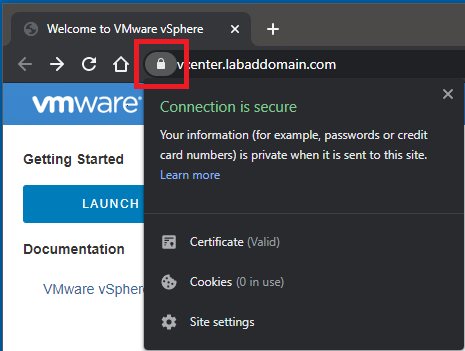
Using your browser, go to the link for the vCenter Getting Started Page. For me, that is https://vcenter.labaddomain.com, as shown in Figure 49. Notice how the URL now shows as secure.
Click the padlock symbol, as shown in Figure 50.
Install the “crt” certificate file on any computer that requires access to vCenter.