[Updated 4-Sep-2021]
In this article, we update the Server 2019 RDS and Windows 10 master image, shut down the machines, take a snapshot, and roll out the updated snapshots to the desktop pools. We also make the same updates to the physical Windows 10 computer.
Image Updating
In the vCenter console, power on the Server 2019 and Windows 10 master image VMs.
I collapsed all the Horizon folders before starting.
Select the cluster and, in the right frame, click VMs, as shown in Figure 1.

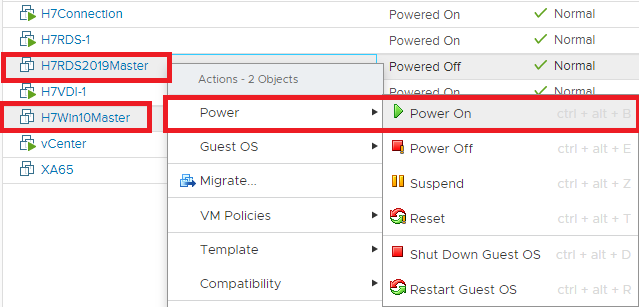
Select the two master images, right-click the two master images, click Power, and click Power On, as shown in Figure 2.
The first thing to do is check for any Windows and application updates. If there are any updates, go ahead and install them for this lab and restart the computers if required. In a production environment, you should only install updates that are tested and approved.
You should also install the same updates to any physical computers used for Horizon.
Install the ControlUp Agent
Now we finally get around to installing the ControlUp agent.
There are two ways to install the ControlUp agent: MSI package and deploy the agent from the console.
For physical computers and VMs that are not provisioned using a provisioning technology like Linked Clones, Instant Clones, and Citrix Machine Creation Services and Provisioning services, use the console’s ability to deploy the agent. For provisioned machines, ControlUp recommends installing the agent from the MSI package.
How to Deploy the Agent on Your Master Image for PVS/MCS/Linked/Instant Clones
First, we will do the physical computer.
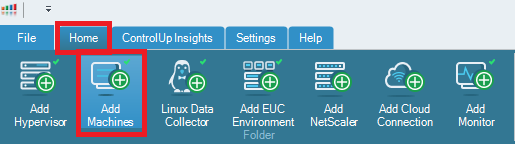
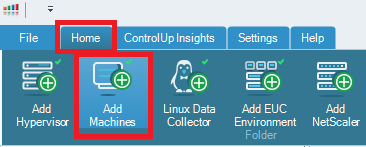
In the ControlUp console, click on the Home tab and Add Machines in the toolbar, as shown in Figure 3.
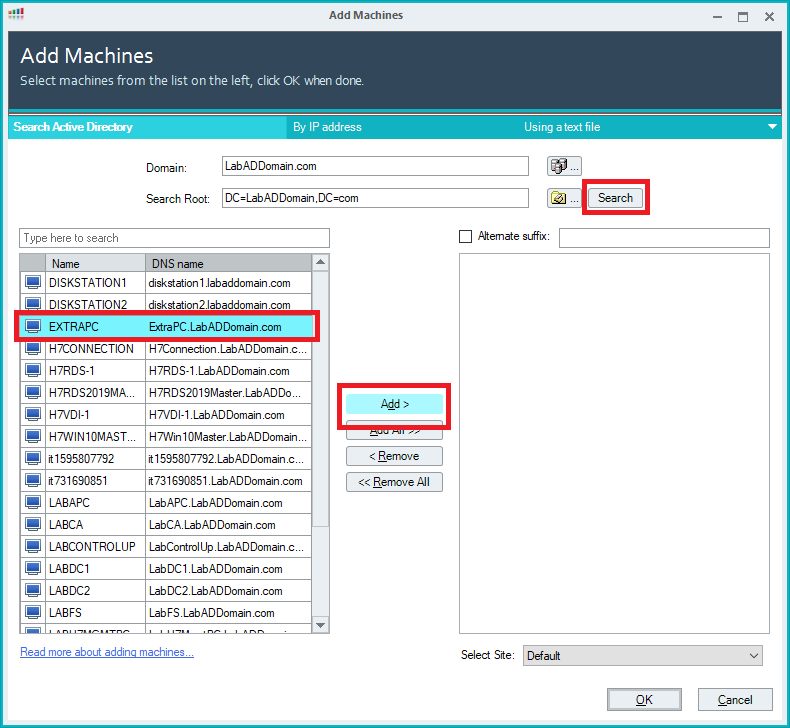
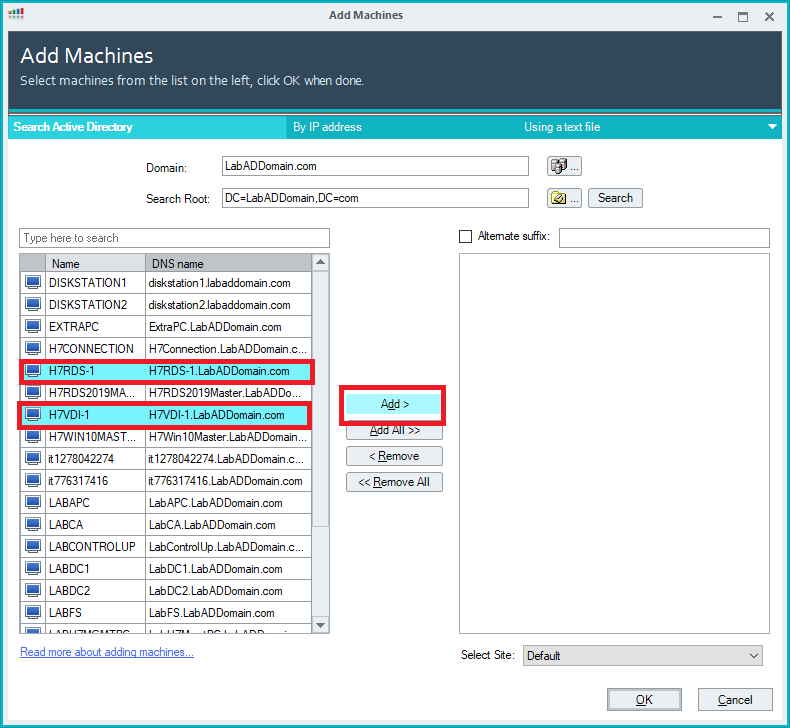
Click Search, select the physical computer(s), and click Add, as shown in Figure 4.
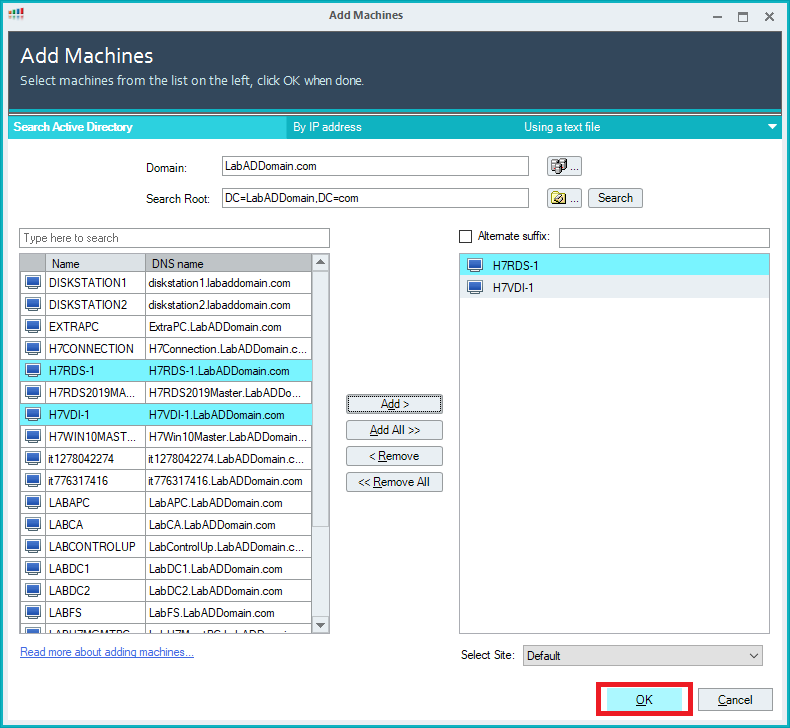
Click OK, as shown in Figure 5.
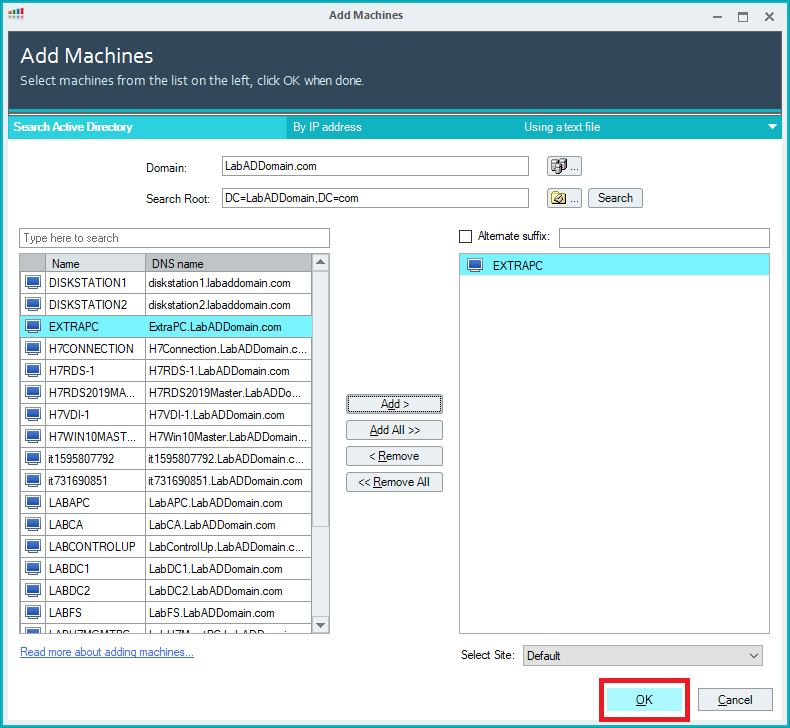
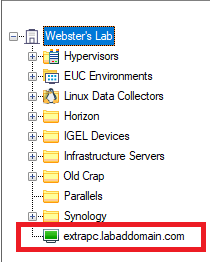
Figure 6 shows the selected computers are now in the ControlUp console (what looks to this color-blind person as yellow/orange), showing the ControlUp agent is in the process of installing.
After the agent is successfully installed, the color turns green, as shown in Figure 7.
If any of the computers have a color other than green, the ControlUp console will tell you what issue prevents installation.
Here are two ControlUp support articles that should help you solve any agent installation issues you may have.
Relevant ControlUp Agent Error Messages
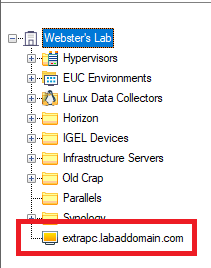
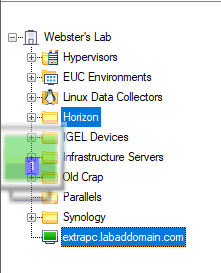
If, like me, you created a folder to contain the Horizon-related computers, you can select the computer(s) and drag and drop them into your Horizon folder, as shown in Figures 8, 9, and 10.
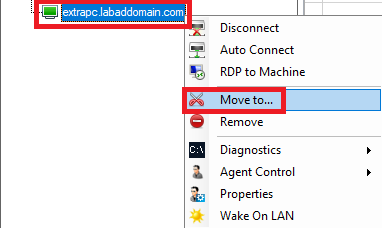
Another way is the select the Horizon computers, right-click and click Move to…, as shown in Figure 11.
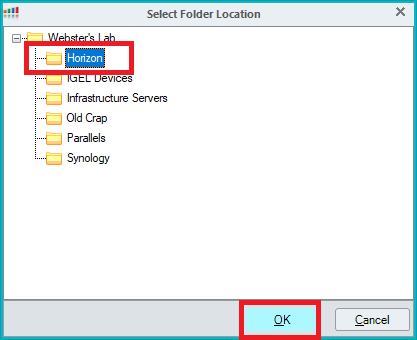
Select the folder and click OK, as shown in Figure 12.
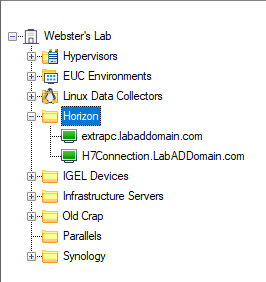
As shown in Figure 10, the selected computers are placed in the folder.
There are two ways to get the MSI package.
- Browse to https://www.controlup.com/products/controlup/agent/ and download the appropriate agent. For this lab, since we are using Server 2019, Windows 10 x64, and the latest release of ControlUp, download ControlUp Agent 64-bit for .NET Framework 4.5.
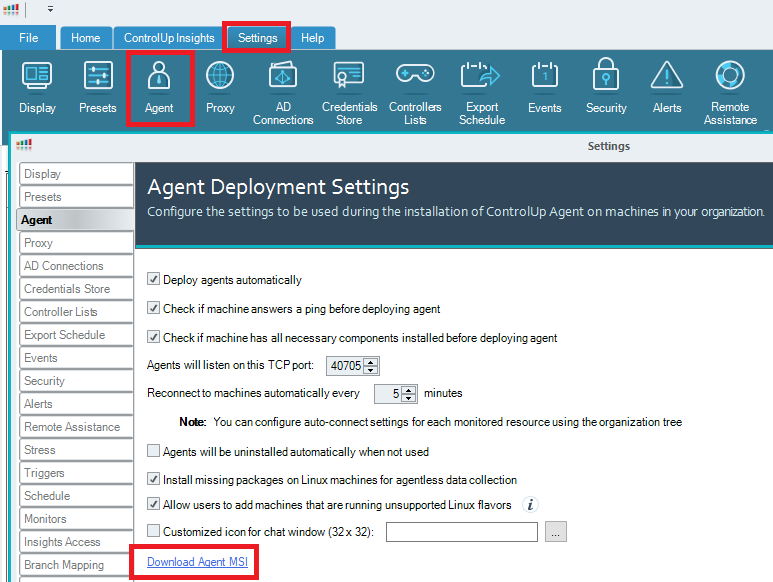
- From the ControlUp console toolbar, click the Settings tab, Agent, and then click Download Agent MSI, as shown in Figure 13. Download the same file as mentioned in step 1 above.
Save the downloaded MSI package to a location available to your master images.
You can install the MSI package using your preferred installation method or manually, as shown below.
Copy the MSI package to your master image(s).
For this example, I am using the Windows 10 master image.
Either double-click the MSI package or right-click the MSI package and click Install, as shown in Figure 14.

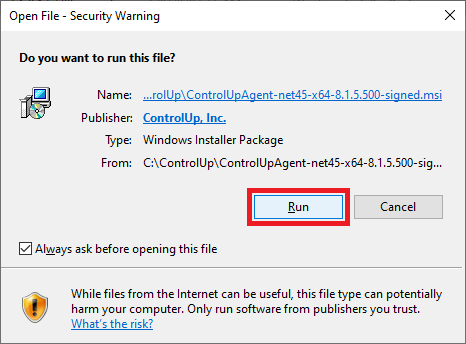
If prompted, click Run, as shown in Figure 15.
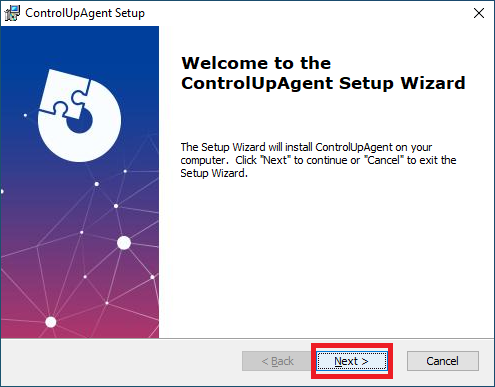
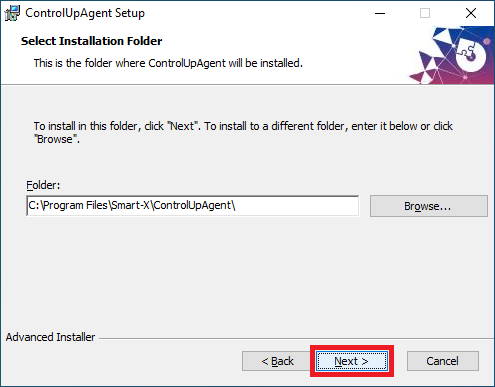
Click Next, as shown in Figure 16.
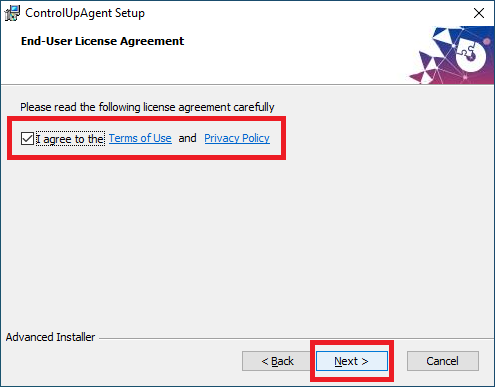
Select I agree to the Terms of Use and Privacy Policy, and click Next, as shown in Figure 17.
Click Next, as shown in Figure 18.
Click Install, as shown in Figure 19.
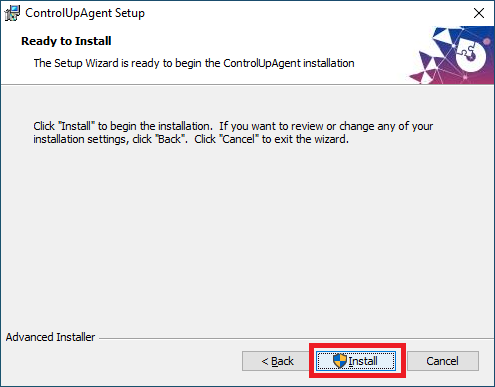
If UAC is enabled, Click Yes.
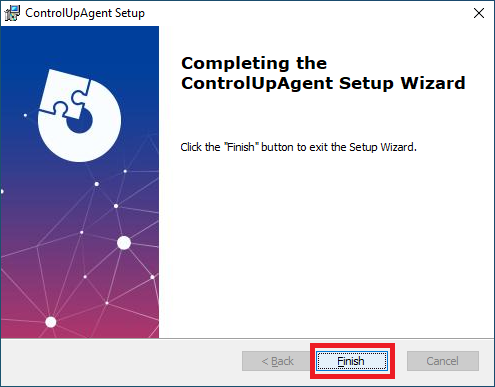
Click Finish, as shown in Figure 20.
If you like, you can double-click on any of the physical Horizon computers to see details.
You have a decision to make regarding the provisioned master images. Should you add them to the ControlUp console or not? Any computer that is online and connected, added to the console, consumes a license. Since the master images are powered off most of the time, and if you leave them powered on, they are not in use by users, so there is nothing that requires monitoring.
I am not adding my master images to my ControlUp console.
Desktop Pool
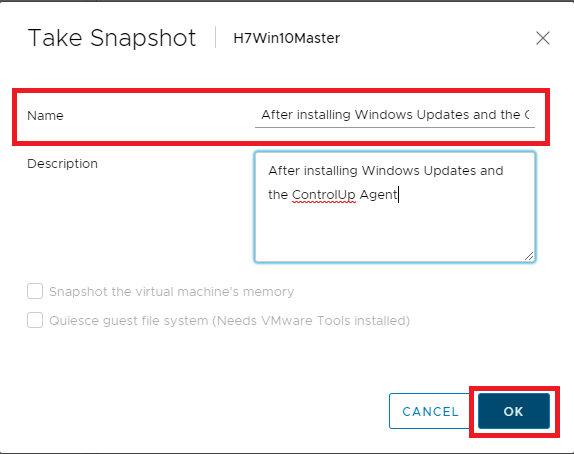
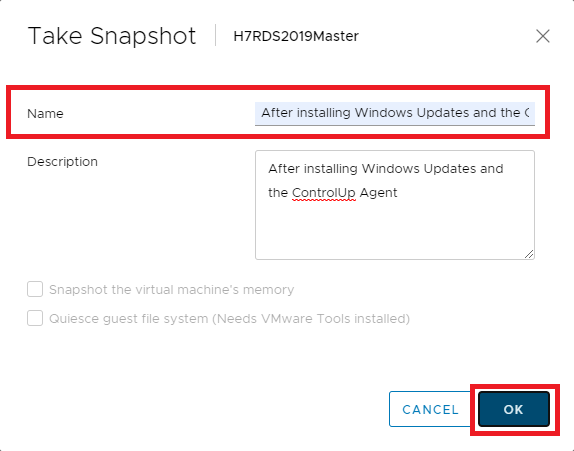
In the vCenter console, shut down the Windows 10 master image VM and take a snapshot, as shown in Figure 21. Make sure to give the snapshot a useful Name.
Back on the Connection Server, log in to the Connection Server console.
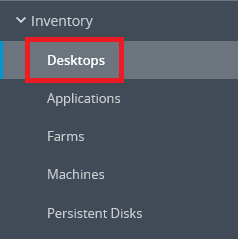
In the left frame, under Inventory, select Desktops, as shown in Figure 22.
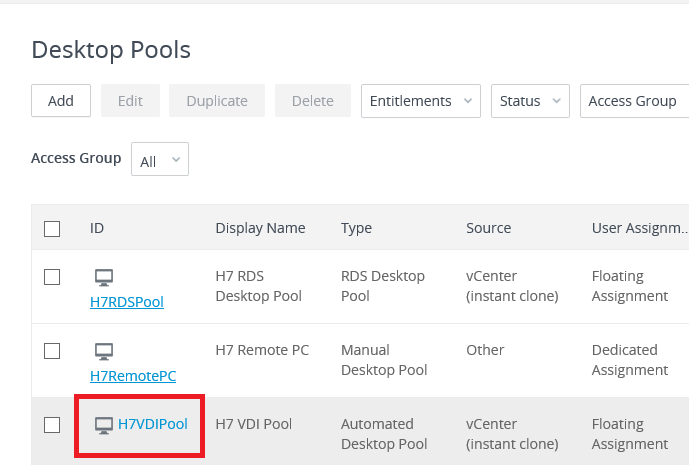
Click the VDI Desktop Pool to update, as shown in Figure 23.
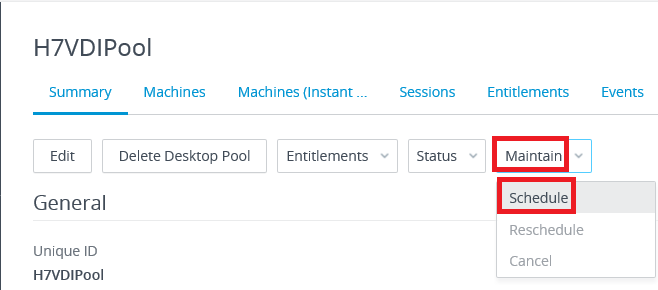
Click Maintain, Schedule, as shown in Figure 24.
Select the updated snapshot and click Next, as shown in Figure 25.

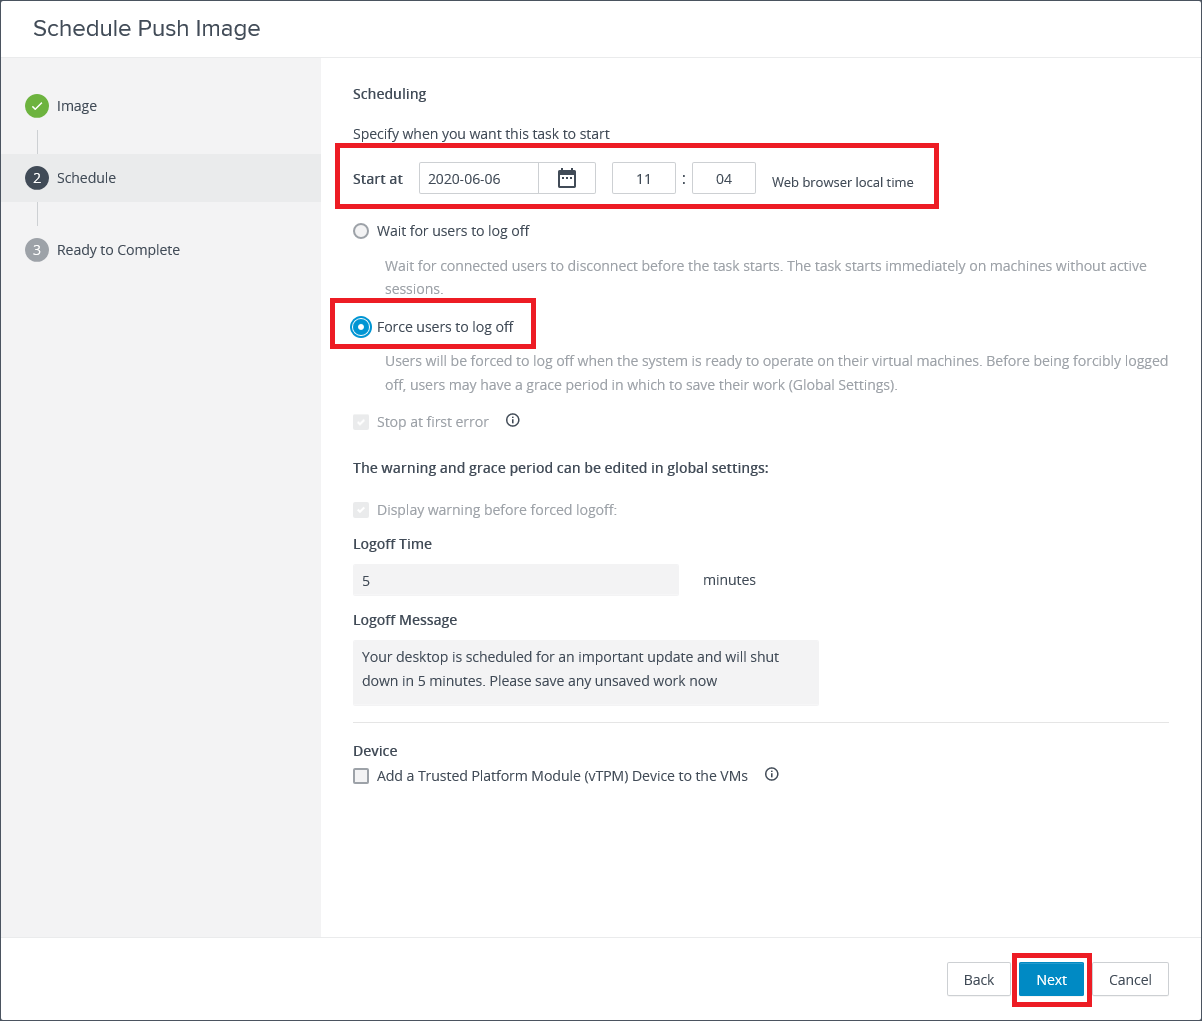
Select the appropriate scheduling options and click Next, as shown in Figure 26.
Click Finish, as shown in Figure 27.
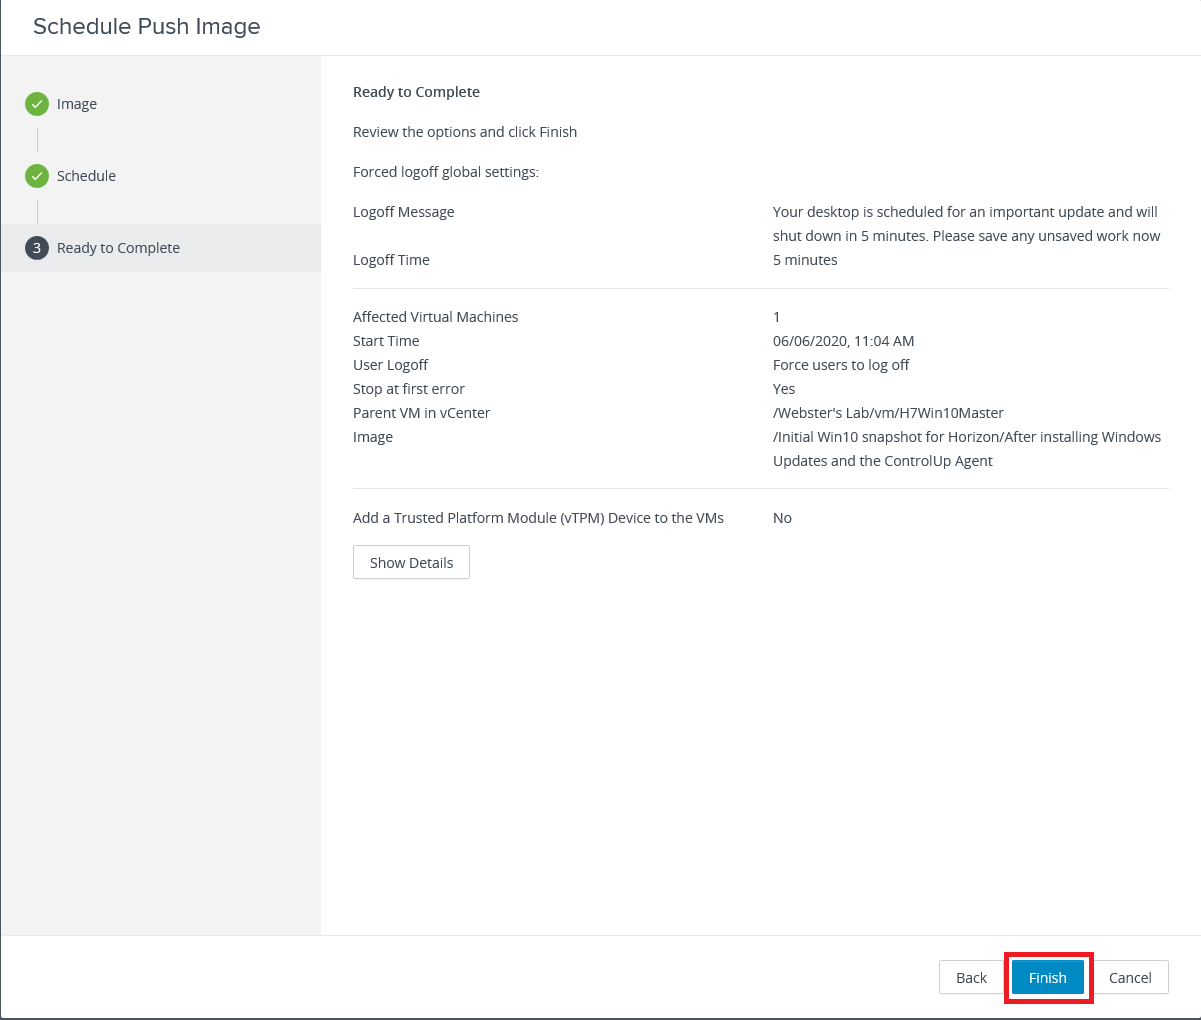
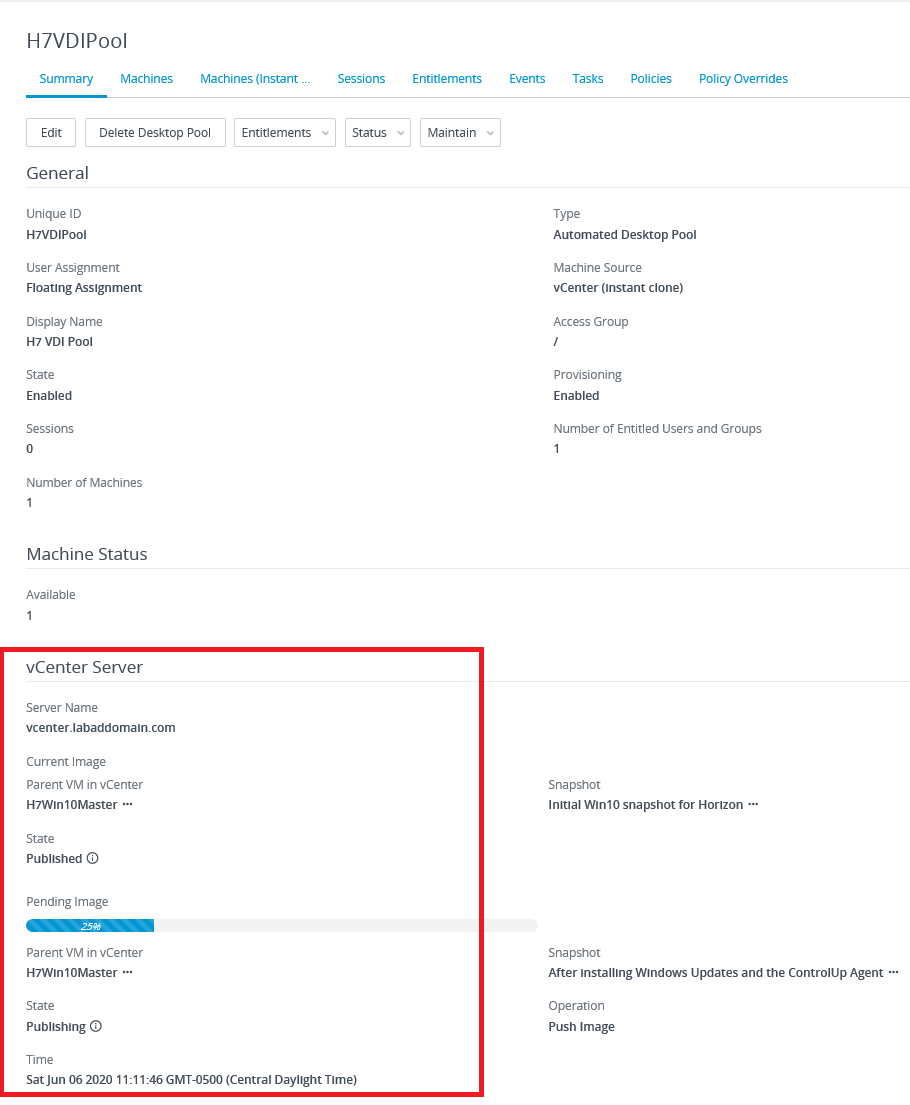
Figure 28 shows you can monitor the progress in the console.
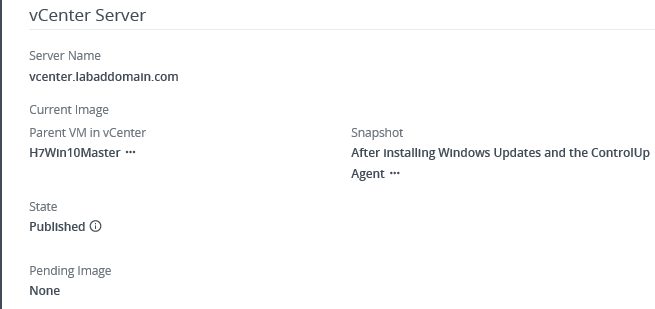
After some time (20 minutes in my lab), the process completes, and the console shows the image is now based on the new snapshot, as shown in Figure 29.
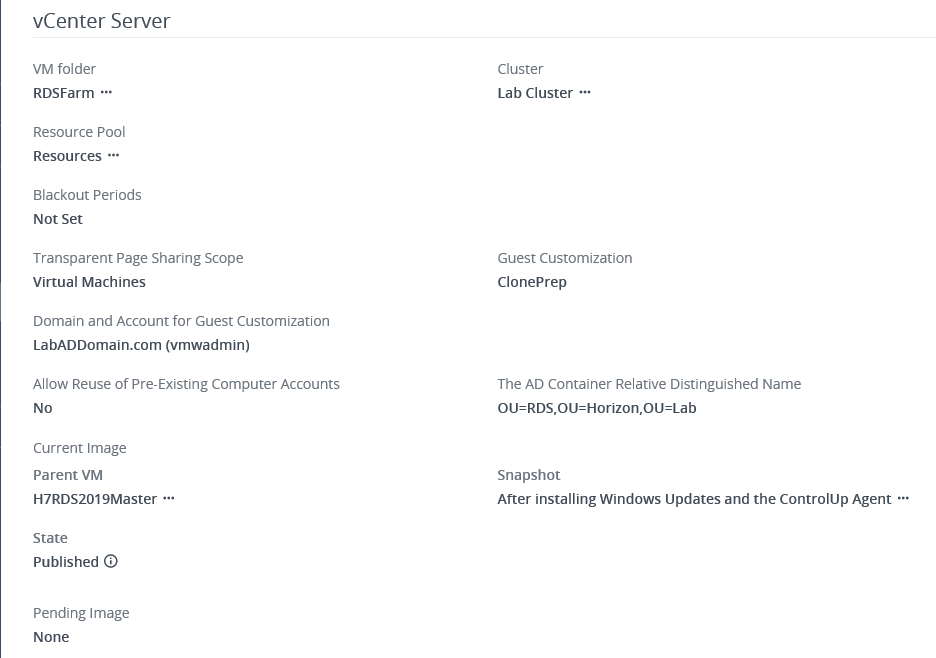
RDS Farm
In the vCenter console, shut down the Server 2019 master image VM and take a snapshot, as shown in Figure 30. Make sure to give the snapshot a useful Name.
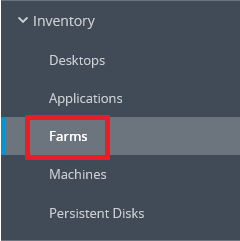
In the Connection Server console, in the left frame, under Inventory, select Farms, as shown in Figure 31.
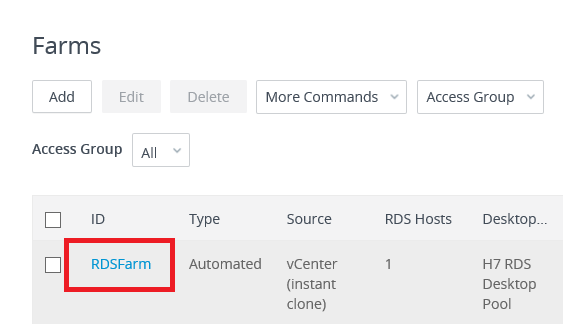
Click the Farm to update, as shown in Figure 32.
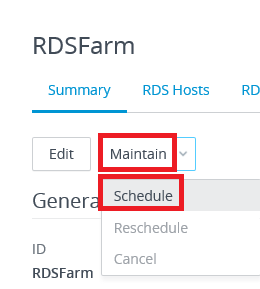
Click Maintain, Schedule, as shown in Figure 33.
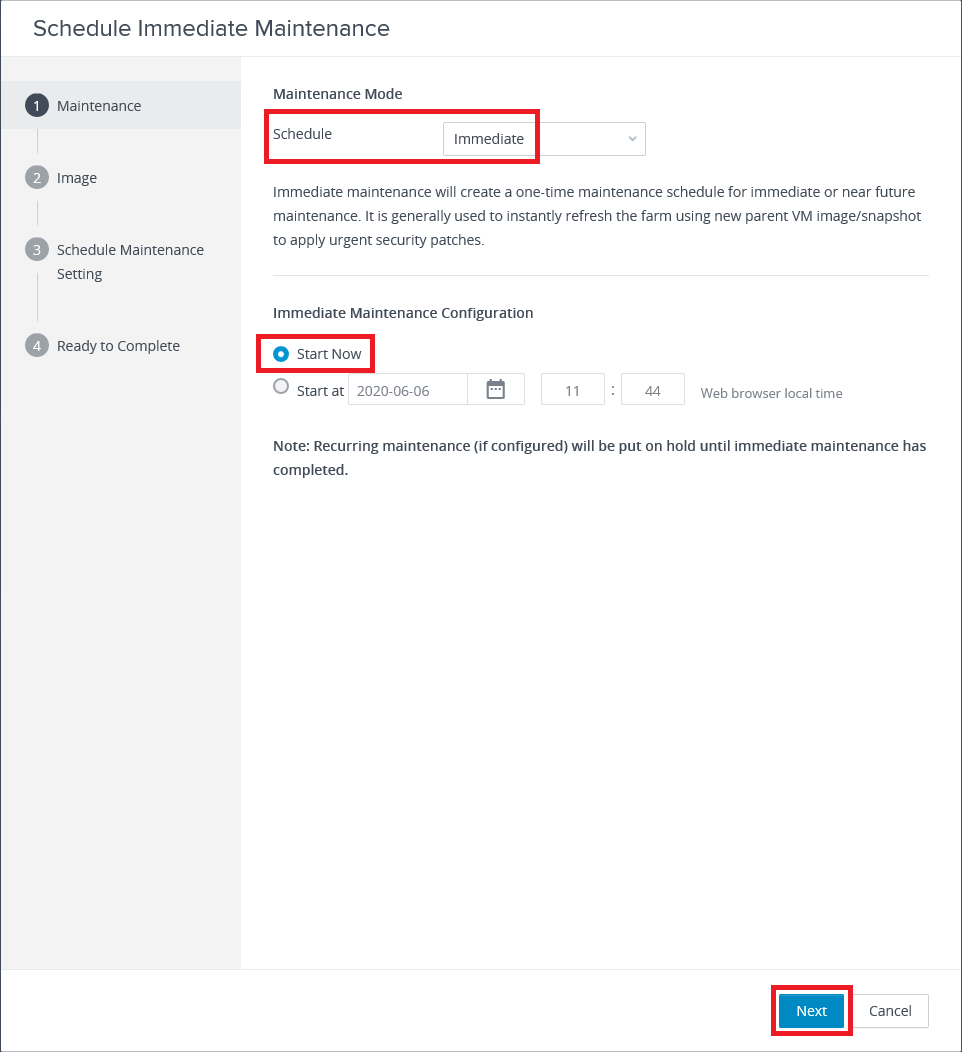
Select Immediate, select Start Now, and click Next for the desired Schedule, as shown in Figure 34.
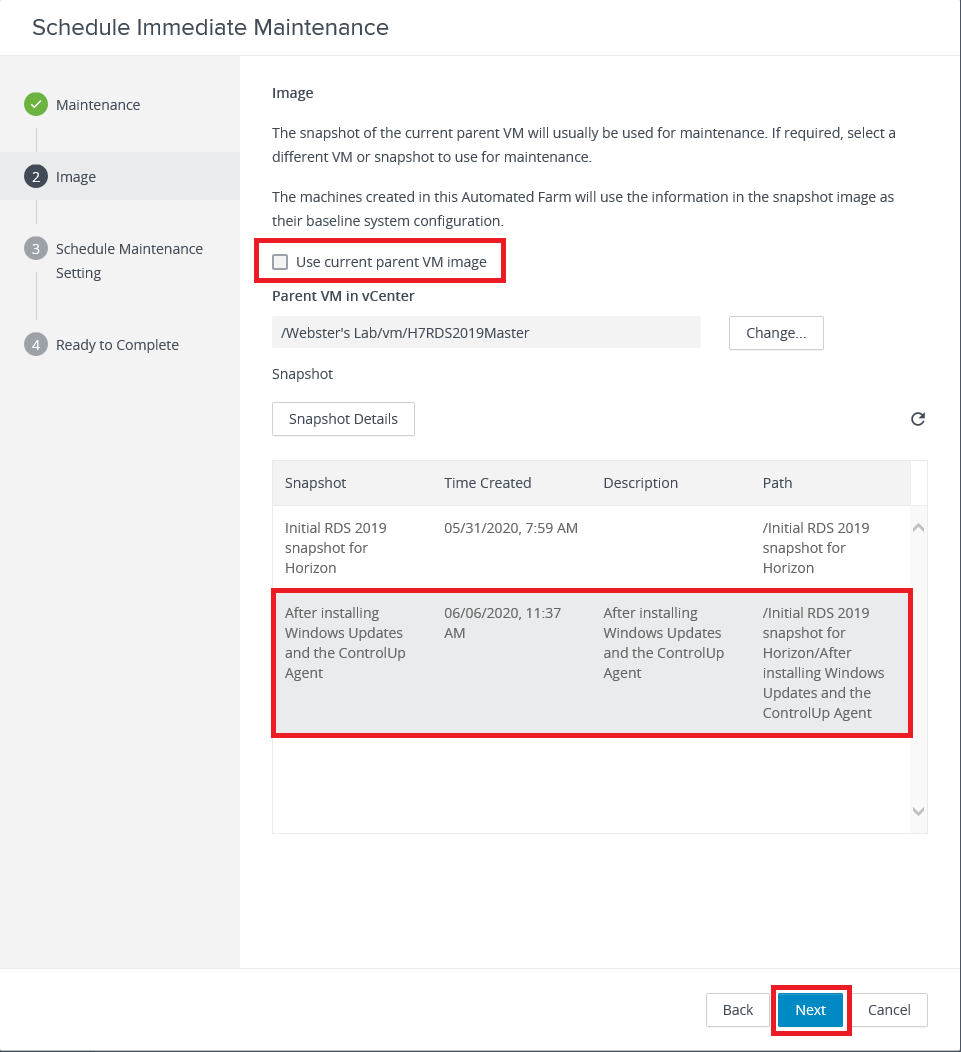
Deselect Use current parent VM image, select the desired snapshot, and click Next, as shown in Figure 35.
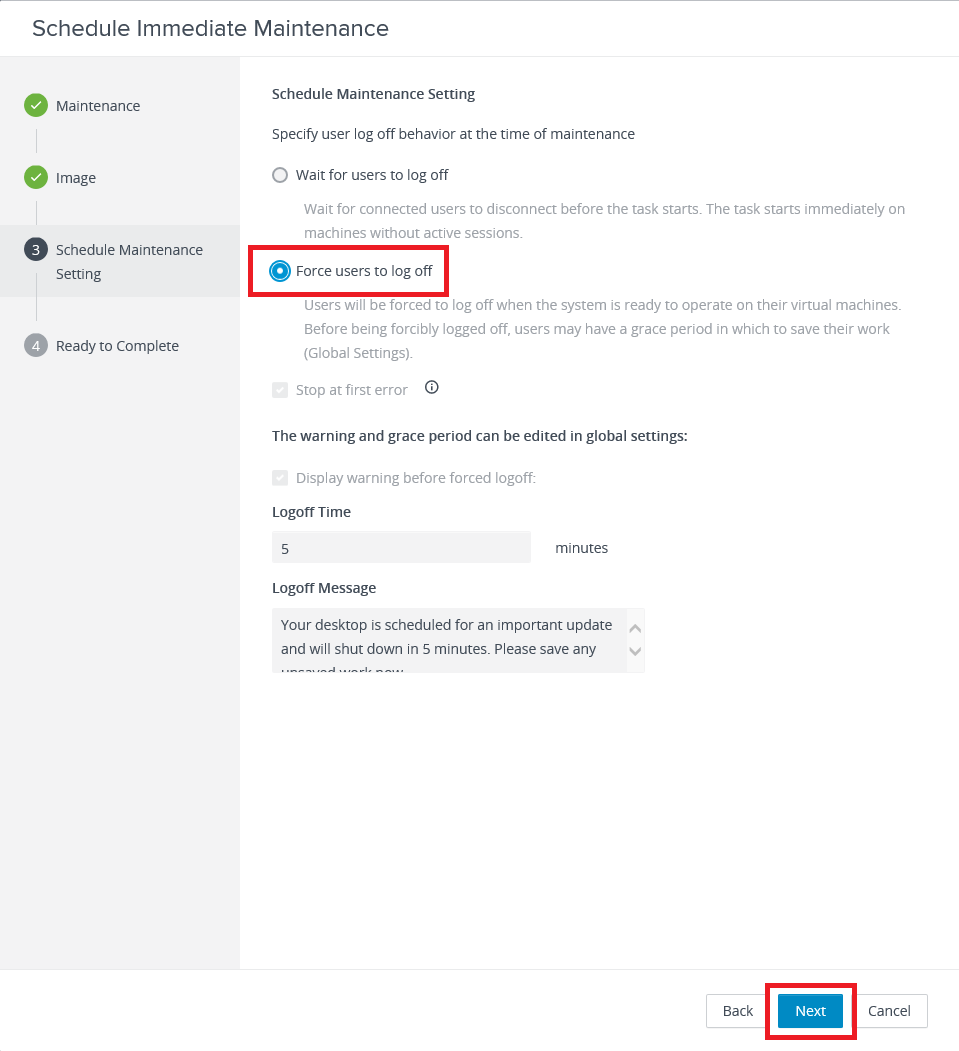
Select the desired log off option and click Next, as shown in Figure 36.
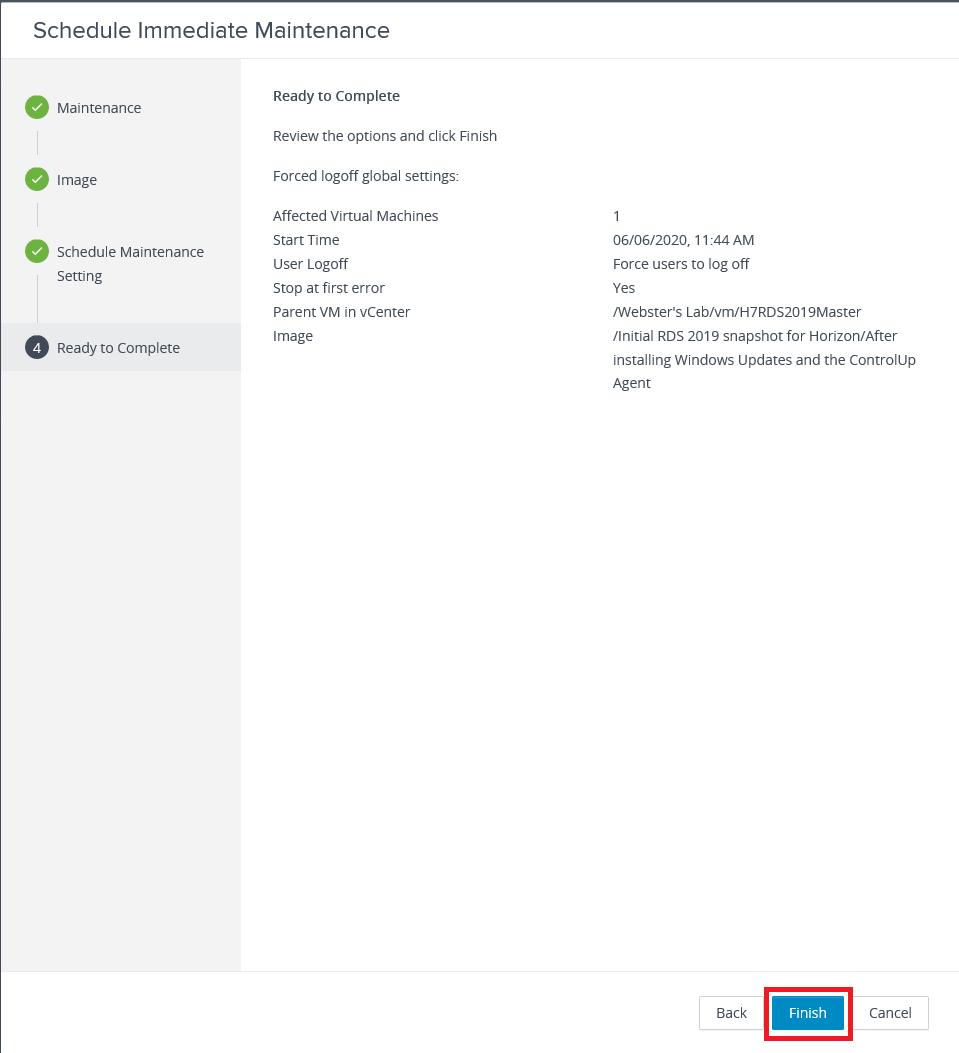
Click Finish, as shown in Figure 37.
Scroll down in the Farm Summary to monitor the progress, as shown in Figure 38.
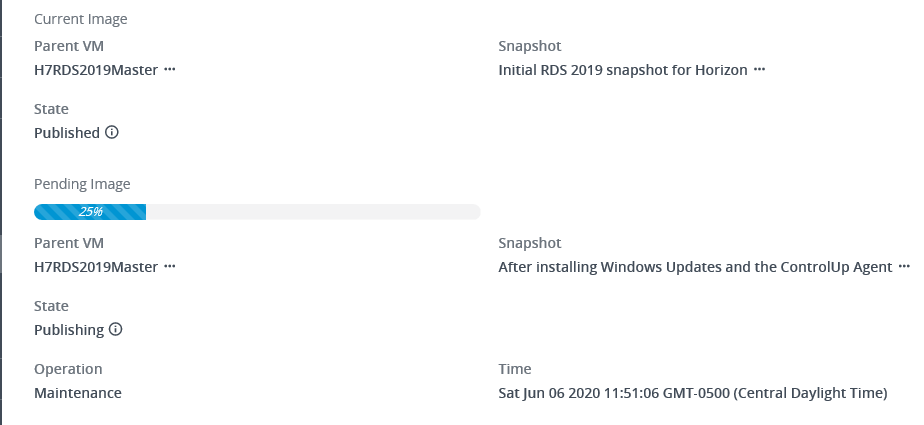
After some time (23 minutes in my lab), the process completes, and the console shows the image is now based on the new snapshot, as shown in Figure 39.
ControlUp
With the agent installed in the master images and the Instant Clone machines updated, the desktop pool machines should be added to the ControlUp console.
In the ControlUp console, click the Home tab and click Add Machines, as shown in Figure 40.
Click Search, select the updated desktop pool machines, and click Add, as shown in Figure 41.
Click OK, as shown in Figure 42.
The machines are added to the console, as shown in Figure 43.

If you want, move the machines to your Horizon folder.
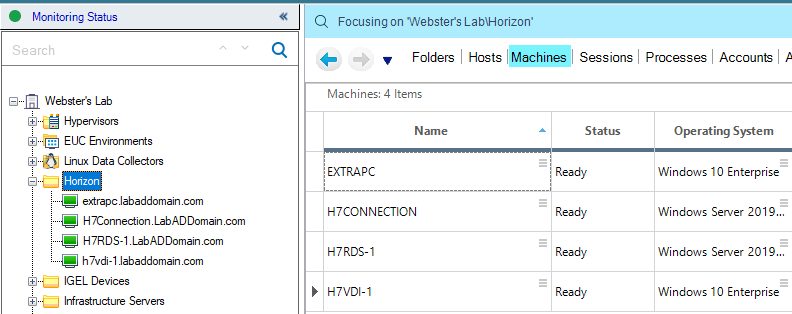
Figure 44 shows the updated machines with a Ready status, which means ControlUp is now getting detailed monitoring data.