[Updated 4-Sep-2021]
Now that we have two master images and a physical computer installed with the Horizon agent, it is time to create the Farm, three Pools, take a quick look at vCenter, and then publish Applications.
Farm and Pool Creation
Farm Creation
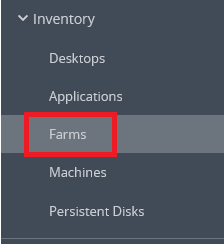
In the left frame, under Inventory, click Farms, as shown in Figure 1.
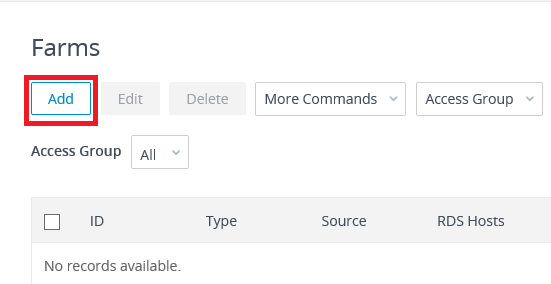
Click Add, as shown in Figure 2.
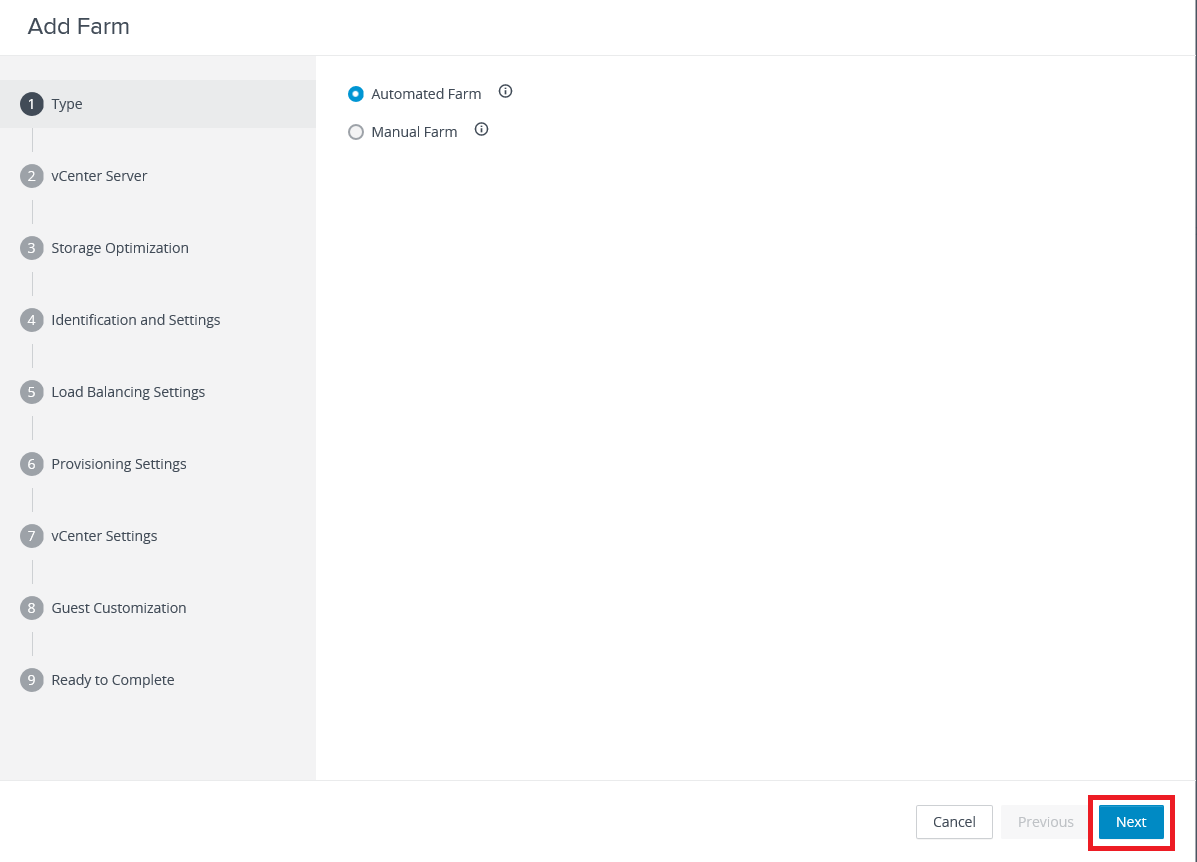
We want the Connection Server to automate the creation of RDS servers.
Click Next, as shown in Figure 3.
A Manual Farm is when you have physical servers or possibly full clone VMs, and you manually manage the Farm.
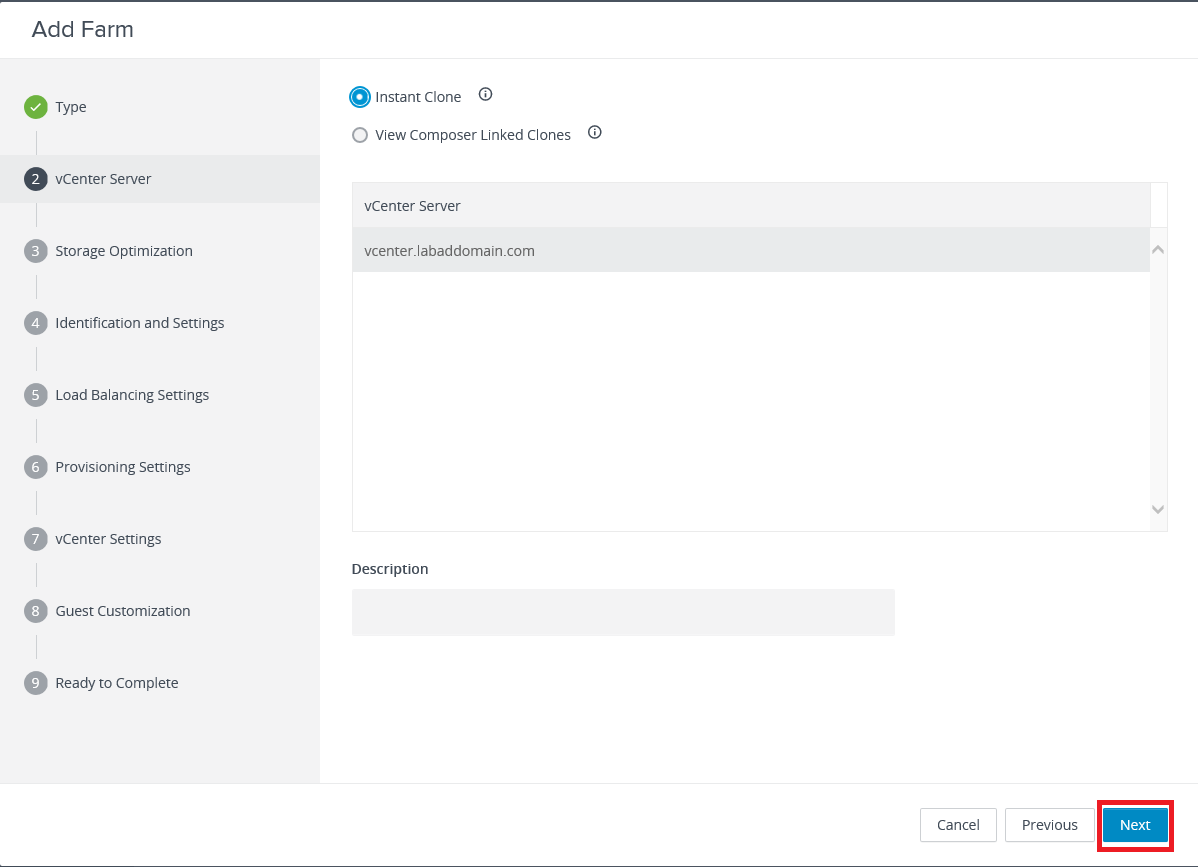
Click Next, as shown in Figure 4.
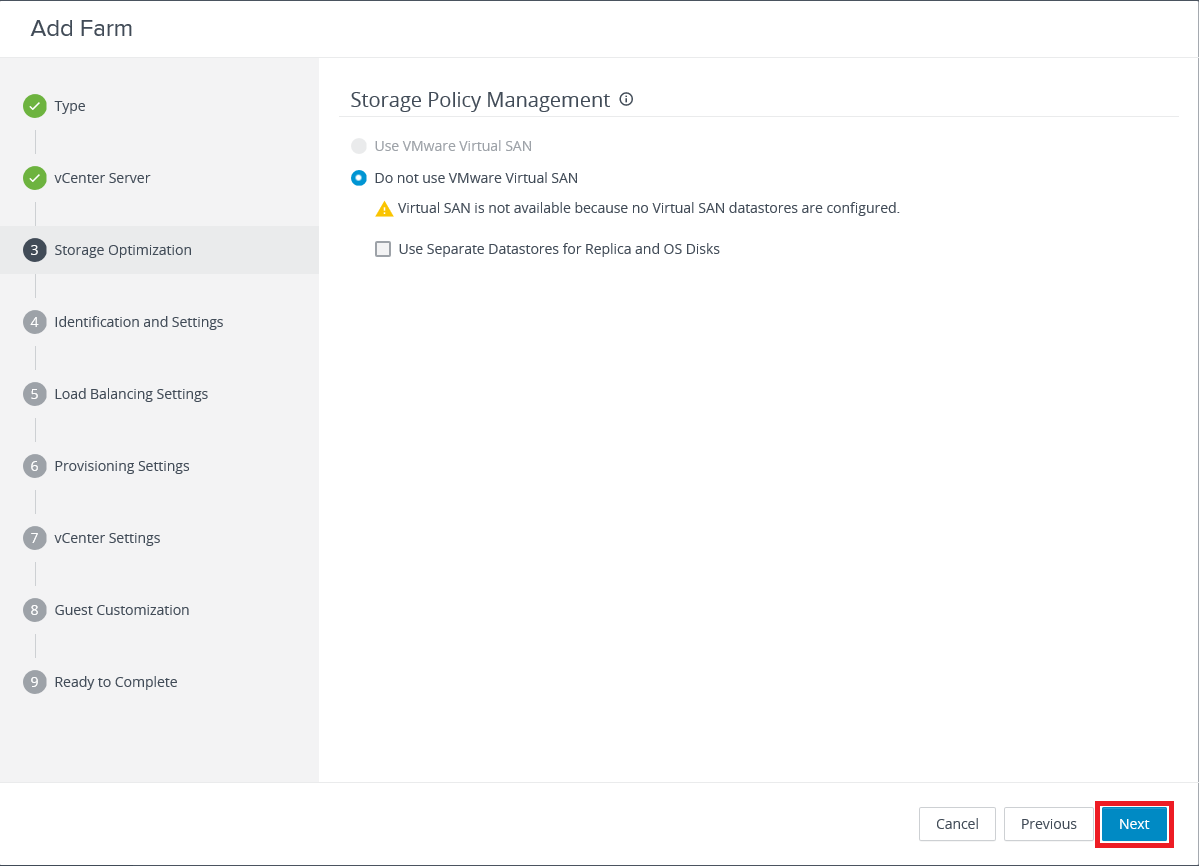
Click Next, as shown in Figure 5.
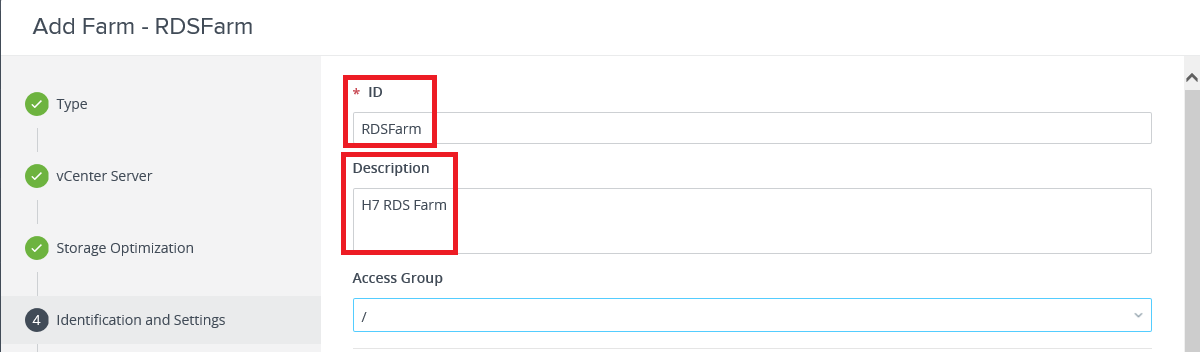
Enter an ID and an optional Description, as shown in Figure 6.
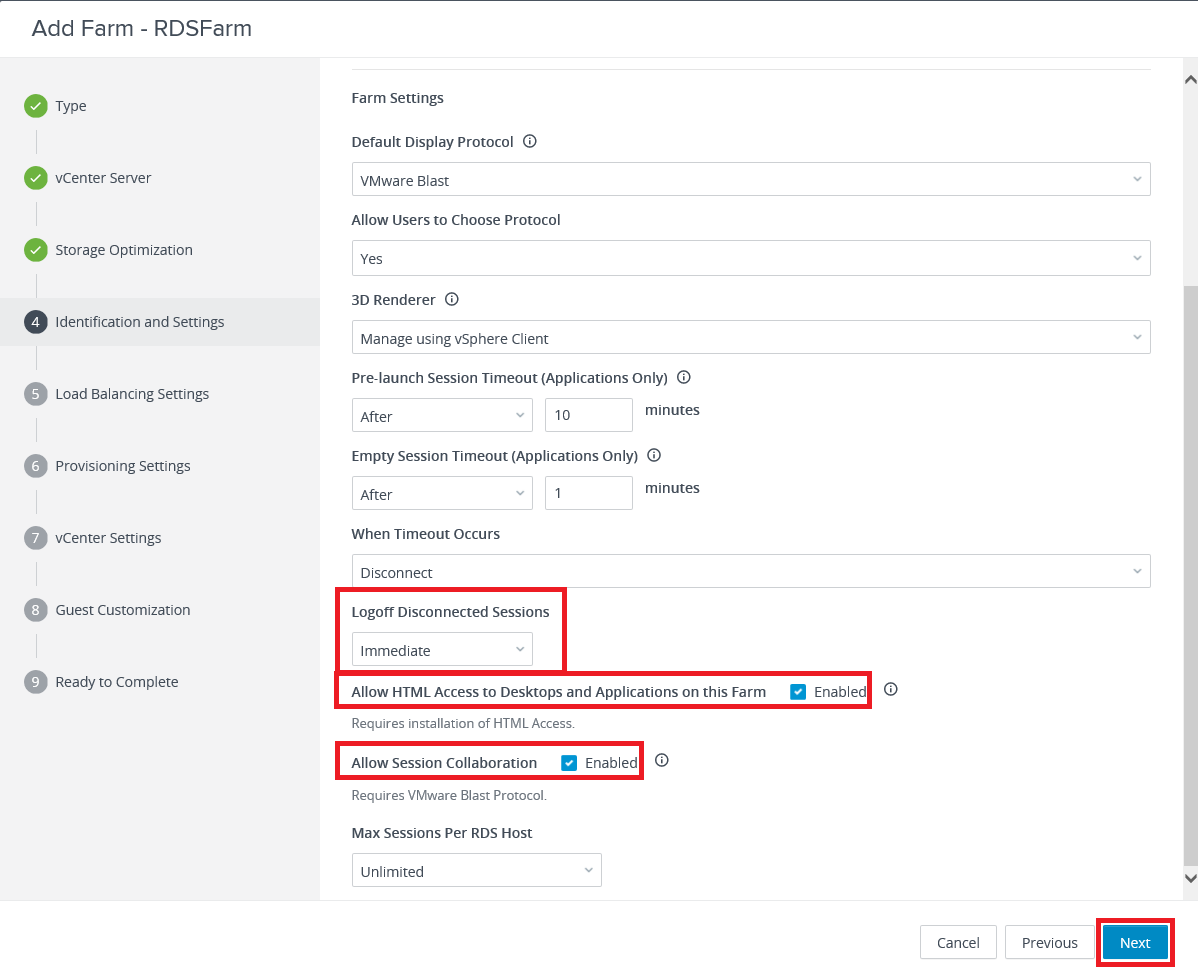
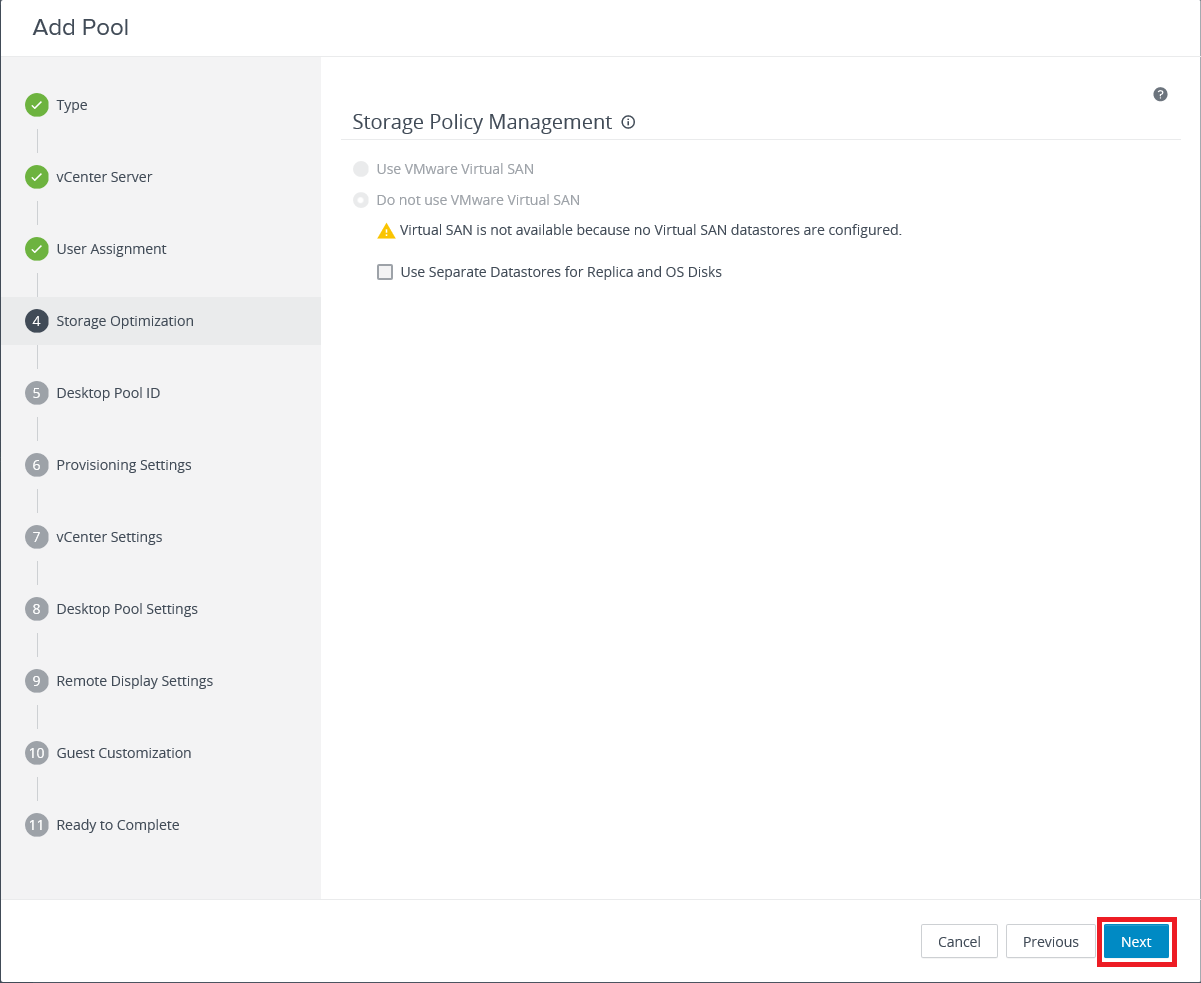
Scroll down to select an option for Logoff Disconnected Sessions, select Allow HTML Access to Desktops and Applications on this Farm and Allow Session Collaboration, and click Next, as shown in Figure 7.
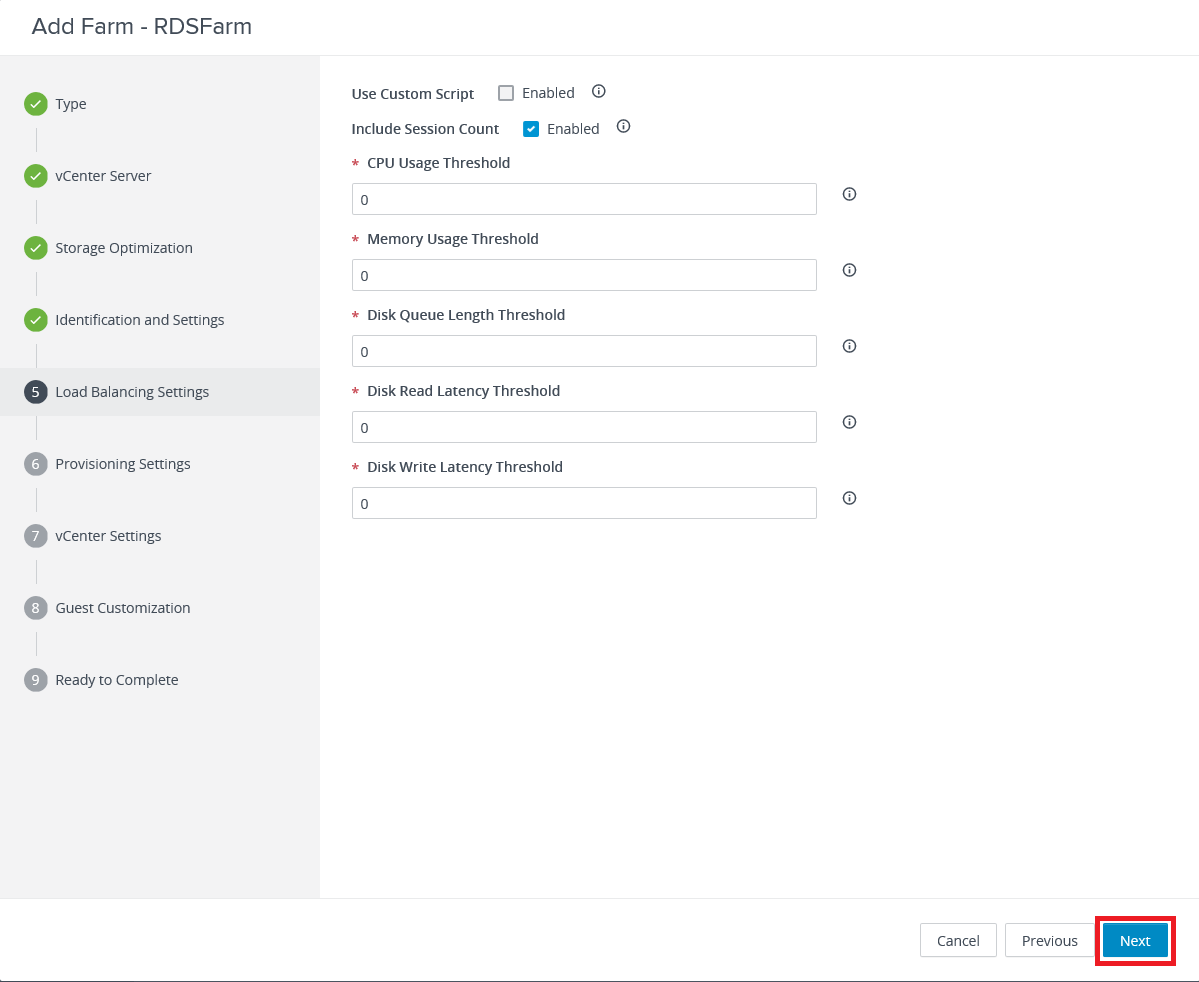
Click Next, as shown in Figure 8.
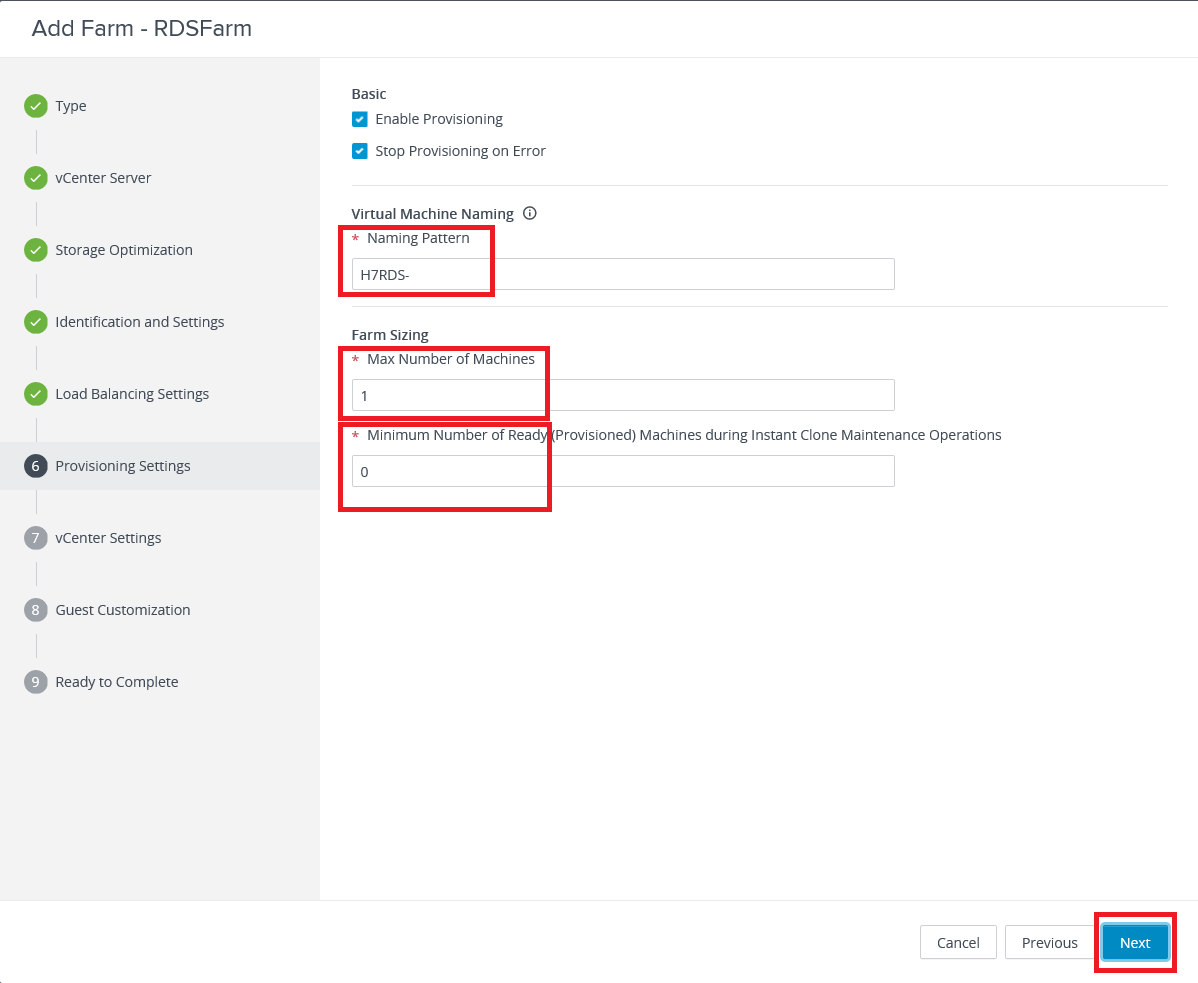
Enter a Naming Pattern for the RDS VMs created, the Max Number of Machines, the Minimum Number of Ready Machines, and click Next, as shown in Figure 9.
Information from vCenter is needed, as shown in Figure 10.
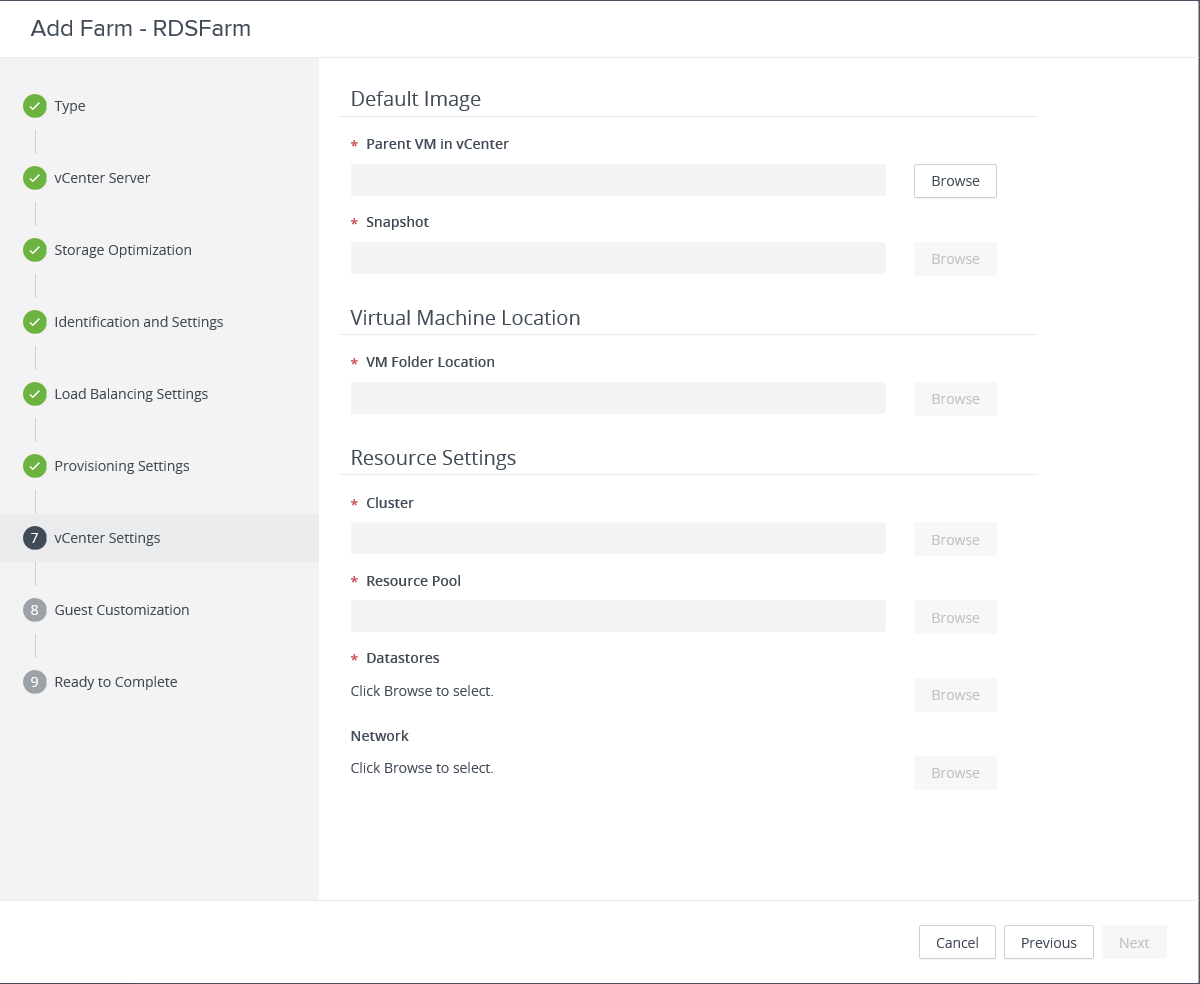
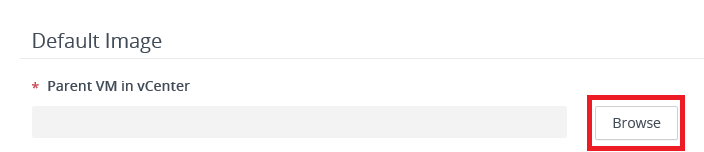
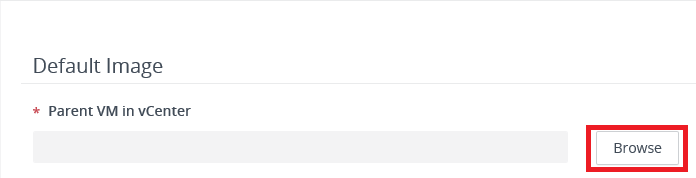
For the Parent VM in vCenter, click Browse, as shown in Figure 11.
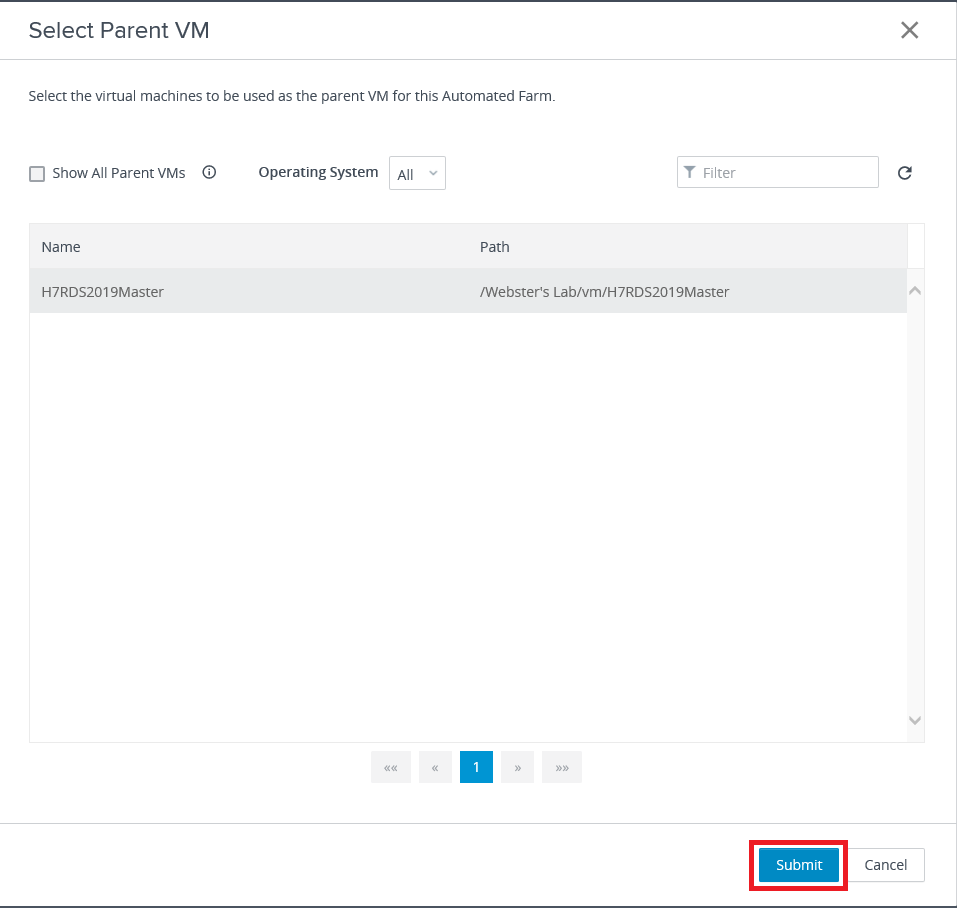
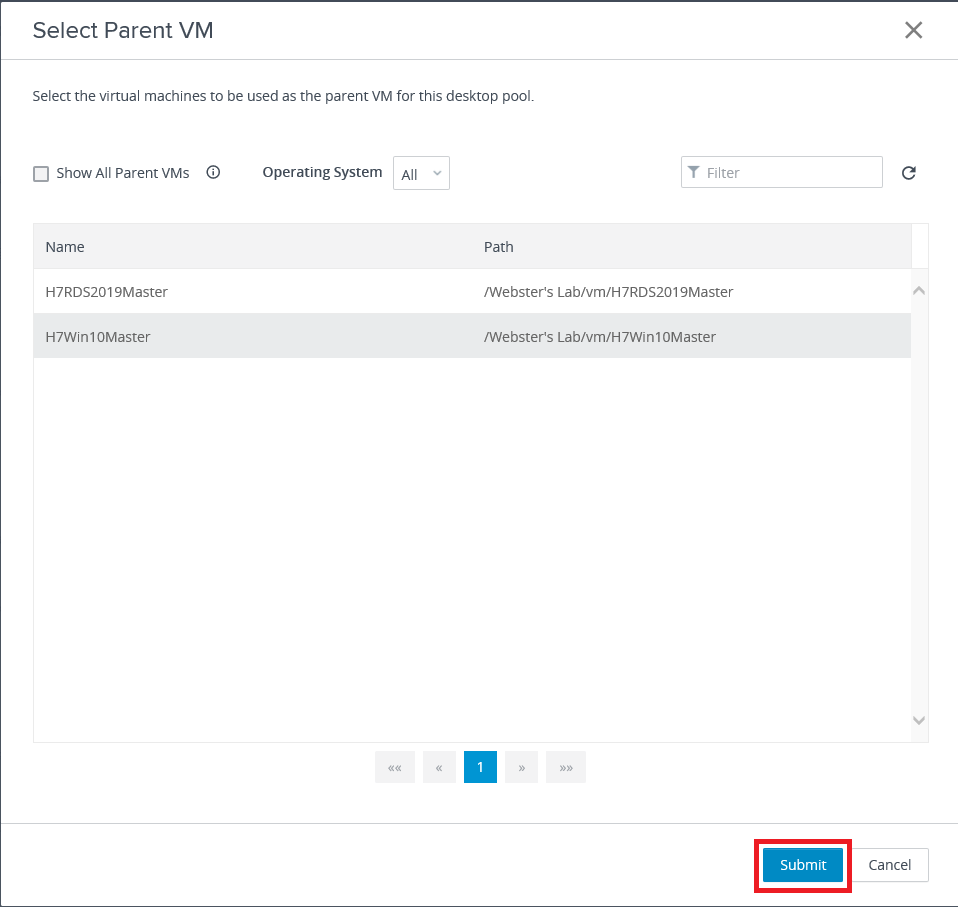
Select the Parent VM for the RDS Farm and click Submit, as shown in Figure 12.
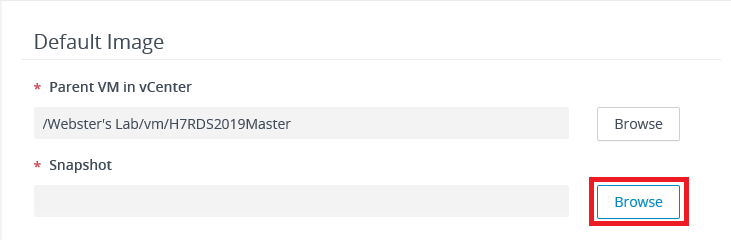
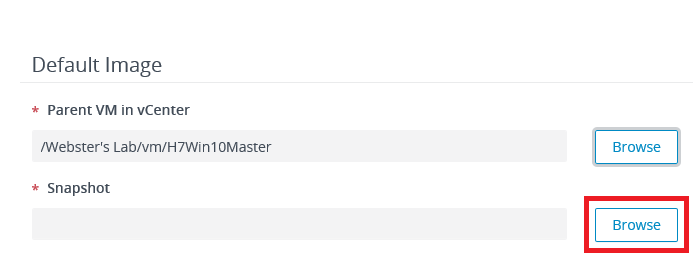
For the Snapshot, click Browse, as shown in Figure 13.
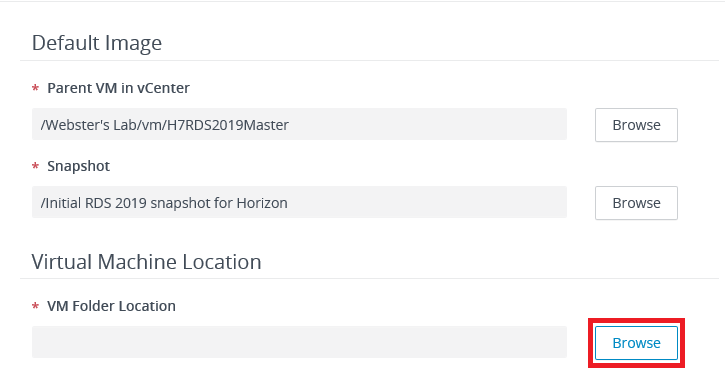
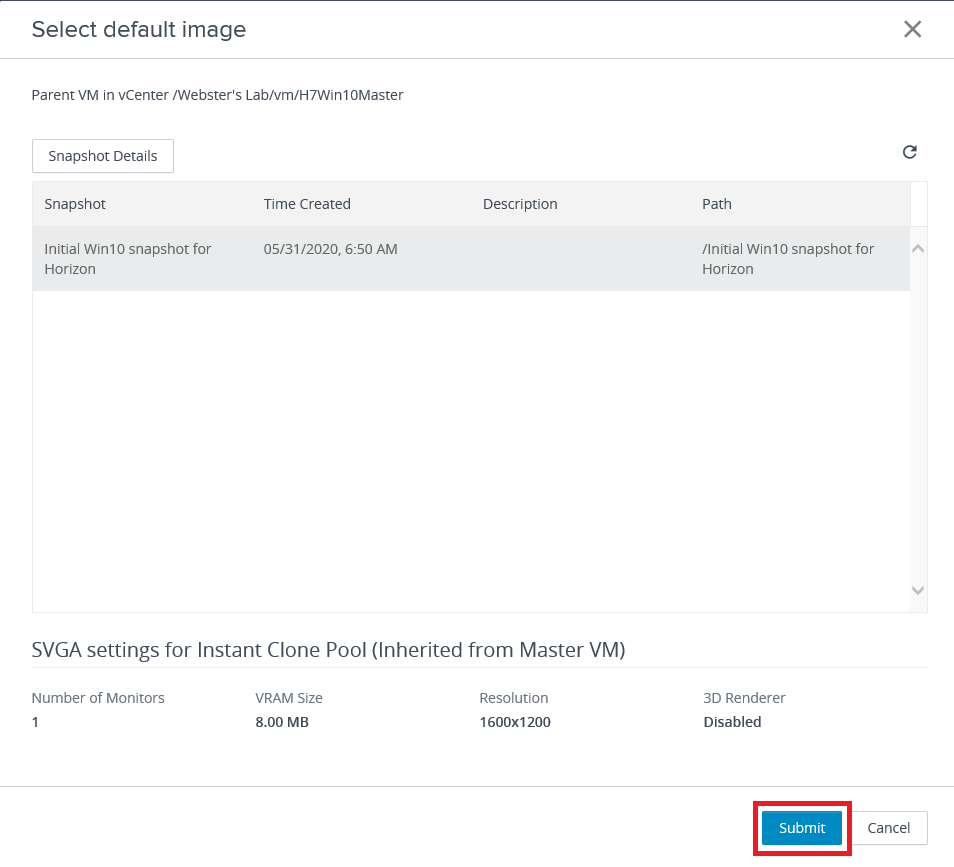
Select the snapshot and click Submit, as shown in Figure 14.

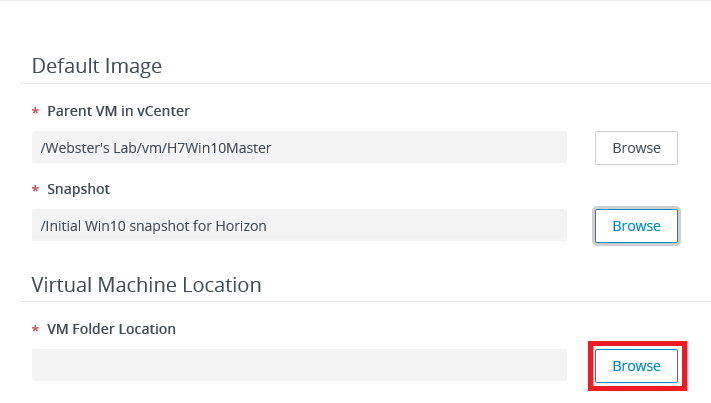
For the VM Folder Location, click Browse, as shown in Figure 15.
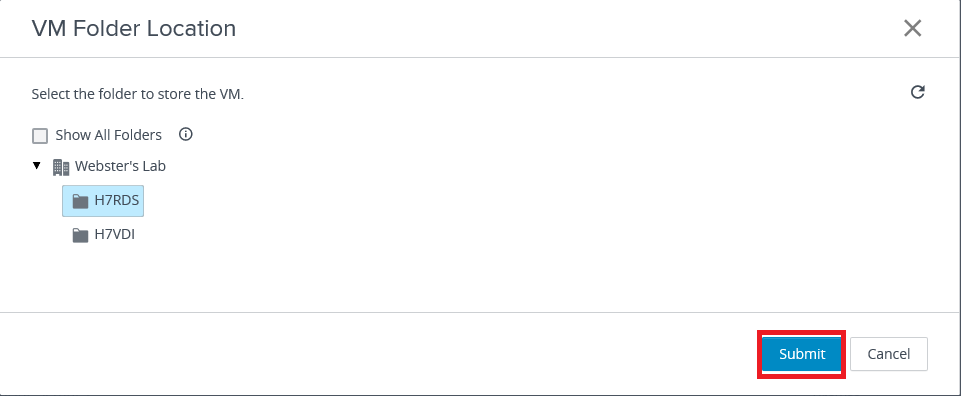
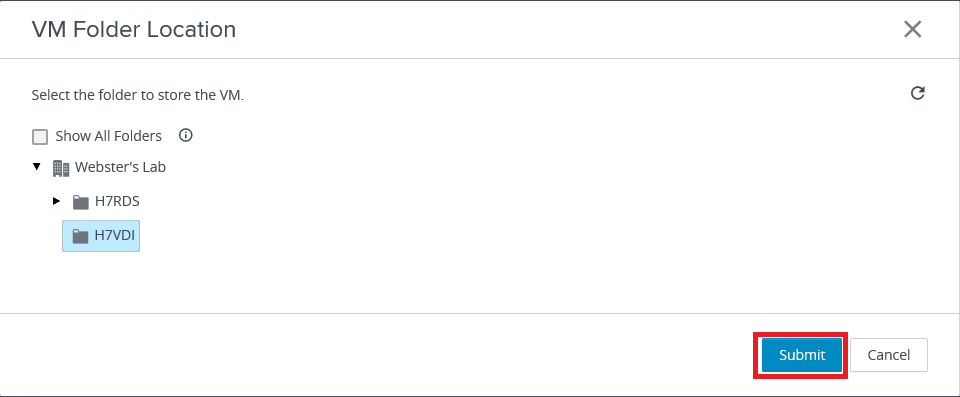
Select the folder in vCenter and click Submit, as shown in Figure 16.
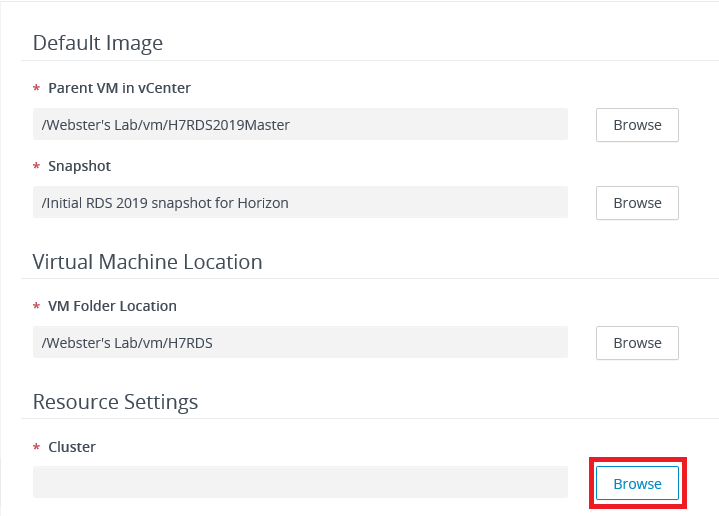
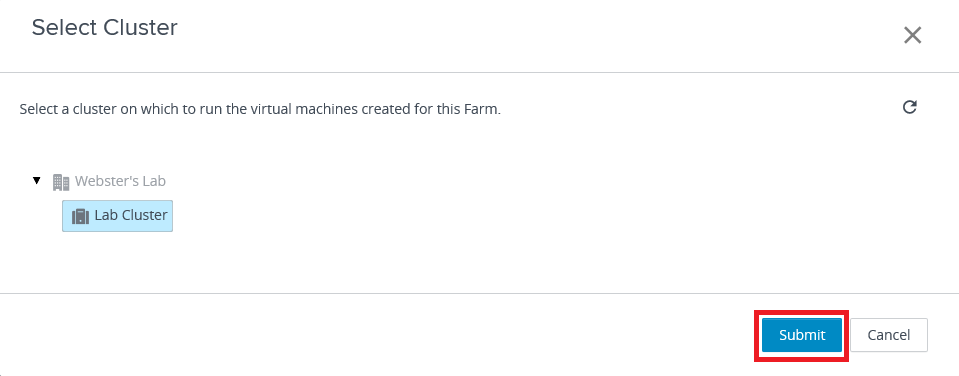
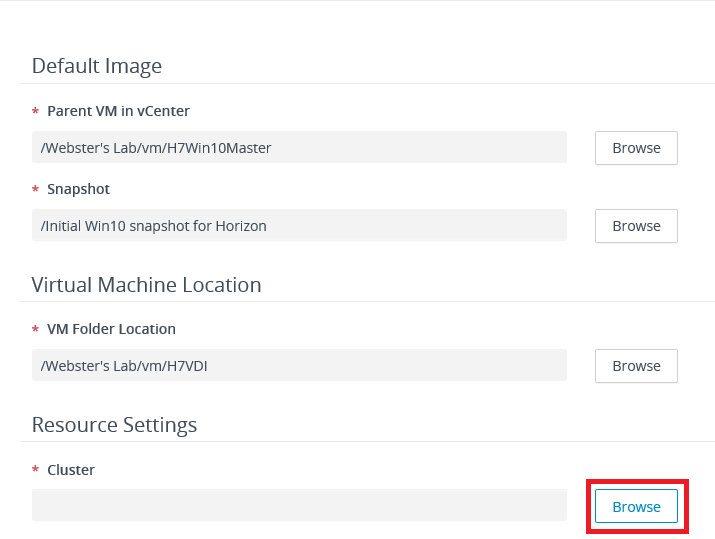
To select a Cluster, click Browse, as shown in Figure 17.
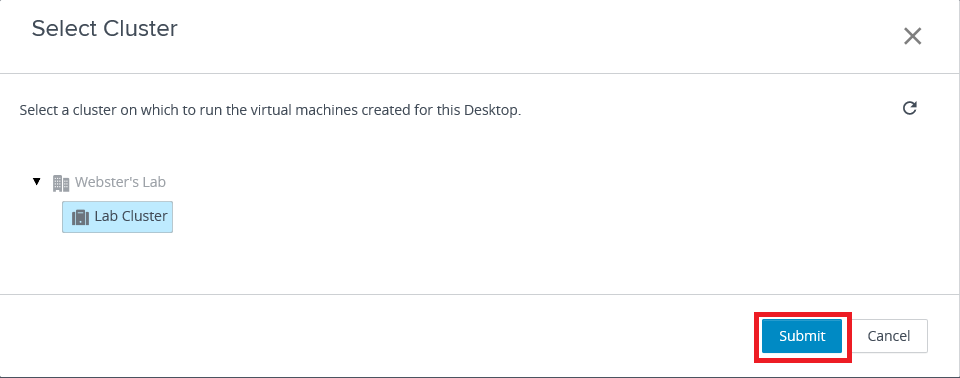
Select the Cluster and click Submit, as shown in Figure 18.
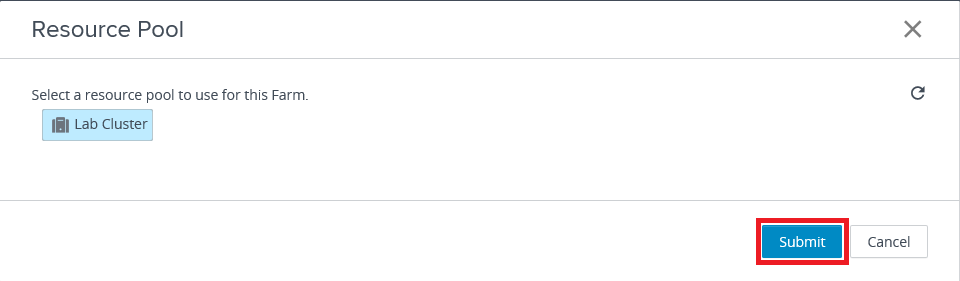
For the Resource Pool, click Browse, as shown in Figure 19.

Select the Resource Pool and click Submit, as shown in Figure 20.
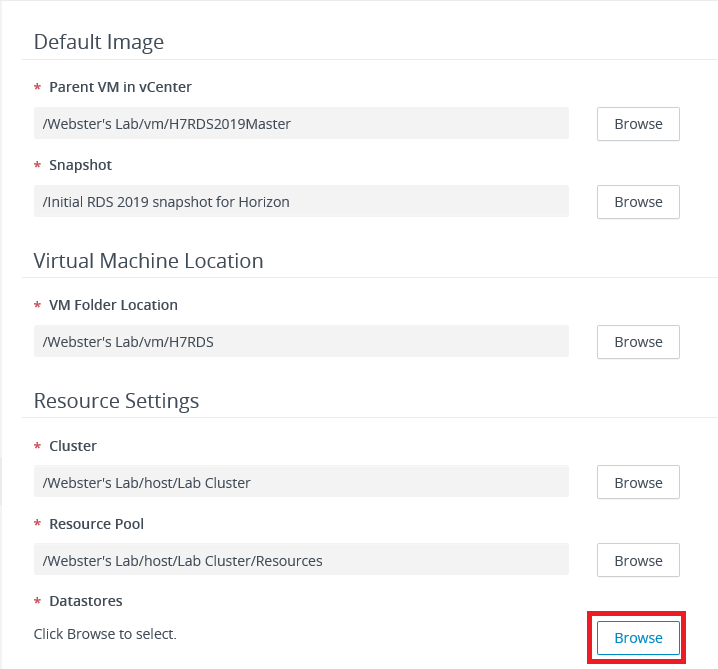
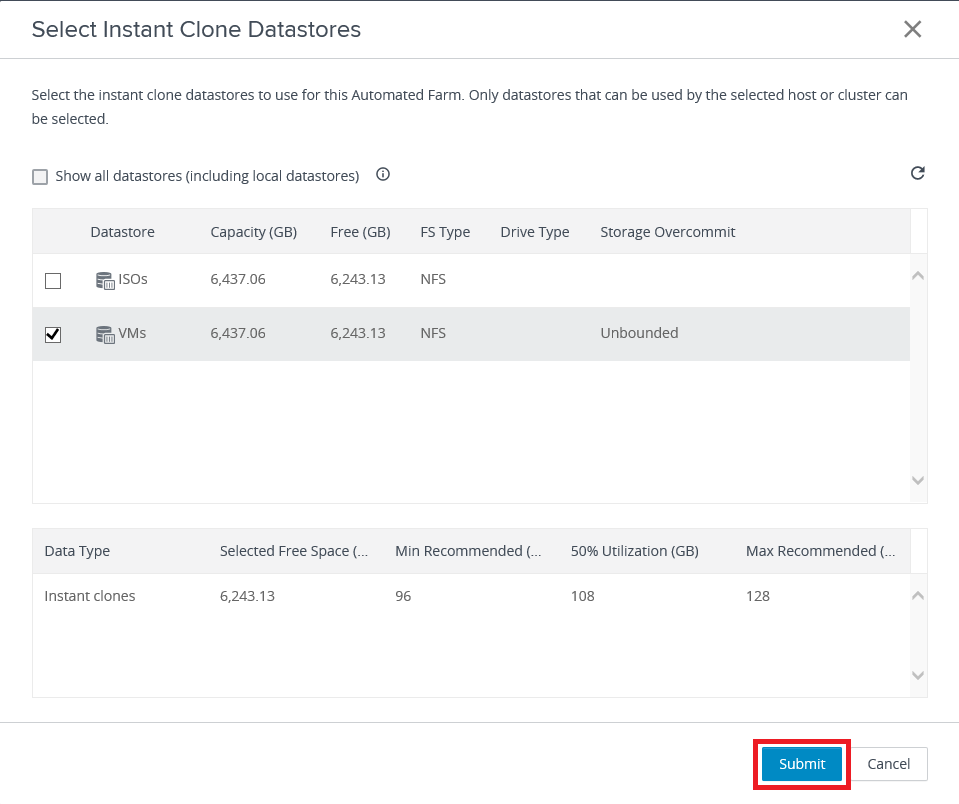
For the Datastores, click Browse, as shown in Figure 21.
Select the Datastore(s) and click Submit, as shown in Figure 22.
By default, the Network used by the Parent VM selected in Figure 12 is used.
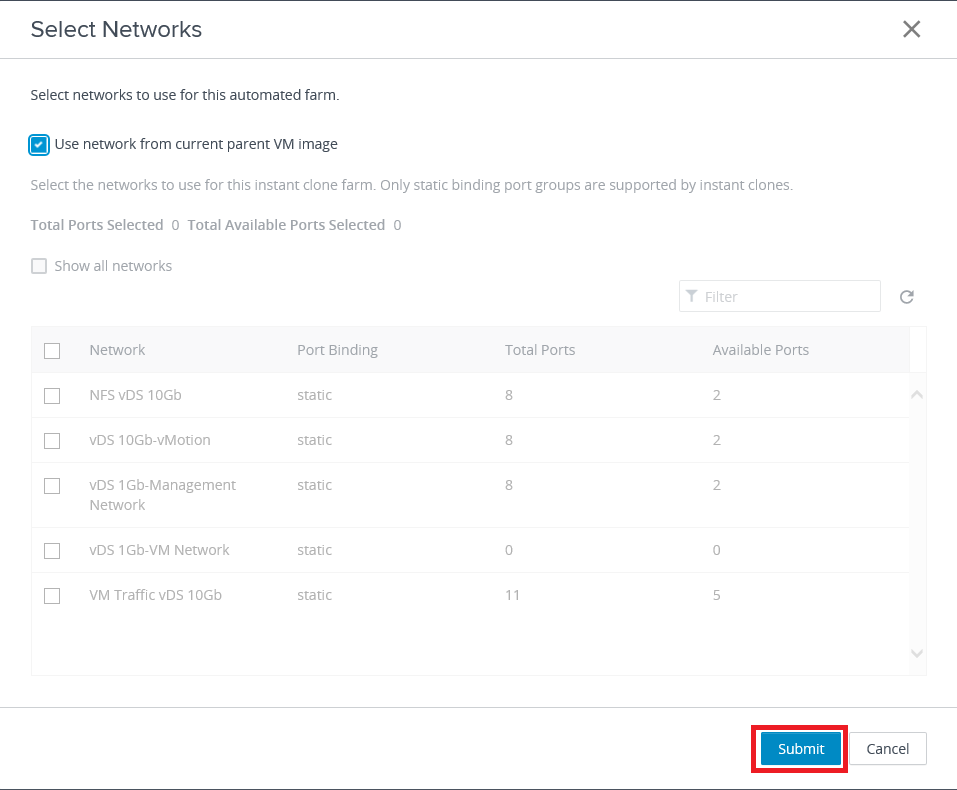
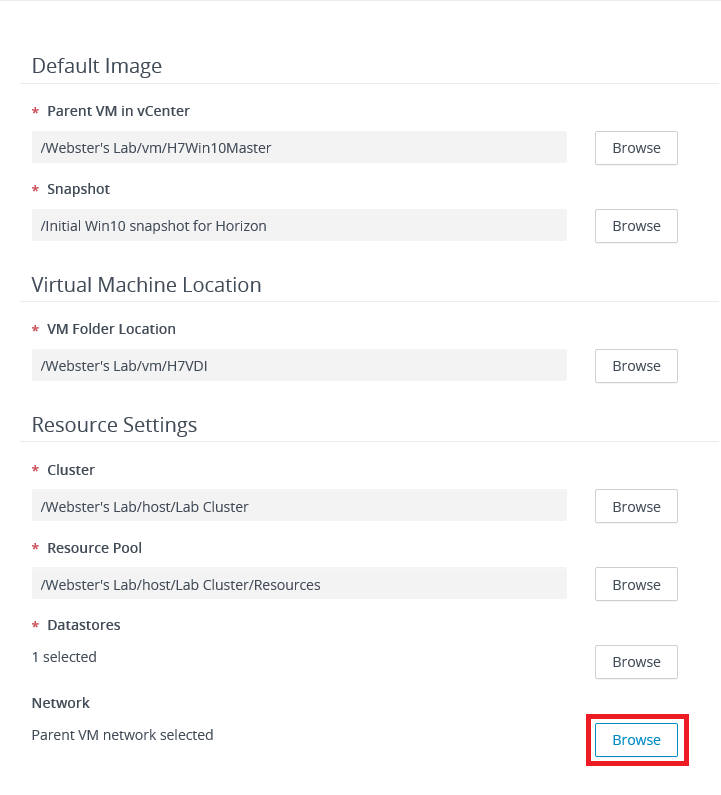
For the Network, click Browse, as shown in Figure 23.
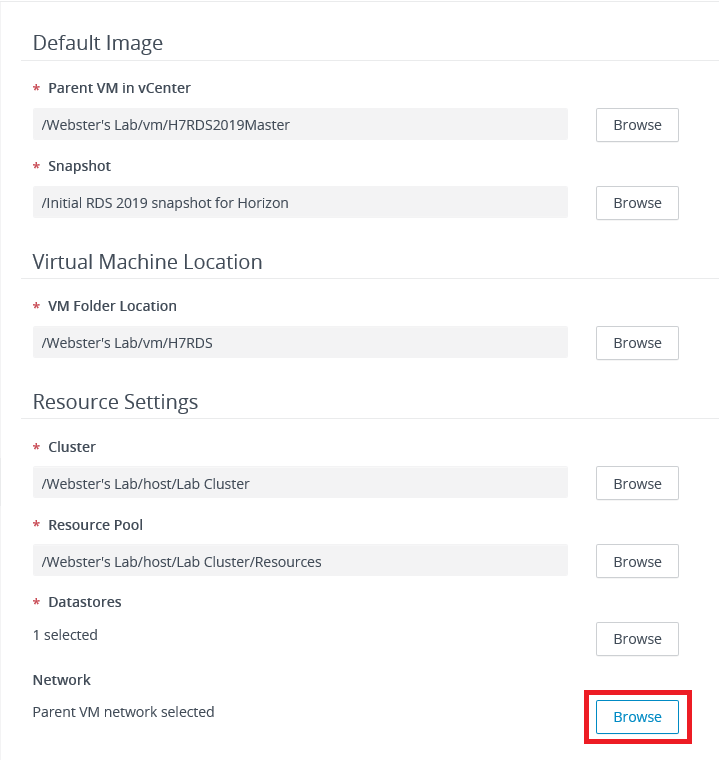
Select the Network option and click Submit, as shown in Figure 24.
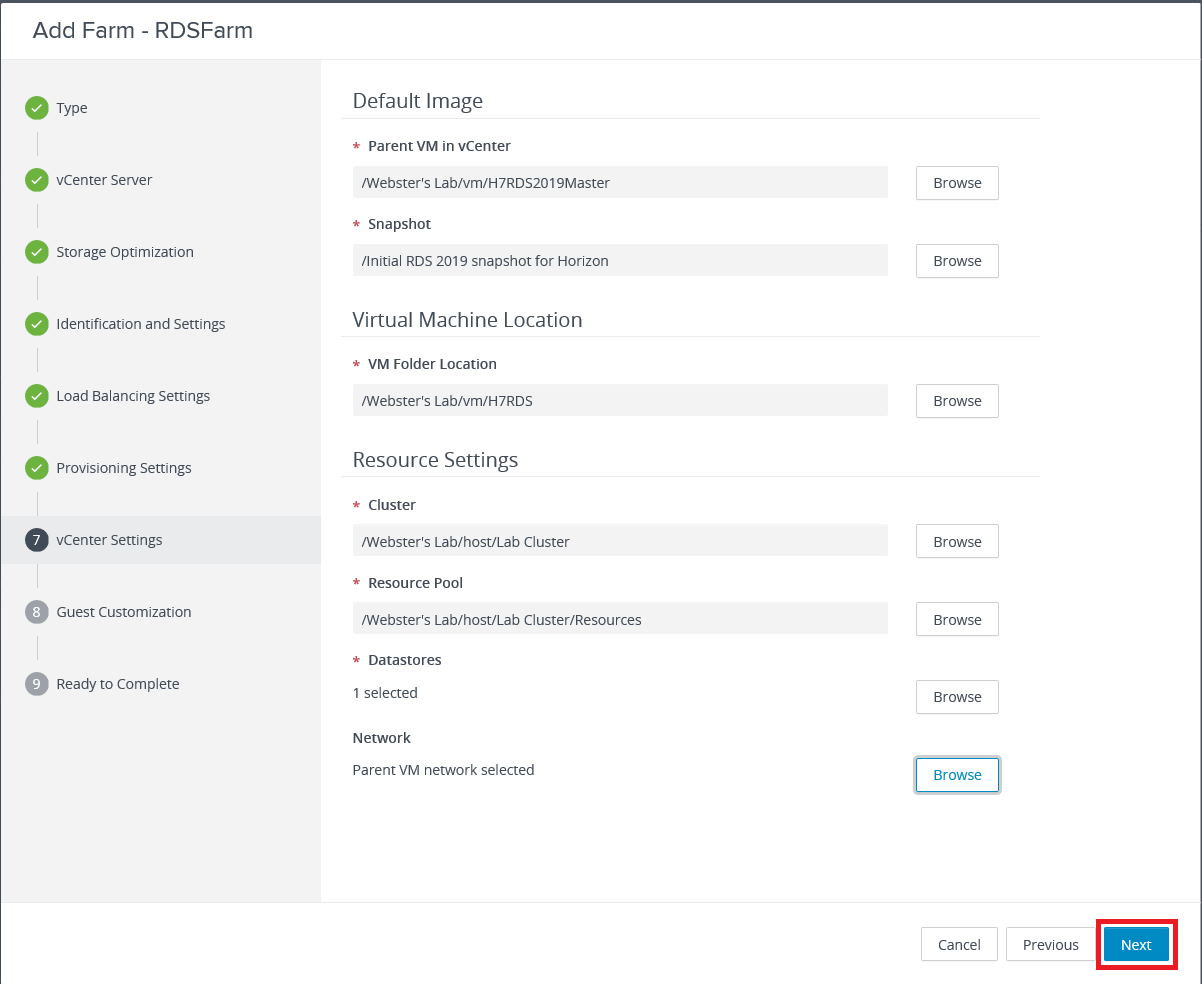
Click Next, as shown in Figure 25.
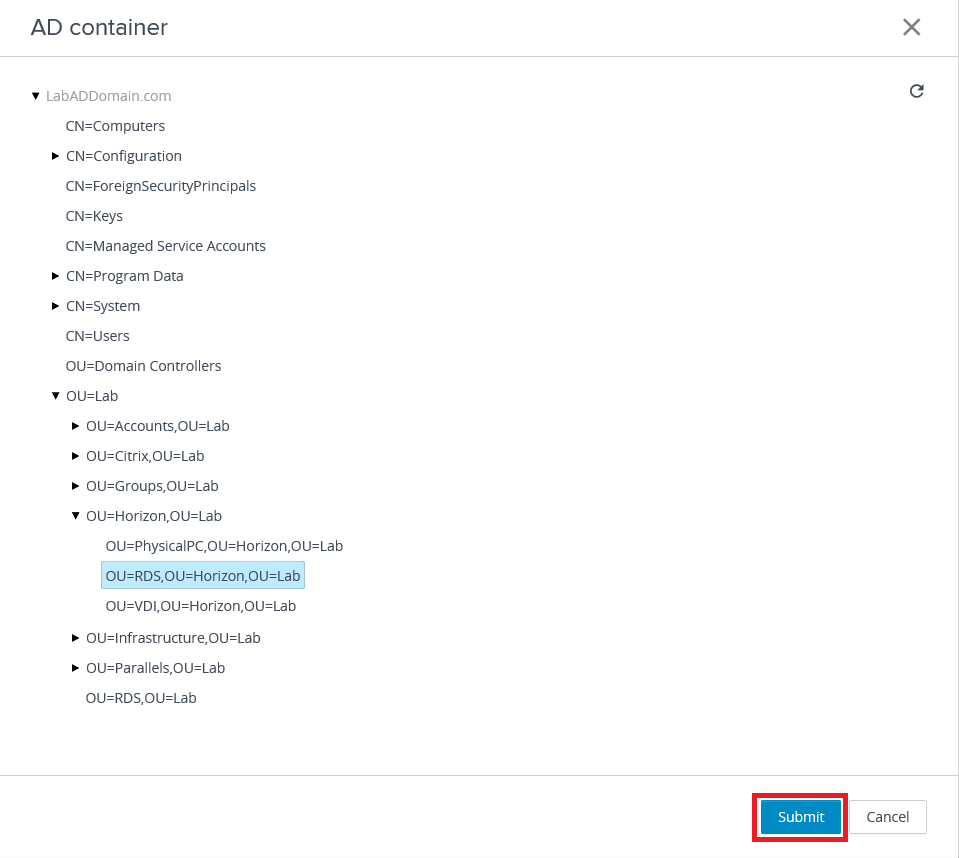
To select a location in Active Directory (AD) to place the created RDS VMs, click Browse, as shown in Figure 26.
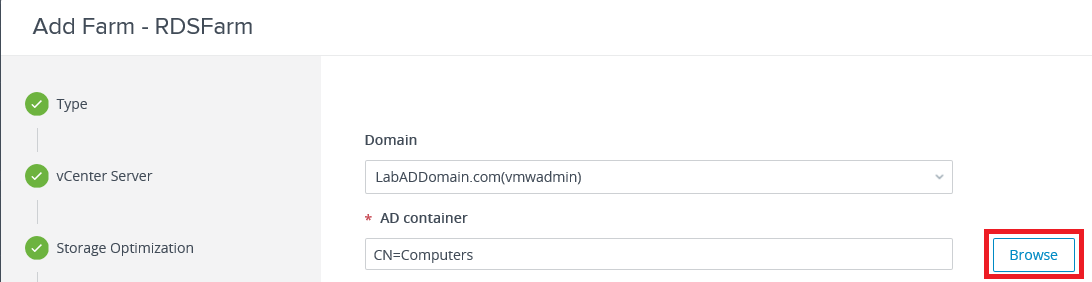
Select the OU and click Submit, as shown in Figure 27.
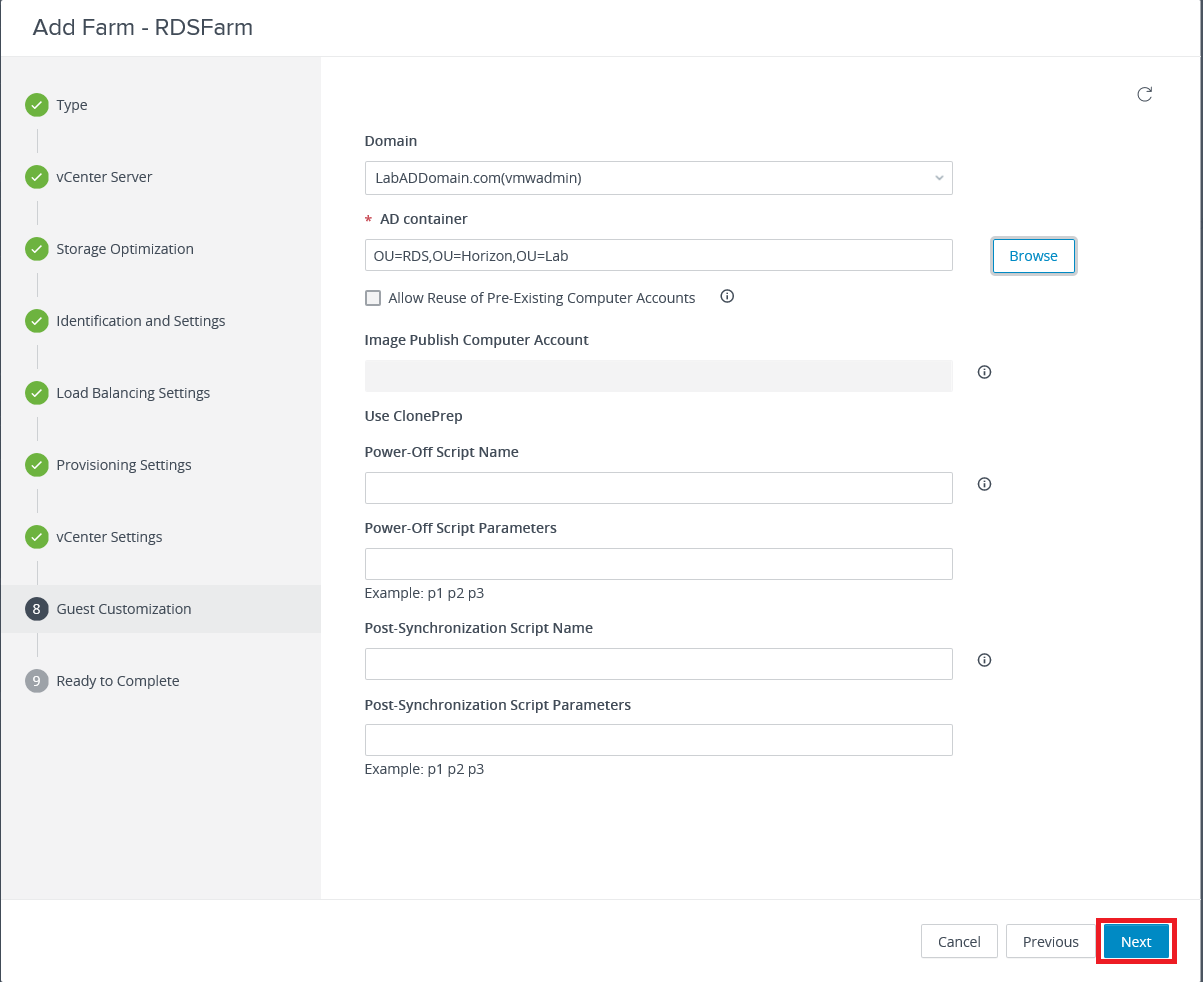
Click Next, as shown in Figure 28.
Click Submit, as shown in Figure 29, to finish adding the RDS Farm.
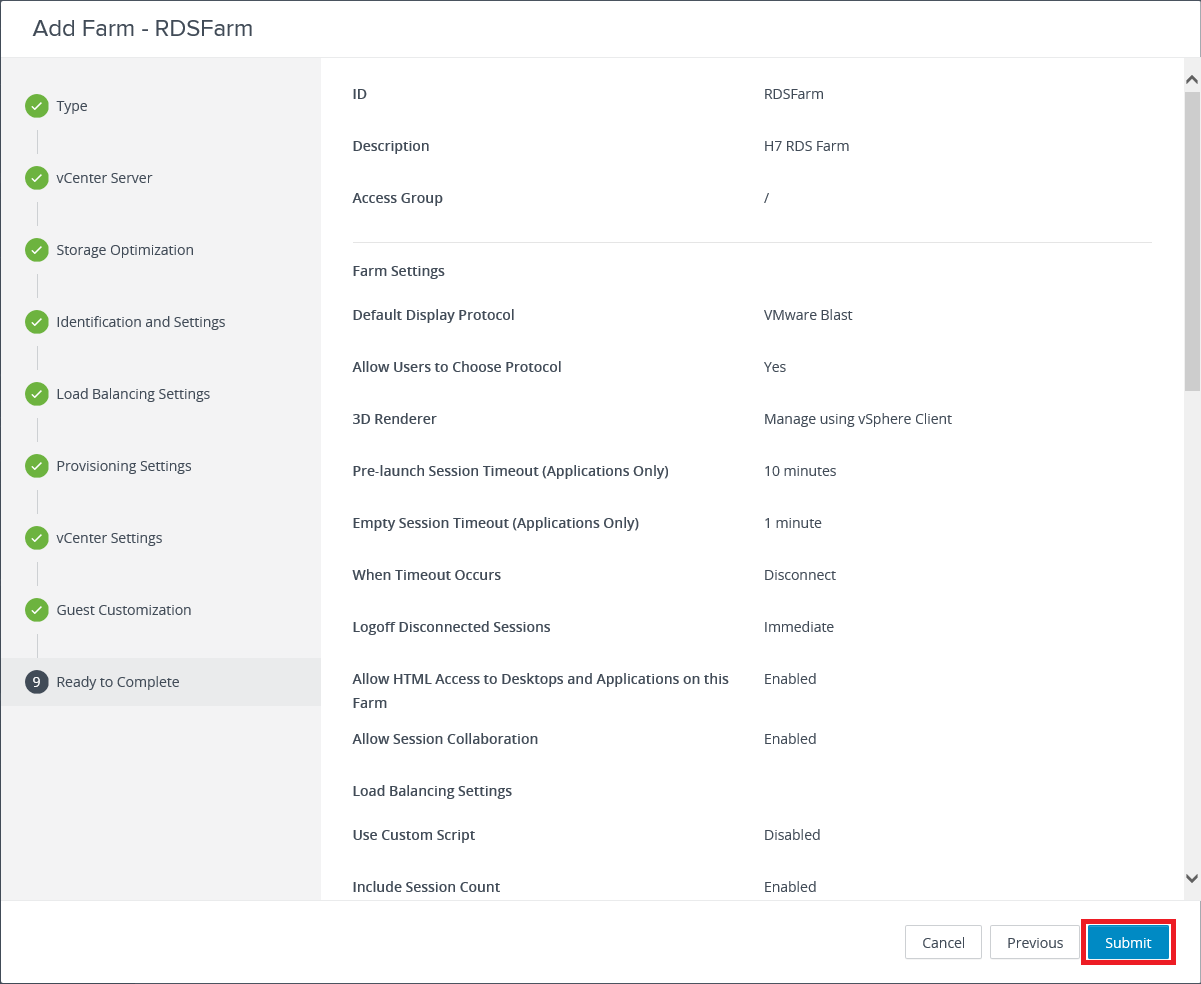
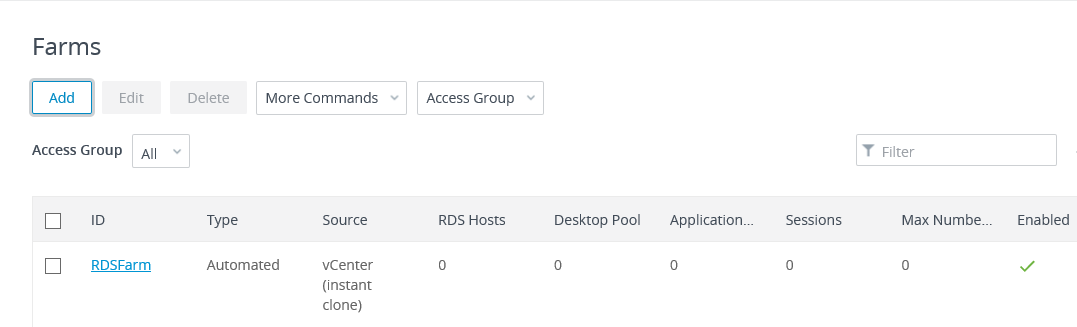
Figure 30 shows the RDS Farm is added.
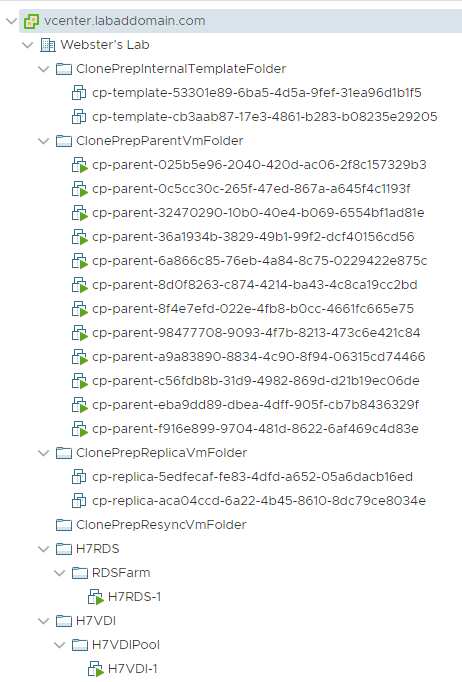
After a good bit of time (20 minutes for my lab), in vCenter, as shown in Figure 31, you can see the folders, the Instant Clone stuff, and the RDS VM created.
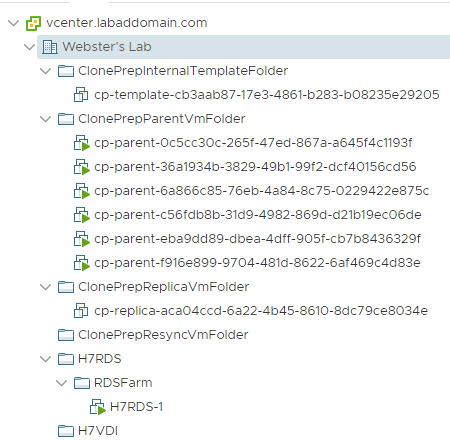
Figure 32 shows all but one task associated with adding the Farm.
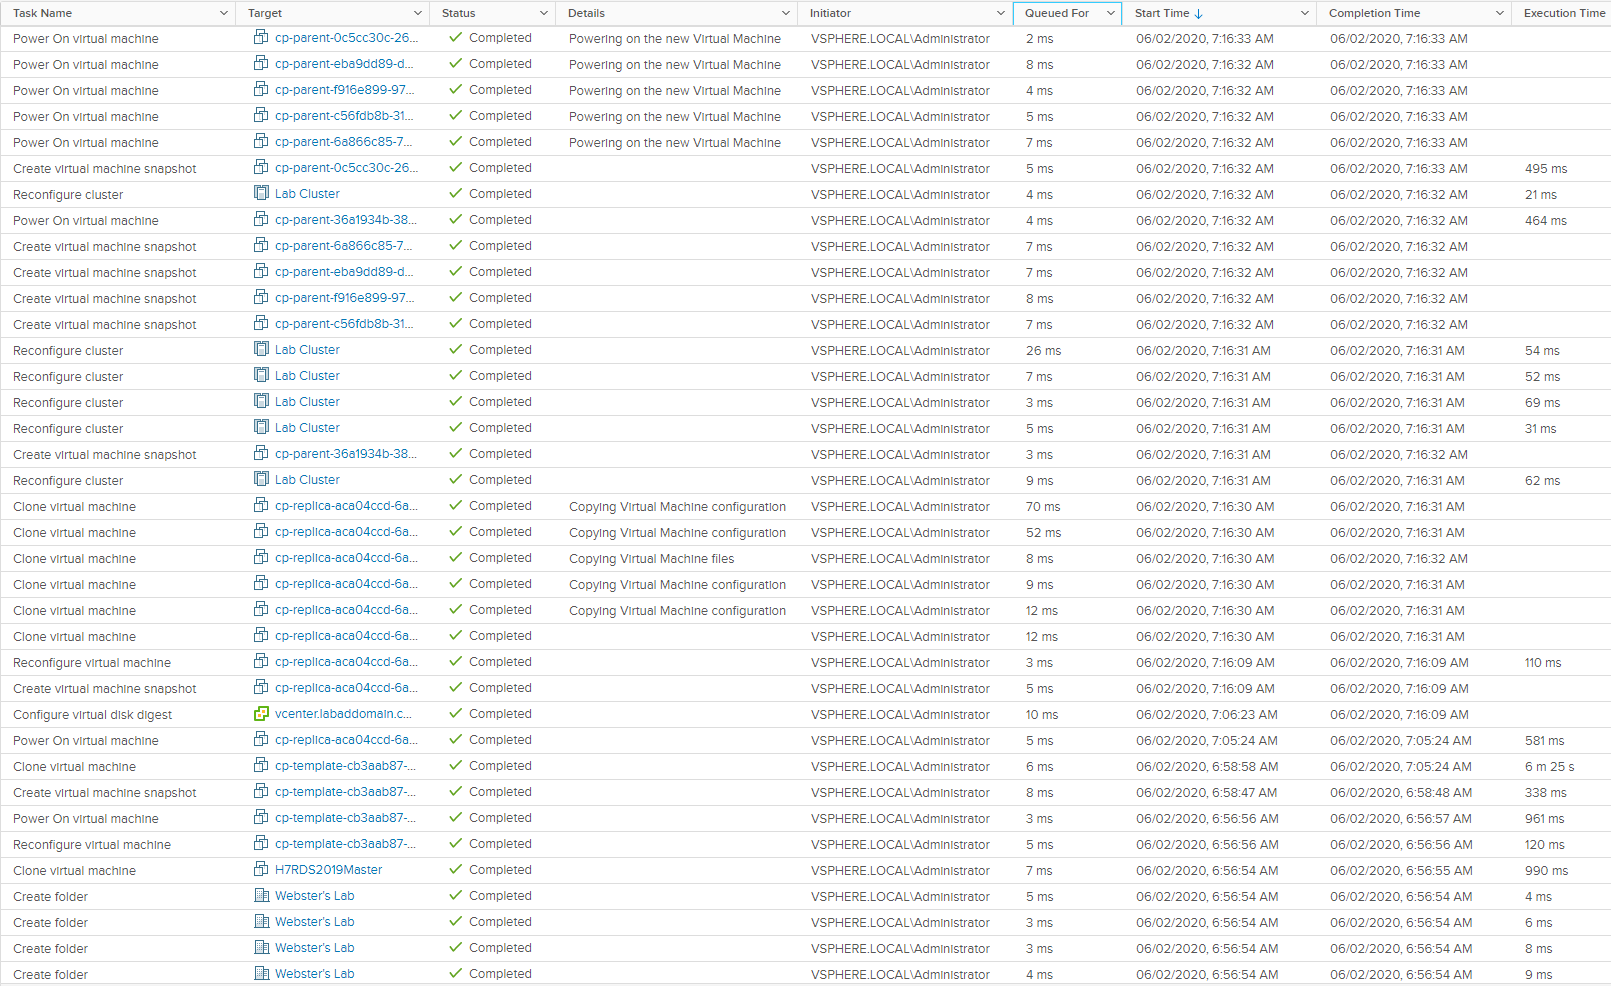
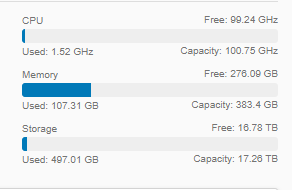
Figure 33 shows the resources used in vCenter before starting to build the lab. The only VM was the VCSA which is configured with 12GB RAM and 2 vCPU.
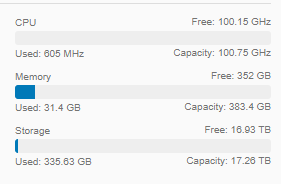
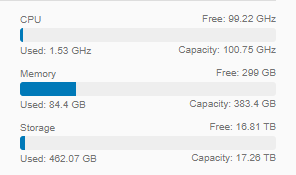
Figure 34 shows the vCenter resources after completing the Farm addition. There are now three VMs running: the VCSA, the Connection Server, and the just created RDS server. The Parent VMs are in their semi-comatose state.
RDS Pool Creation
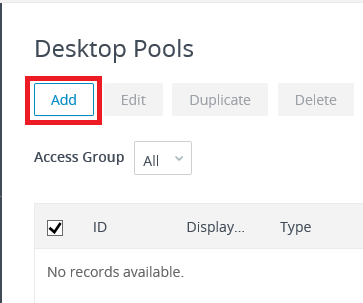
In the left frame, under Inventory, click Desktops, as shown in Figure 35.

Click Add, as shown in Figure 36.
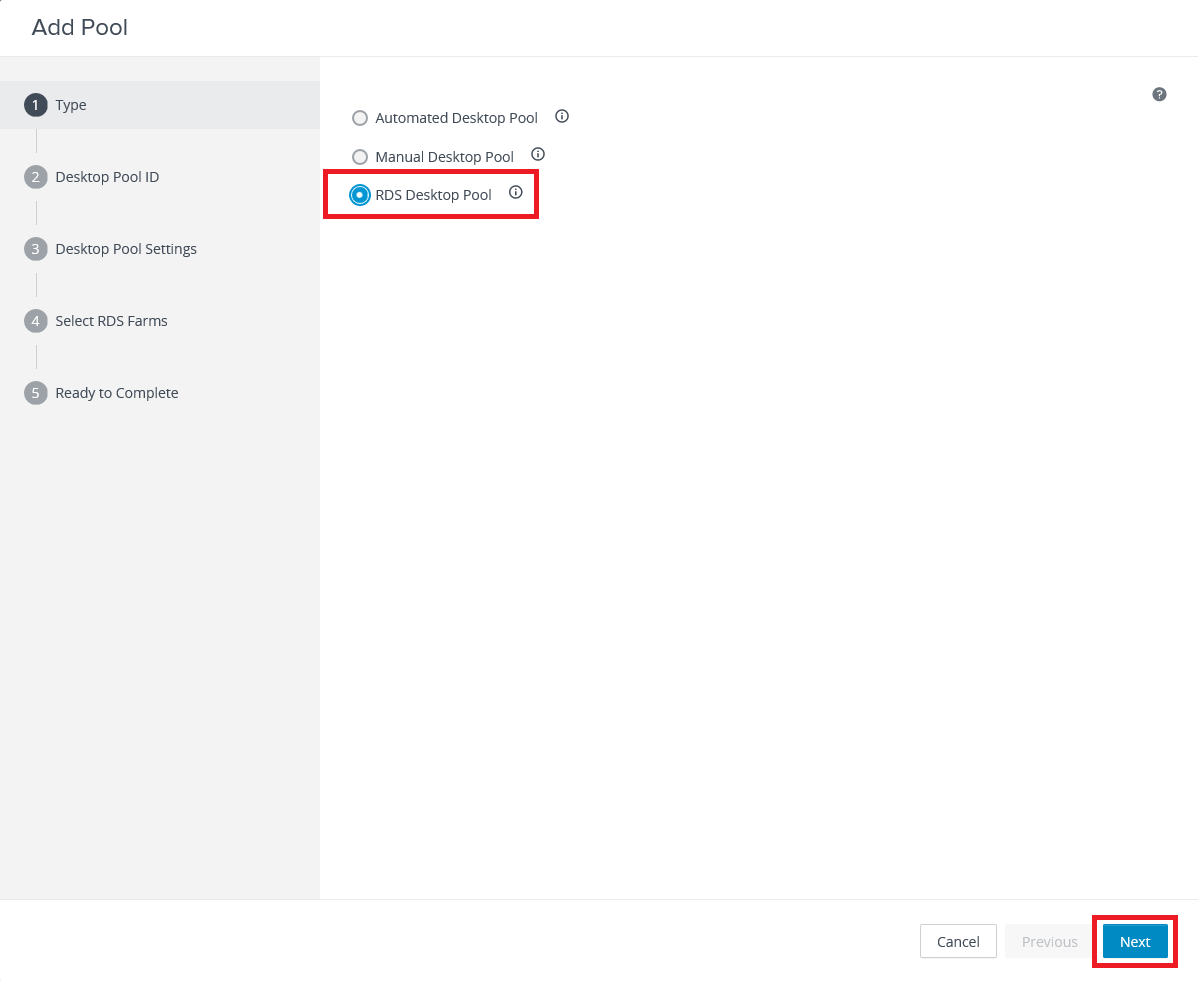
Select RDS Desktop Pool and click Next, as shown in Figure 37.
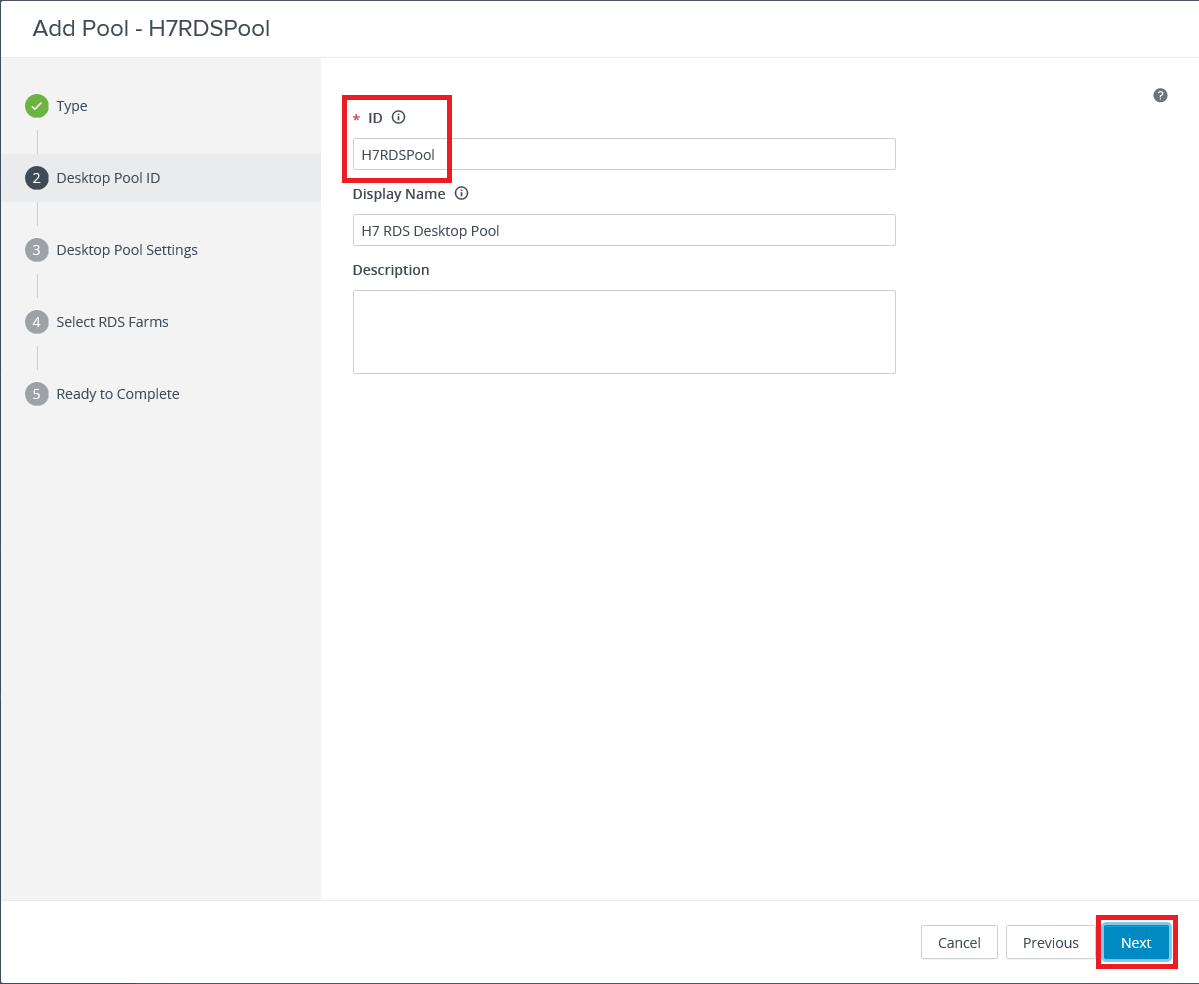
Enter the required ID, an optional Display Name, an optional Description, and click Next, as shown in Figure 38.
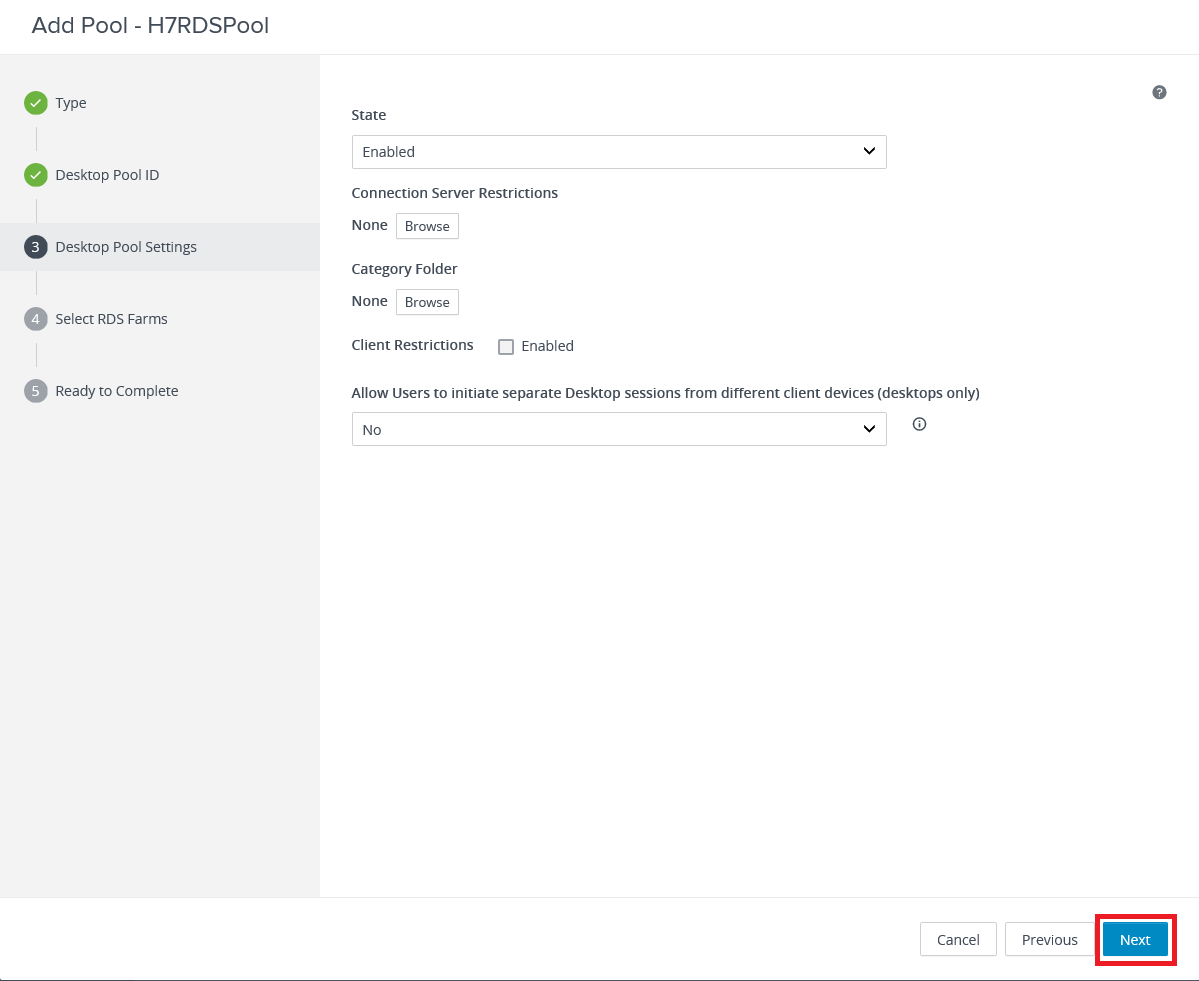
Click Next, as shown in Figure 39.
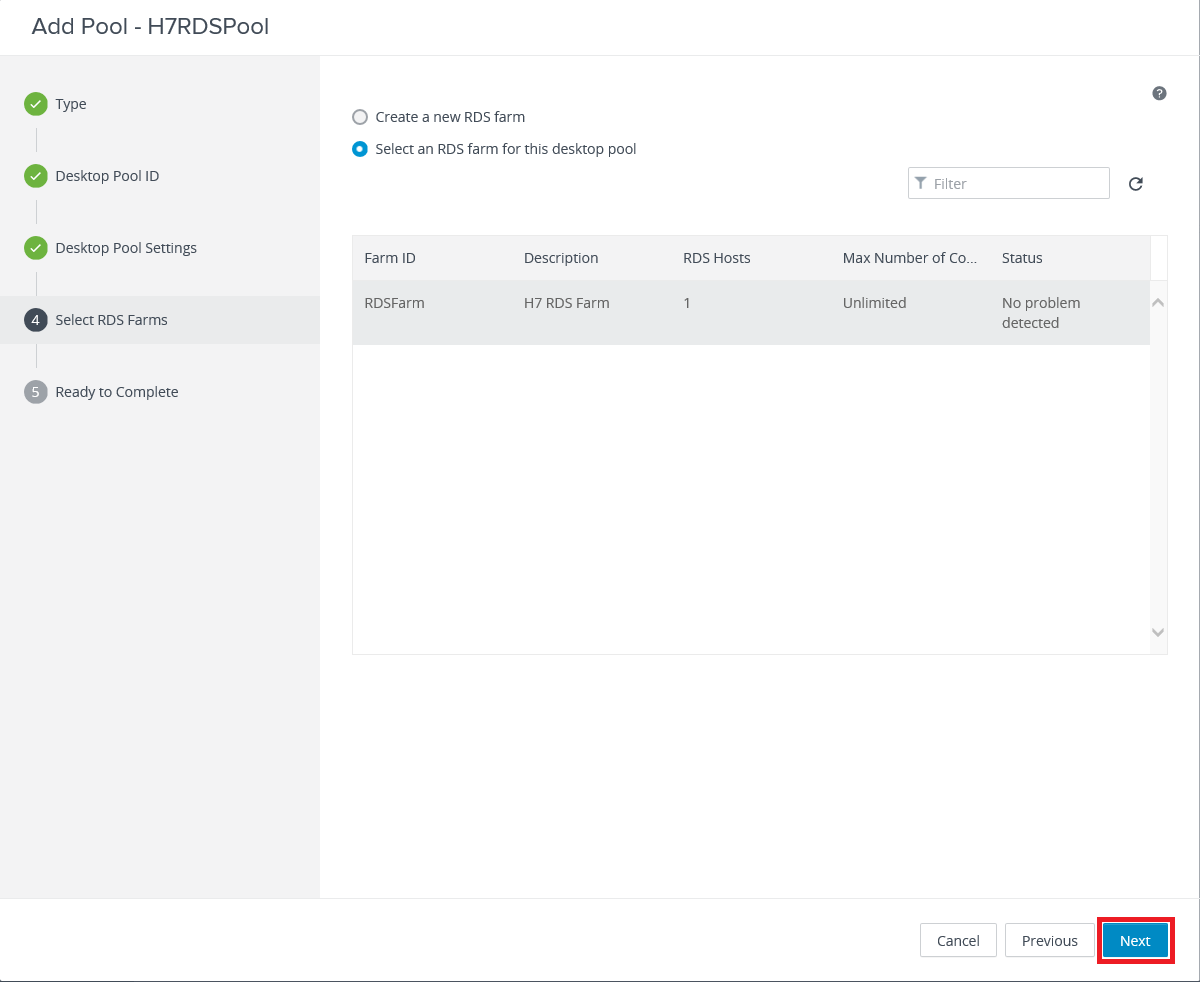
Select the RDS Farm just created and click Next, as shown in Figure 40.
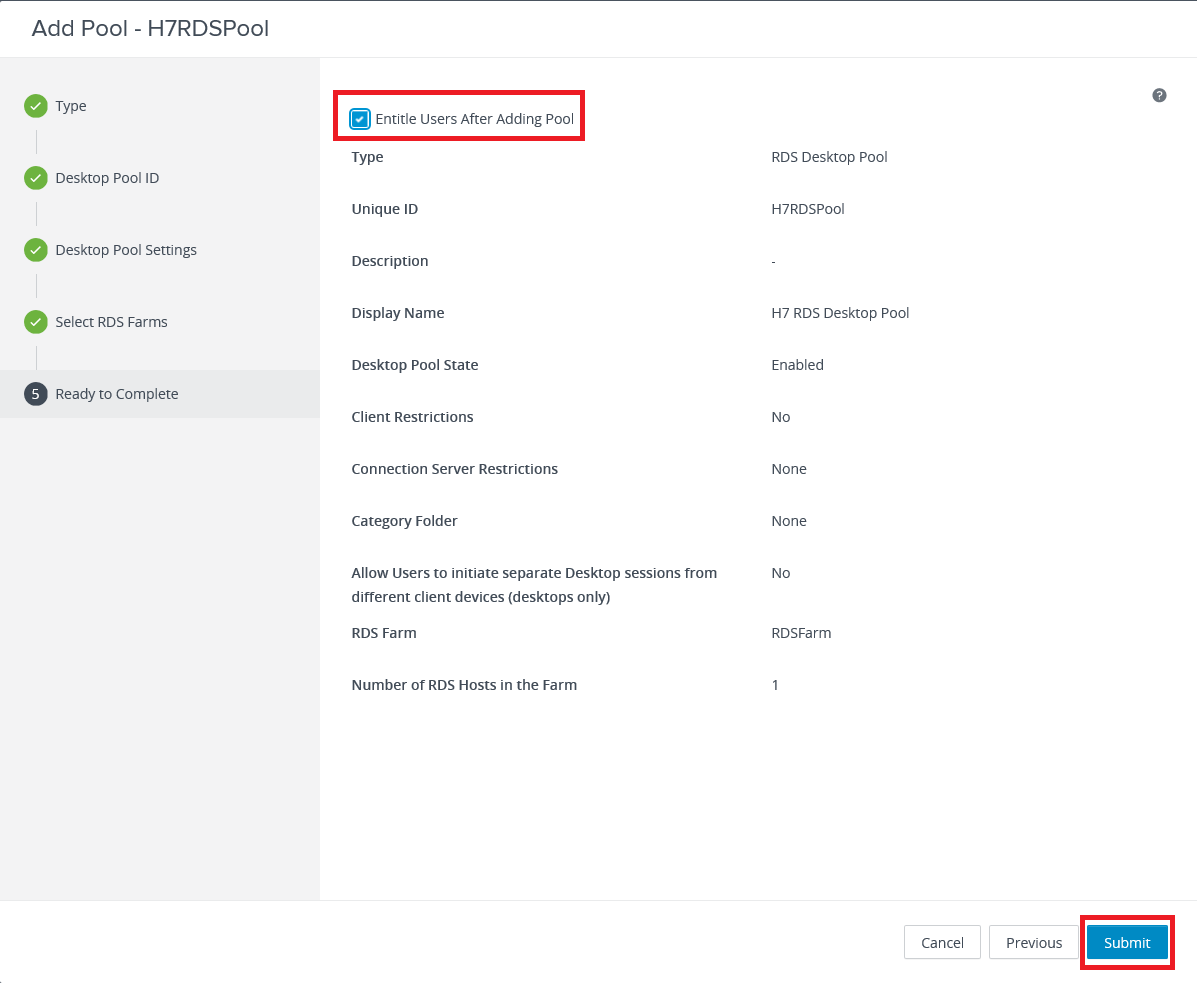
Select Entitle Users After Adding Pool and click Submit, as shown in Figure 41.
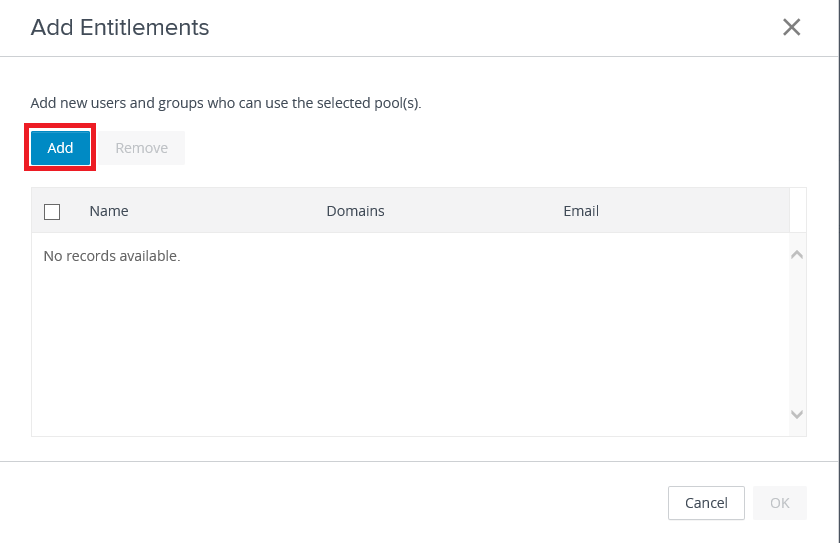
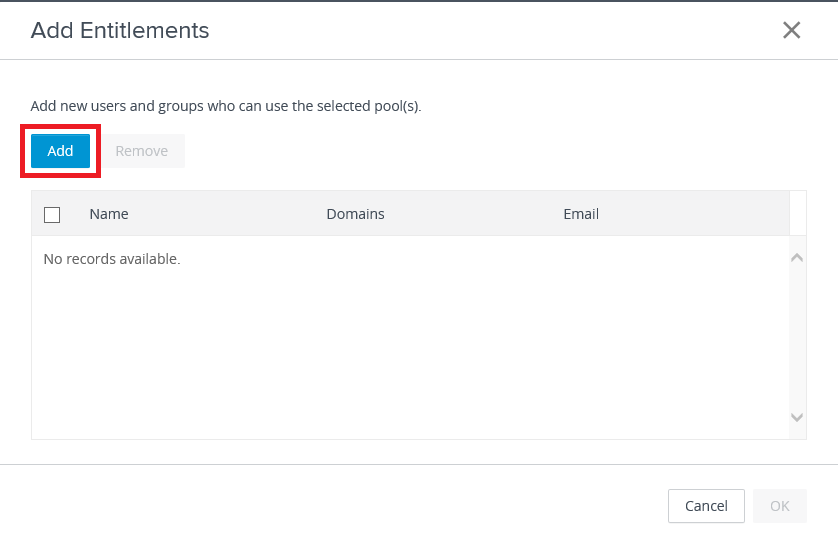
Click Add, as shown in Figure 42.
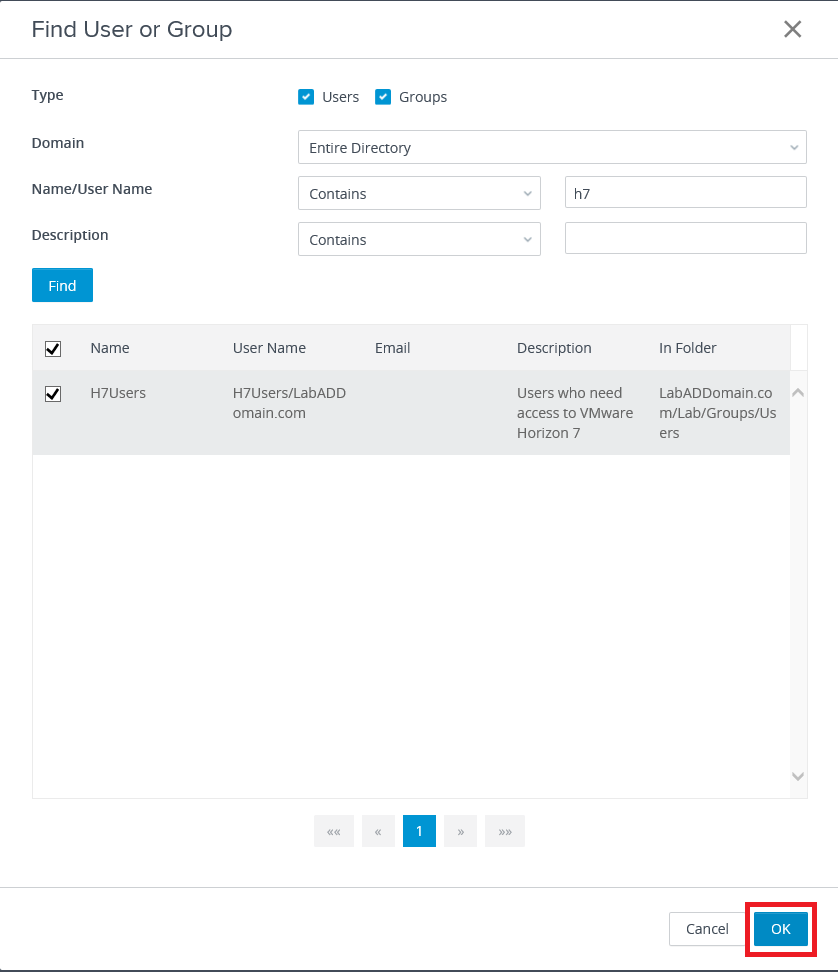
Find and select the user(s) or group(s) and click OK, as shown in Figure 43.

Click OK, as shown in Figure 44.

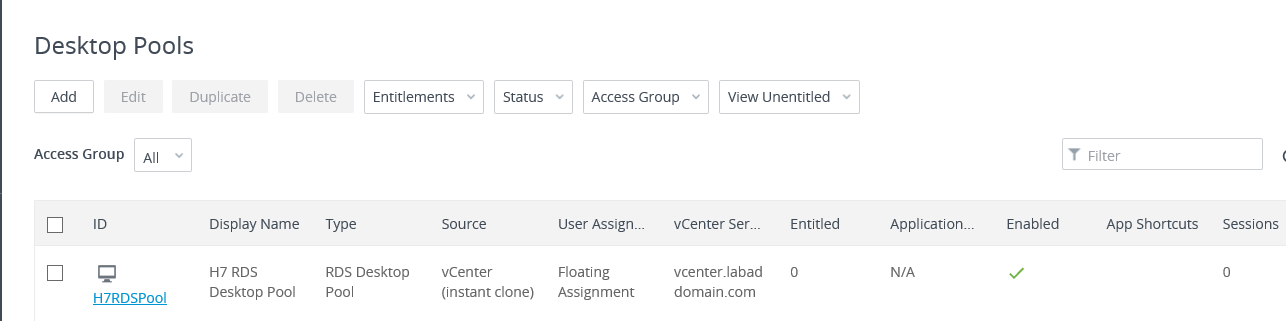
The RDS Desktop Pool is added, as shown in Figure 45.
Physical Desktop Pool Creation
Since it is the easiest, let’s create the pool for the physical PC first.
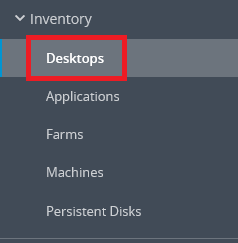
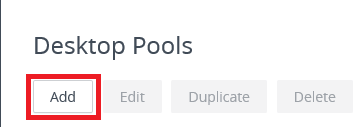
In the left frame, under Inventory, click Desktops, as shown in Figure 46.
Click Add, as shown in Figure 47.

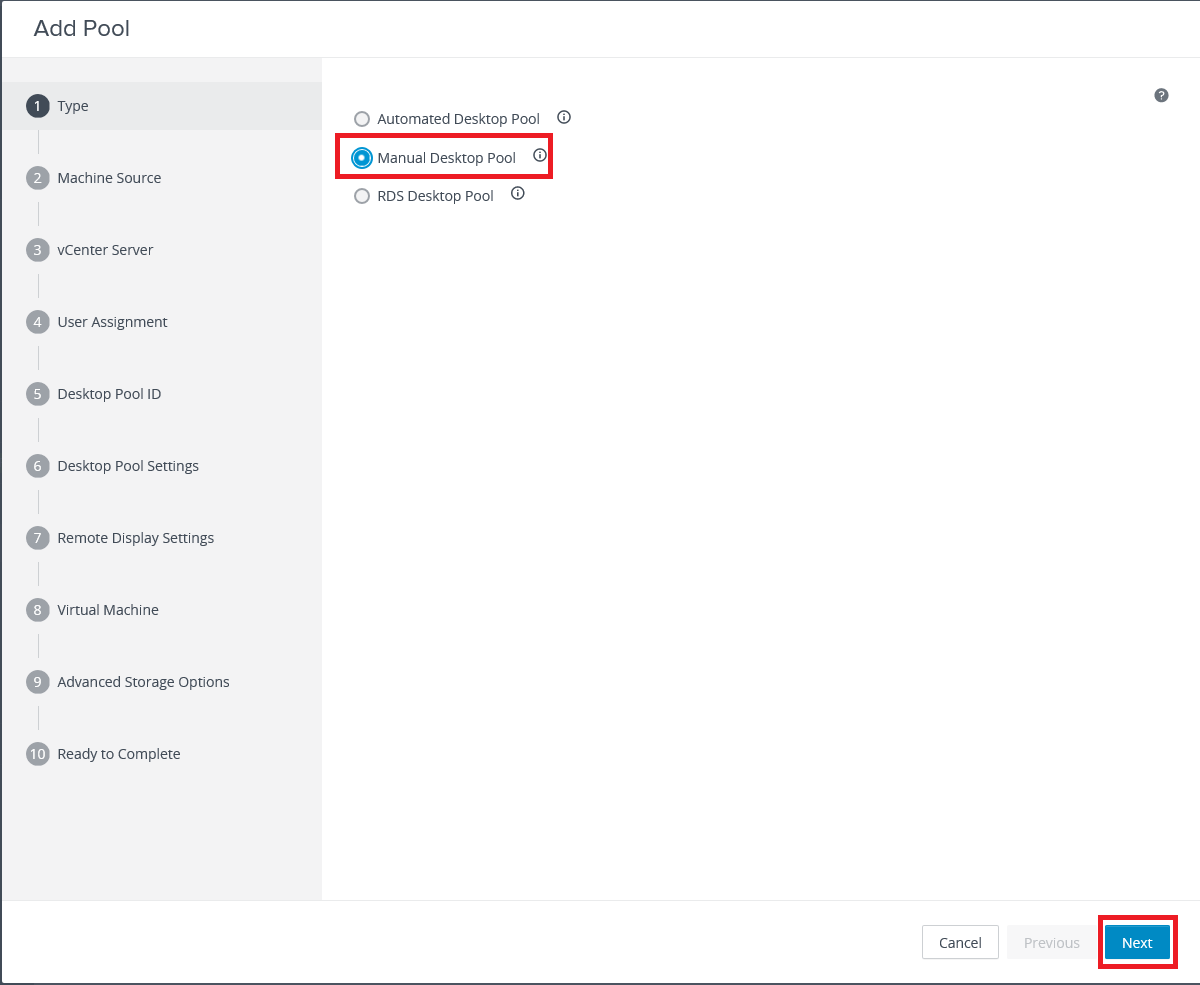
Select Manual Desktop Pool and click Next, as shown in Figure 48.
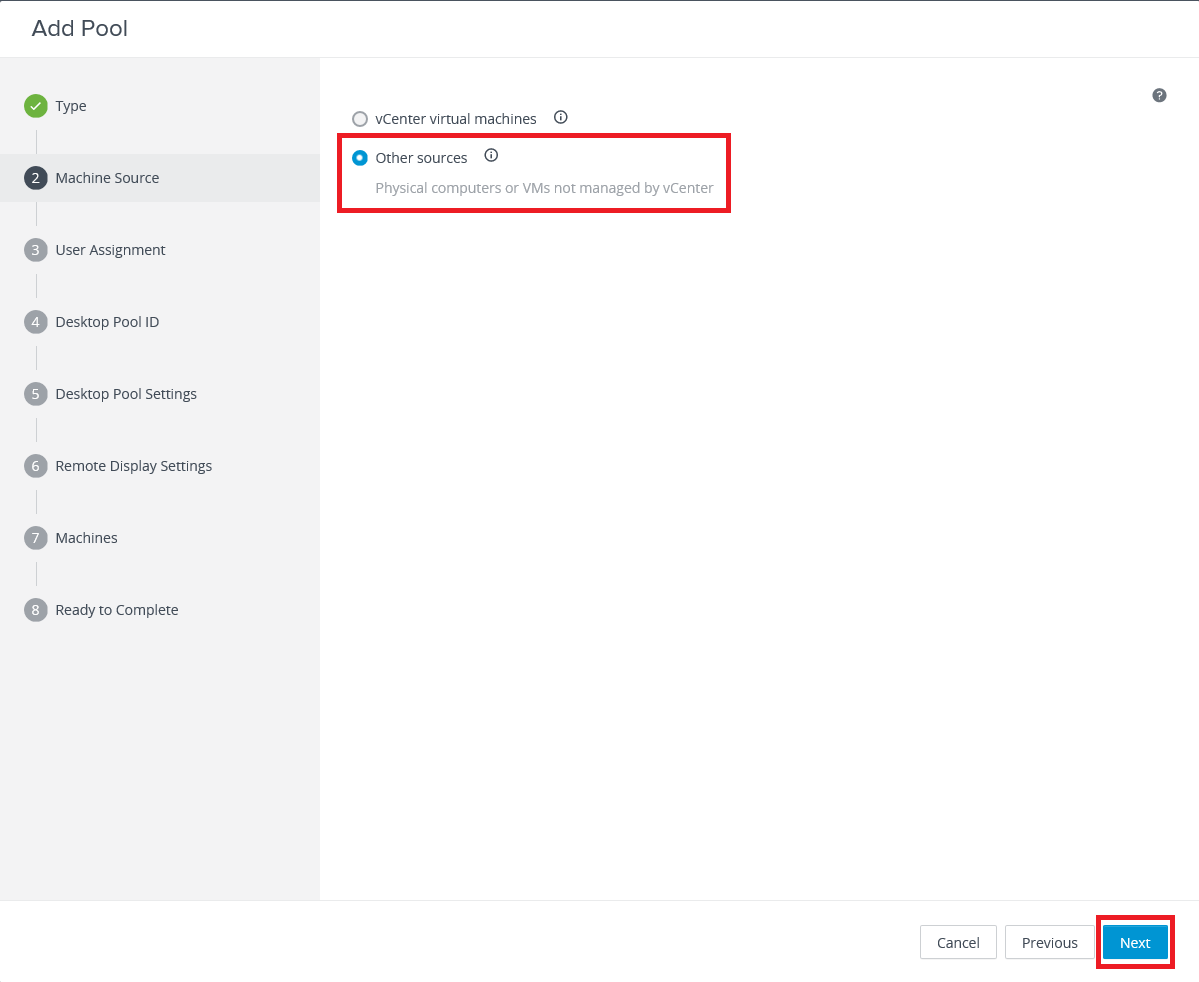
Select Other sources and click Next, as shown in Figure 49.
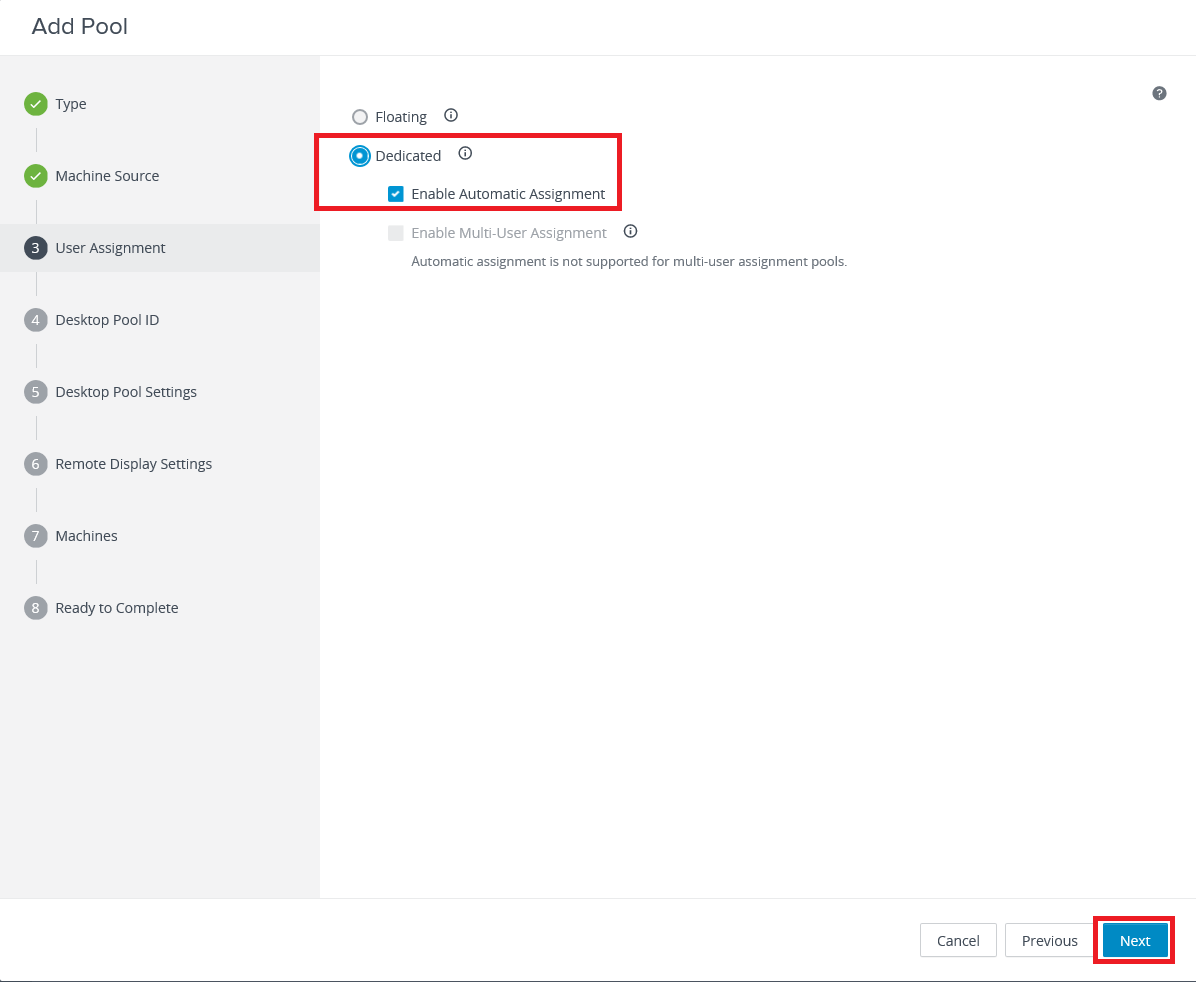
Accept the defaults and click Next, as shown in Figure 50.
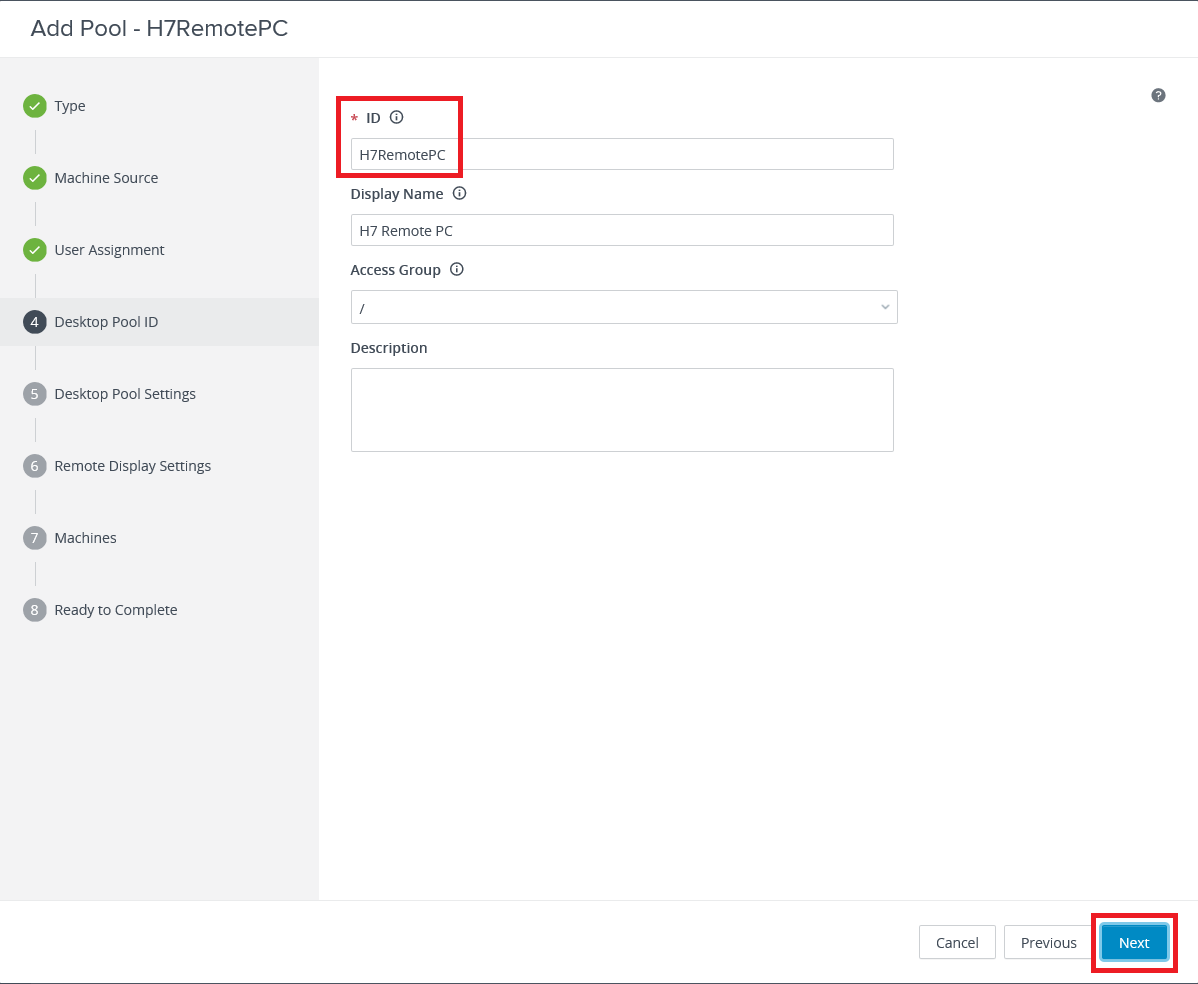
Enter the required ID, an optional Display Name, an optional Description, and click Next, as shown in Figure 51.
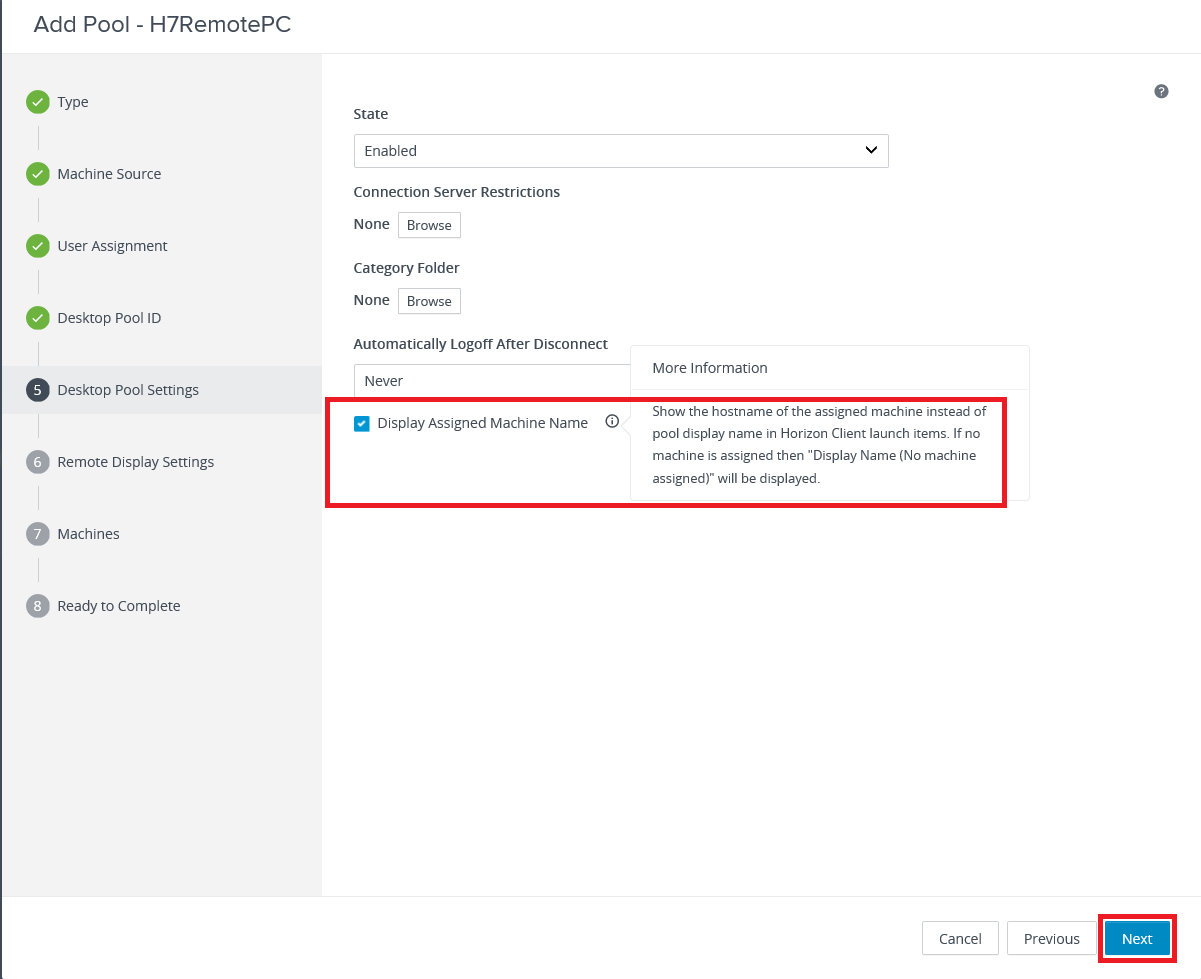
Select Display Assigned Machine Name and click Next, as shown in Figure 52.
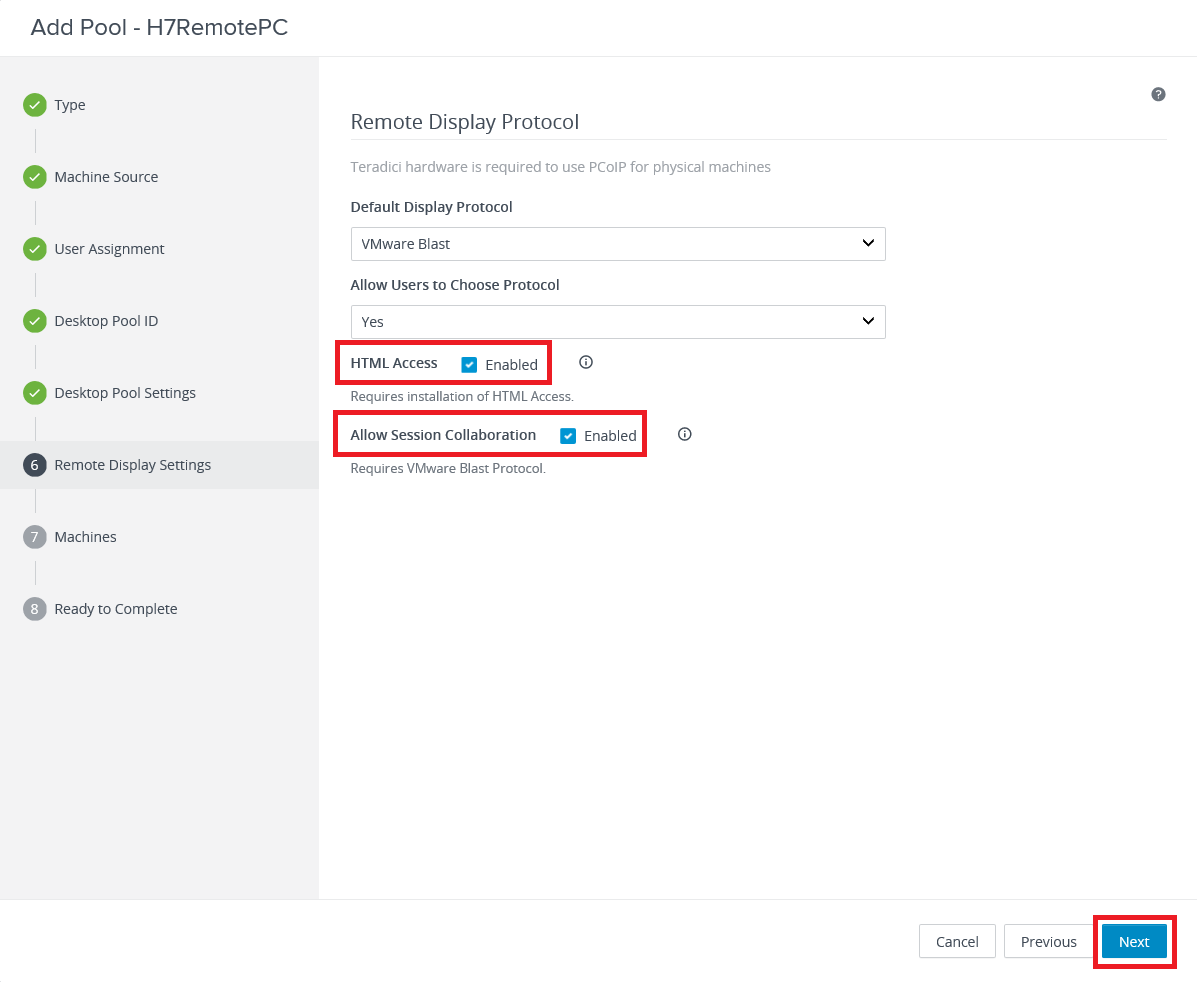
Select HTML Access, and Allow Session Collaboration, and click Next, as shown in Figure 53.
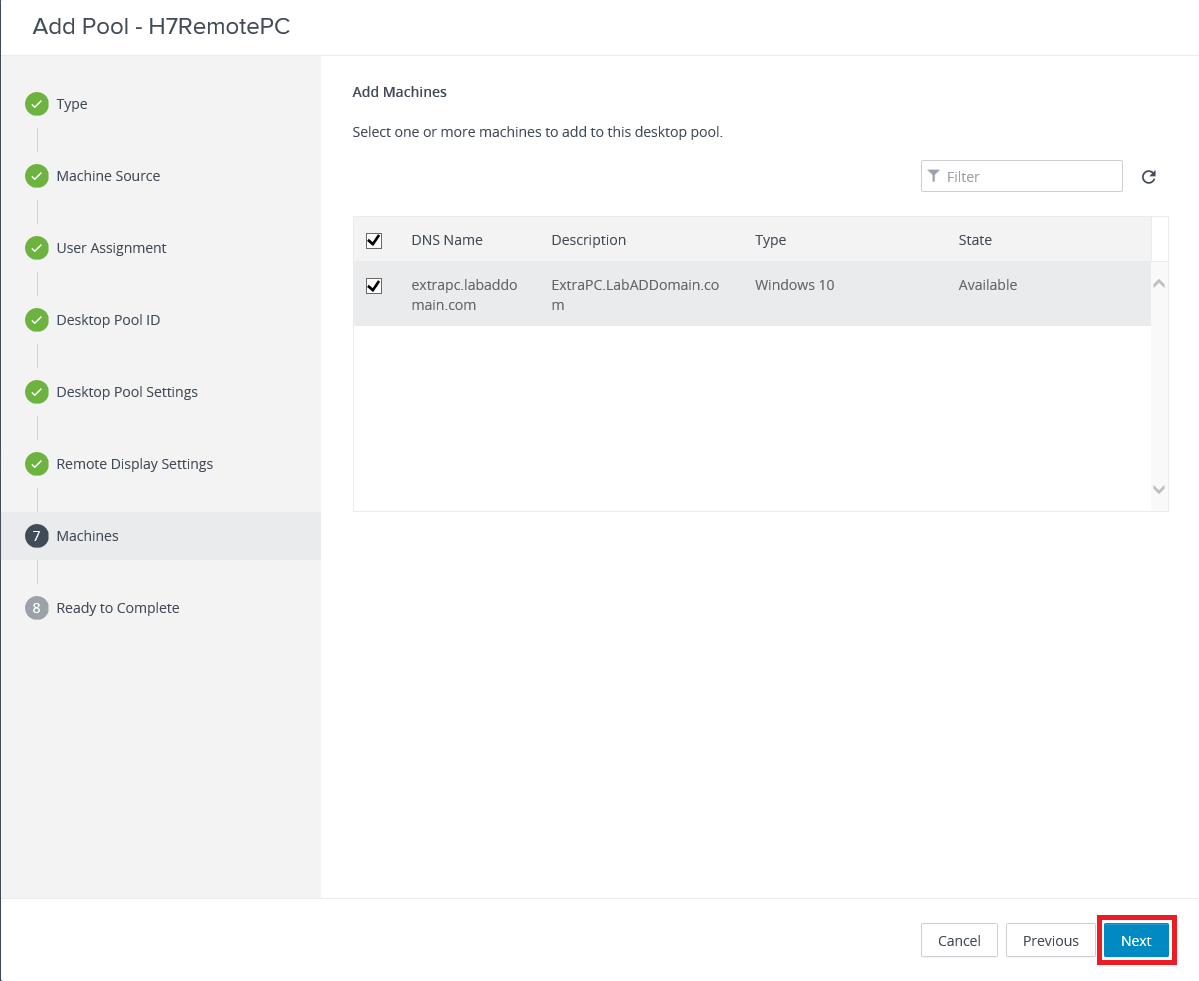
Select the machine(s) to add to the pool and click Next, as shown in Figure 54.
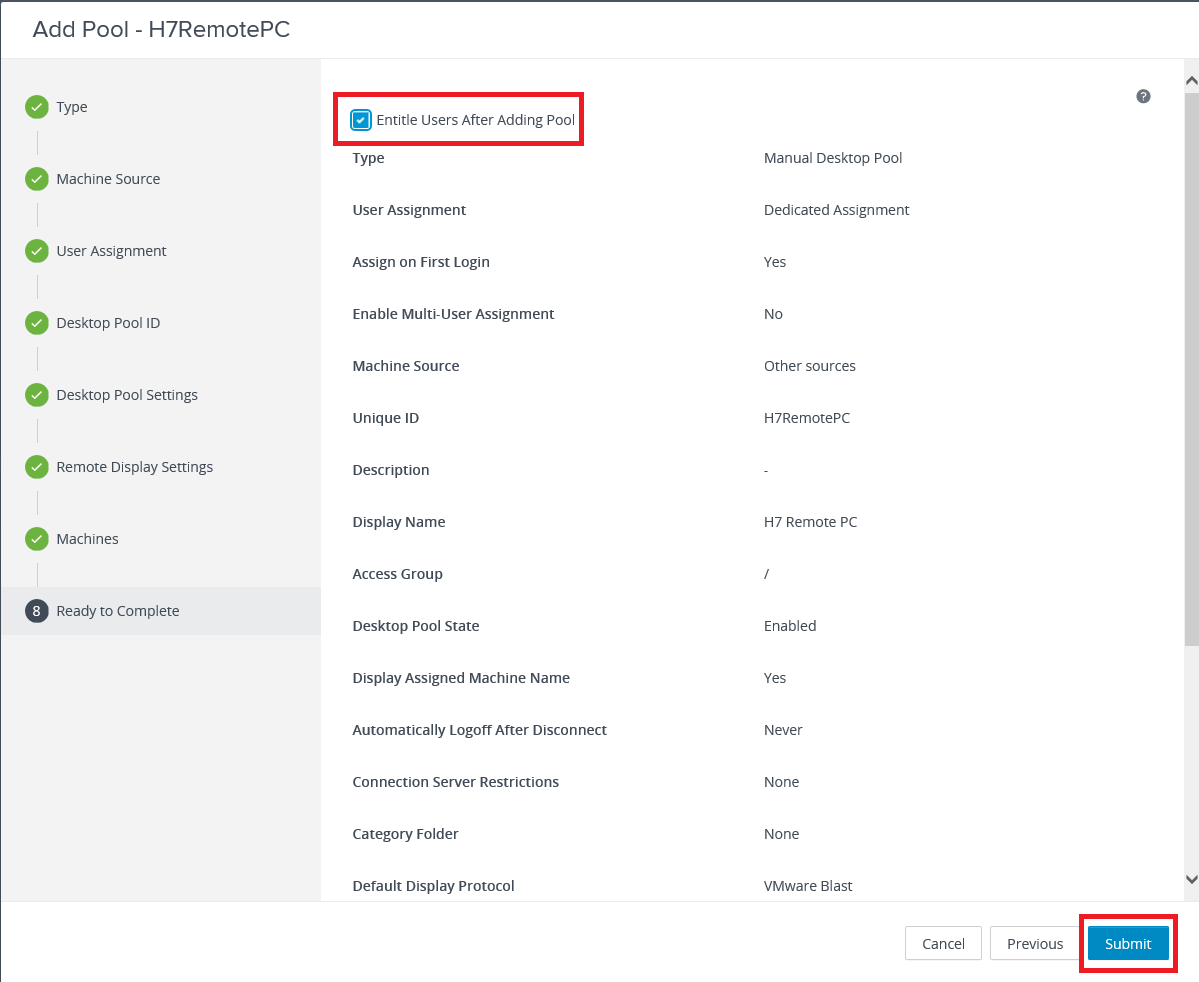
Select Entitle Users After Adding Pool and click Submit, as shown in Figure 55.
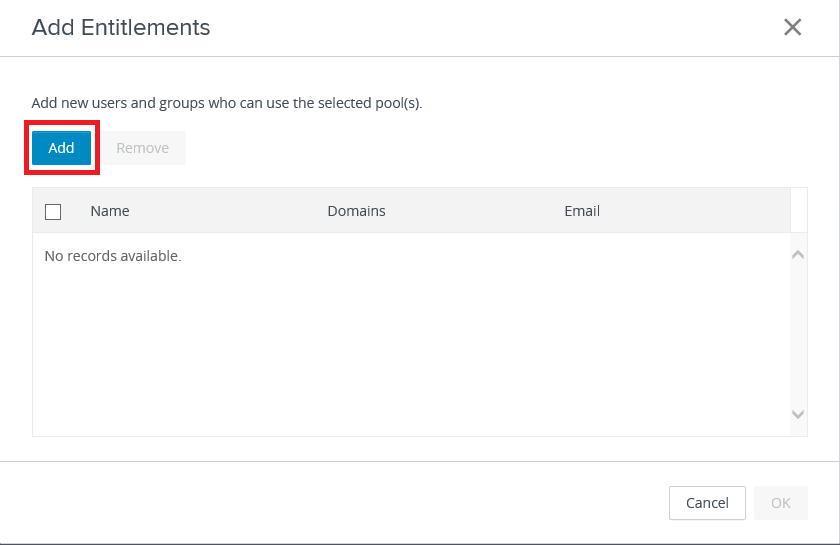
Click Add as shown in Figure 56.
Find and select the user(s) or group(s) and click OK, as shown in Figure 57.
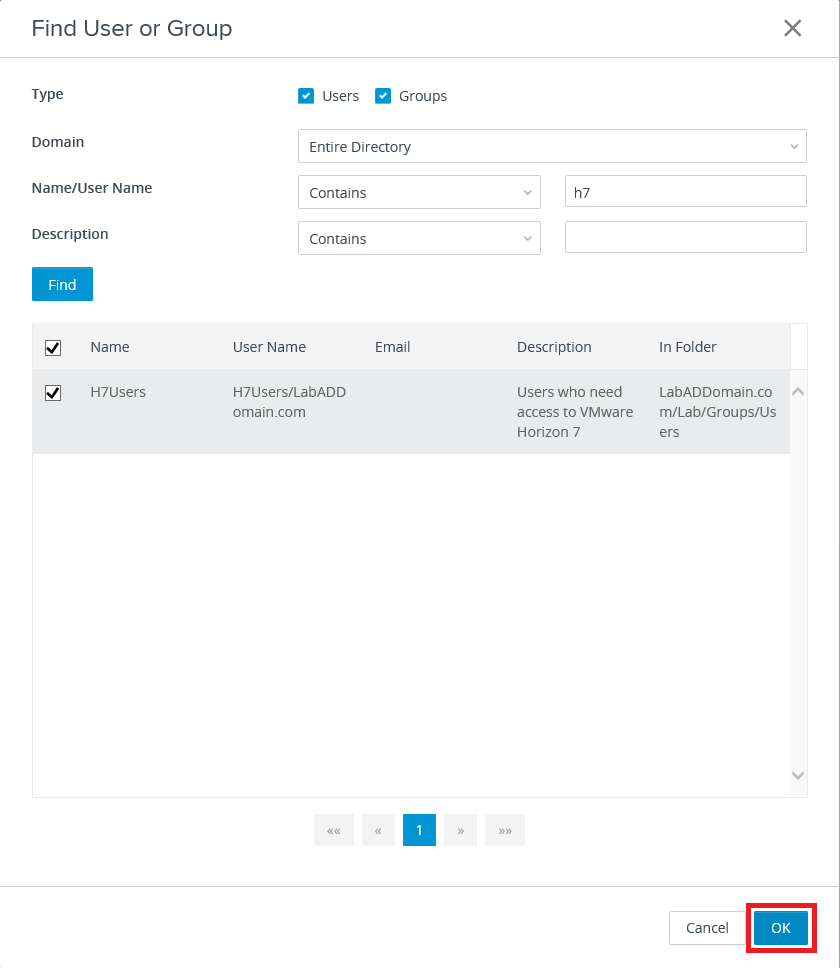
Figure 59 shows the Manual Desktop Pool is added.

Back in Figure 50, we selected the default option to Enable Automatic Assignment. That means the first user to log in to that desktop becomes the assigned user for that desktop.
VDI Pool Creation
In the left frame, under Inventory, click Desktops, as shown in Figure 60.

Click Add, as shown in Figure 61.
Select Automated Desktop Pool and click Next, as shown in Figure 62.
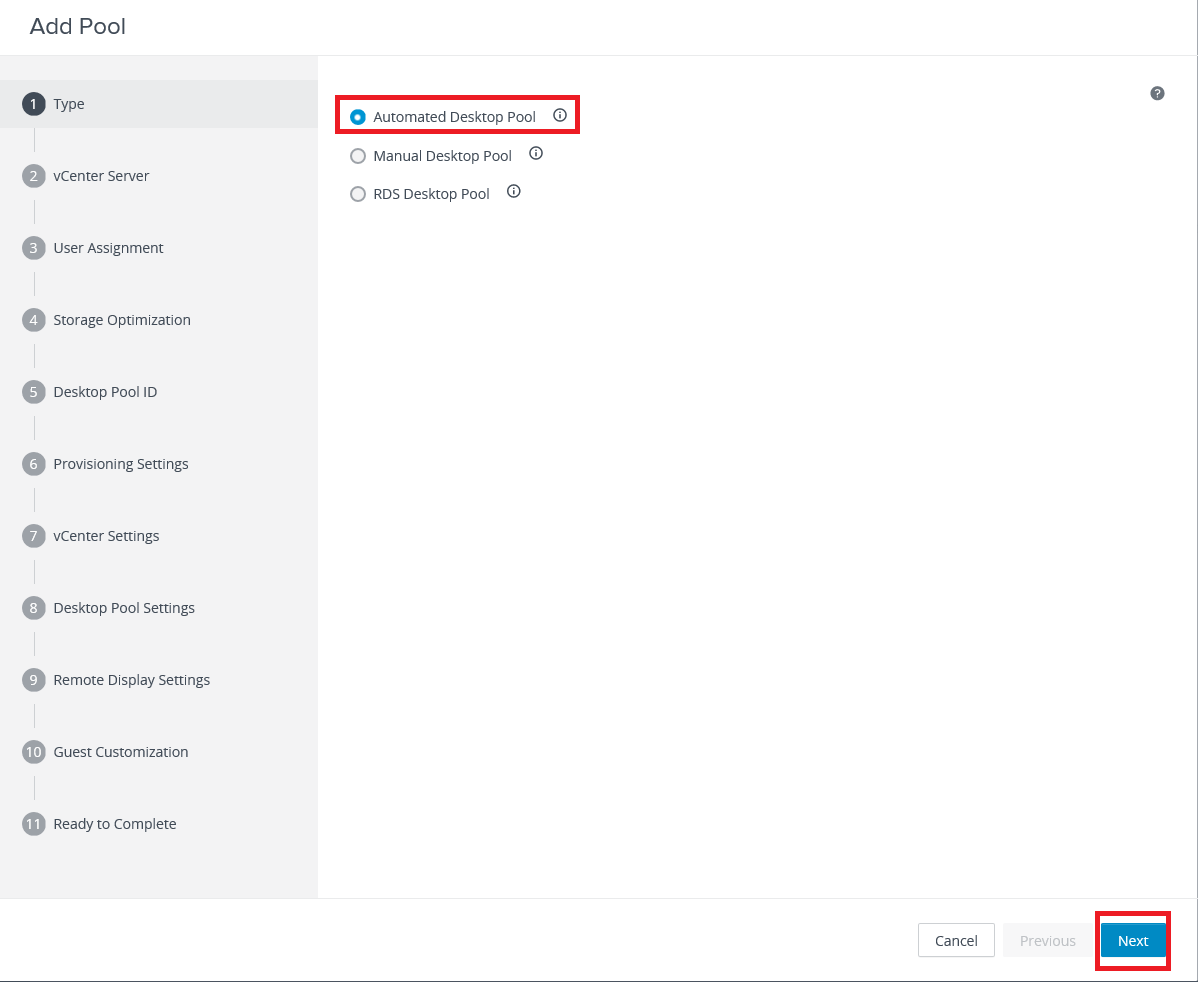
Click Next, as shown in Figure 63.
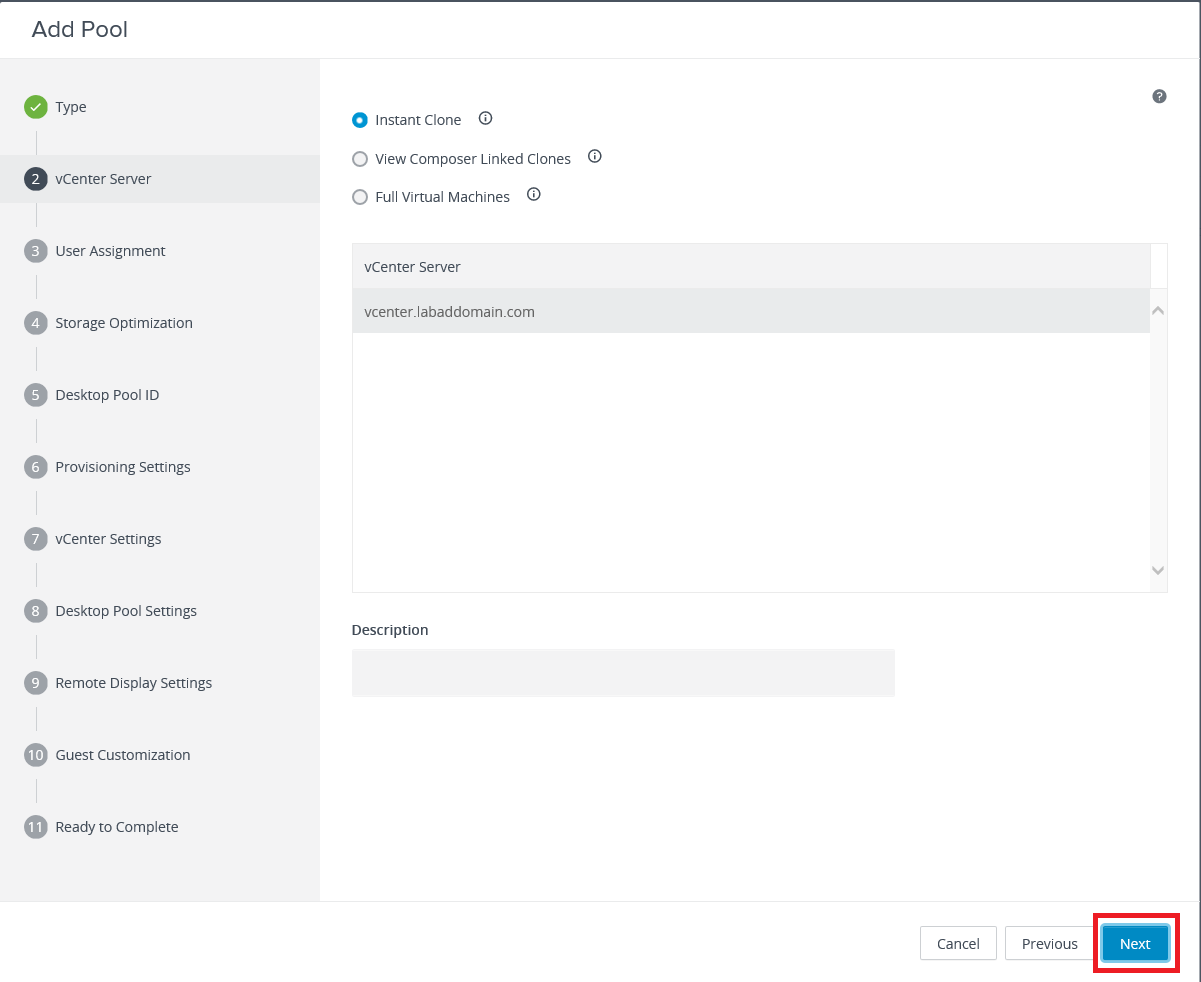
Select whether to use Floating or Dedicated and click Next, as shown in Figure 64.
For this lab, I selected Floating.
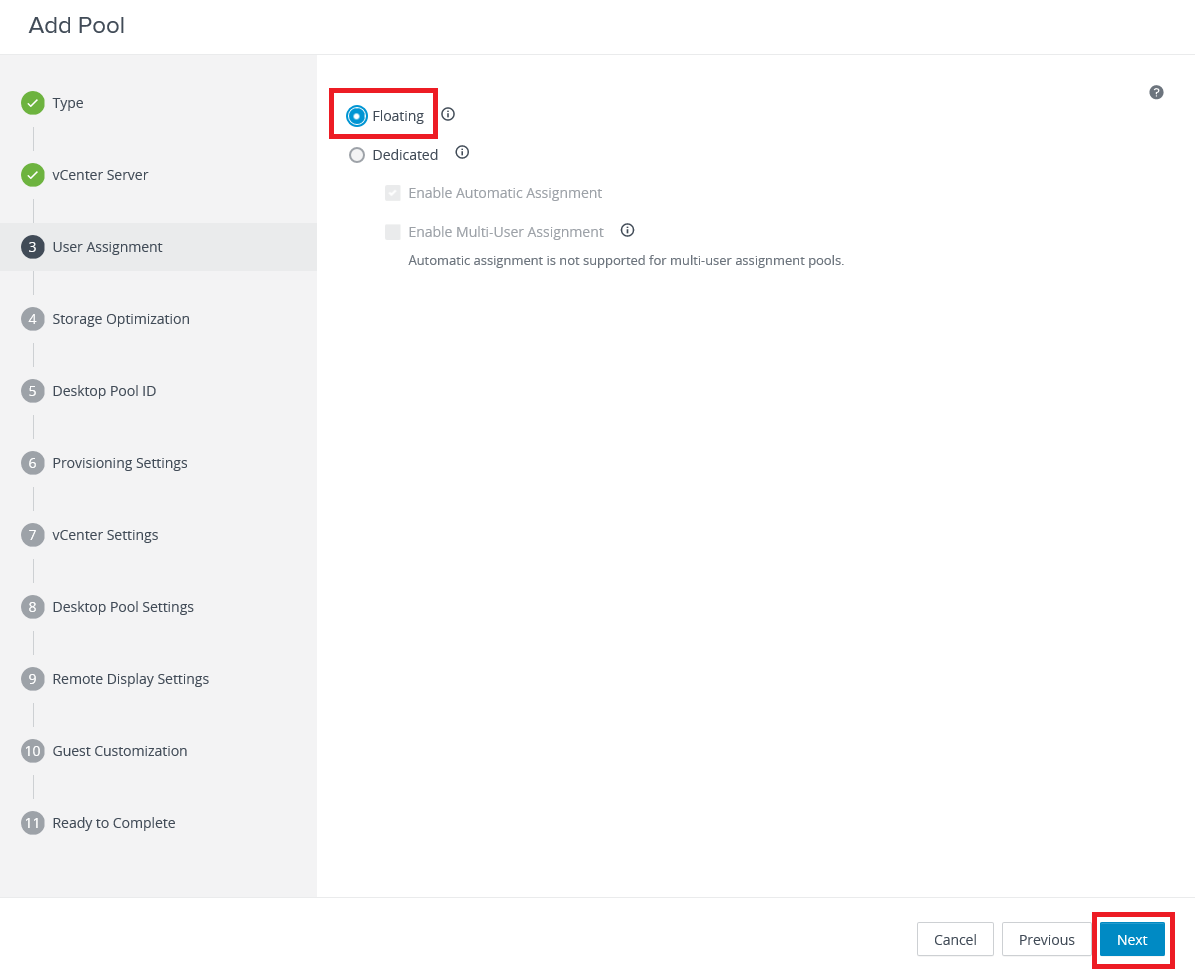
Click Next, as shown in Figure 65.
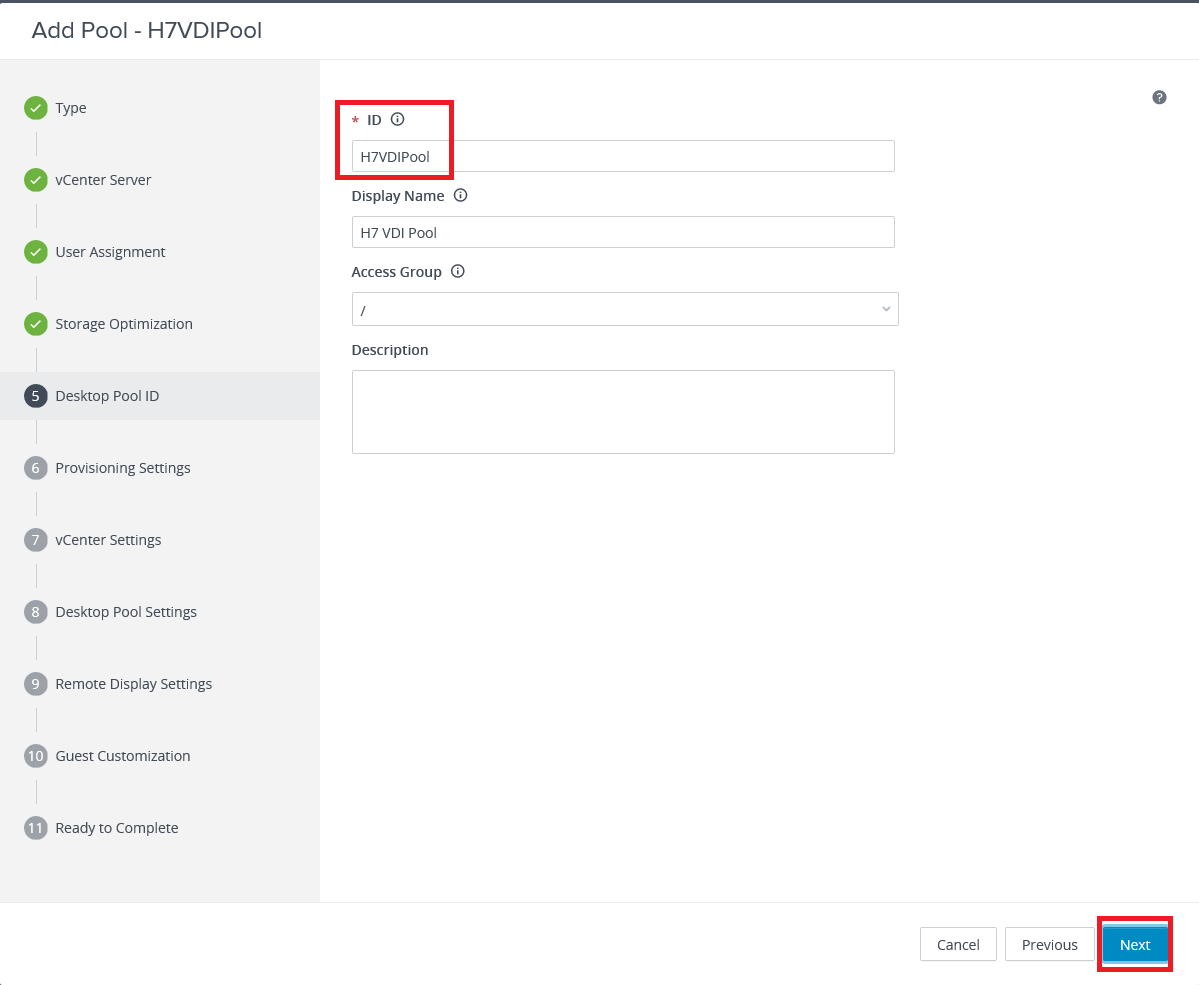
Enter the required ID, an optional Display Name, an optional Description, and click Next, as shown in Figure 66.
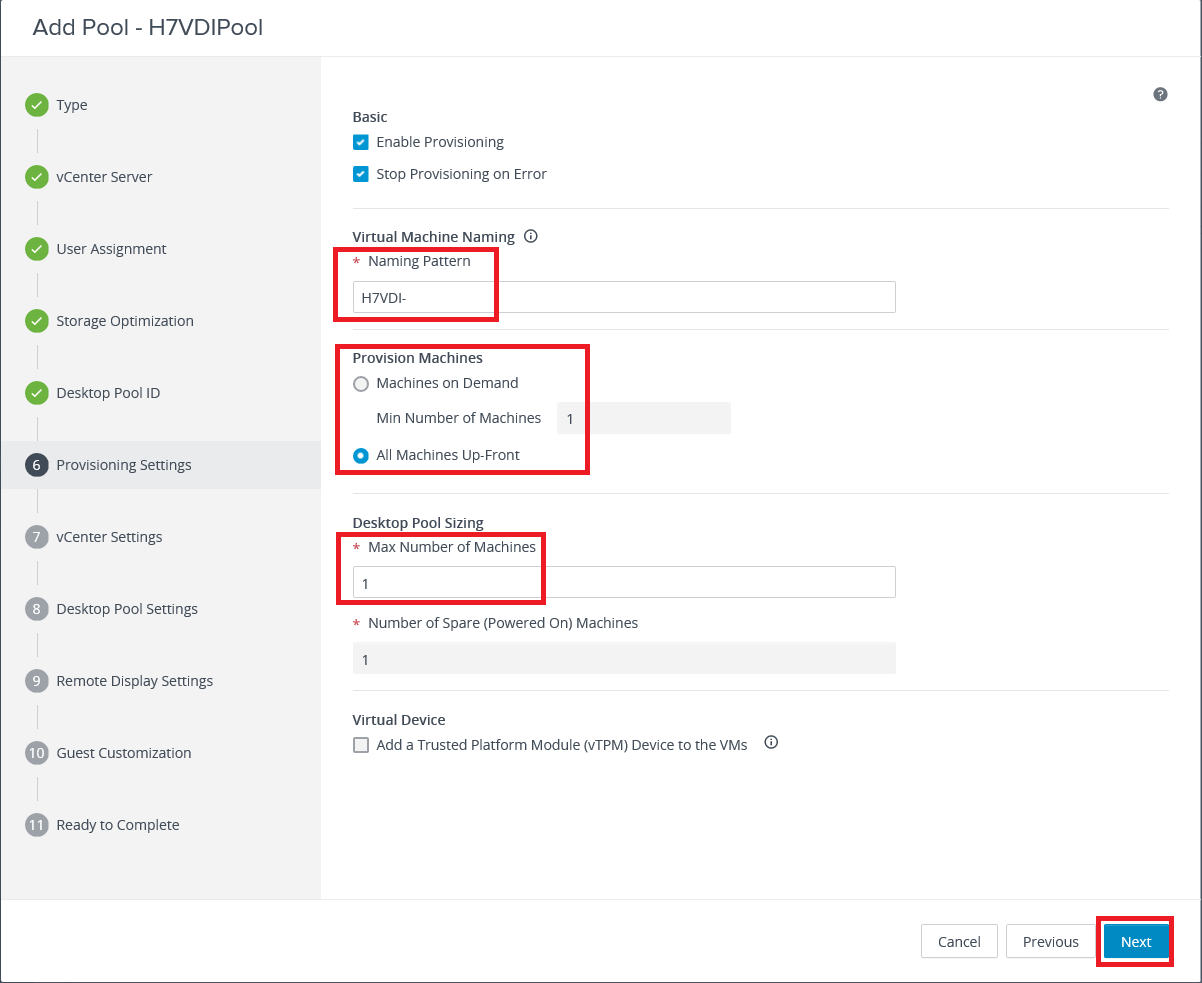
Enter a Naming Pattern for the VDI VMs created, select how to Provision Machines, the Max Number of Machines, [if you create more than 1 machine] the Number of Spare (Powered On) Machines, and click Next, as shown in Figure 67.
Information from vCenter is needed, as shown in Figure 68.
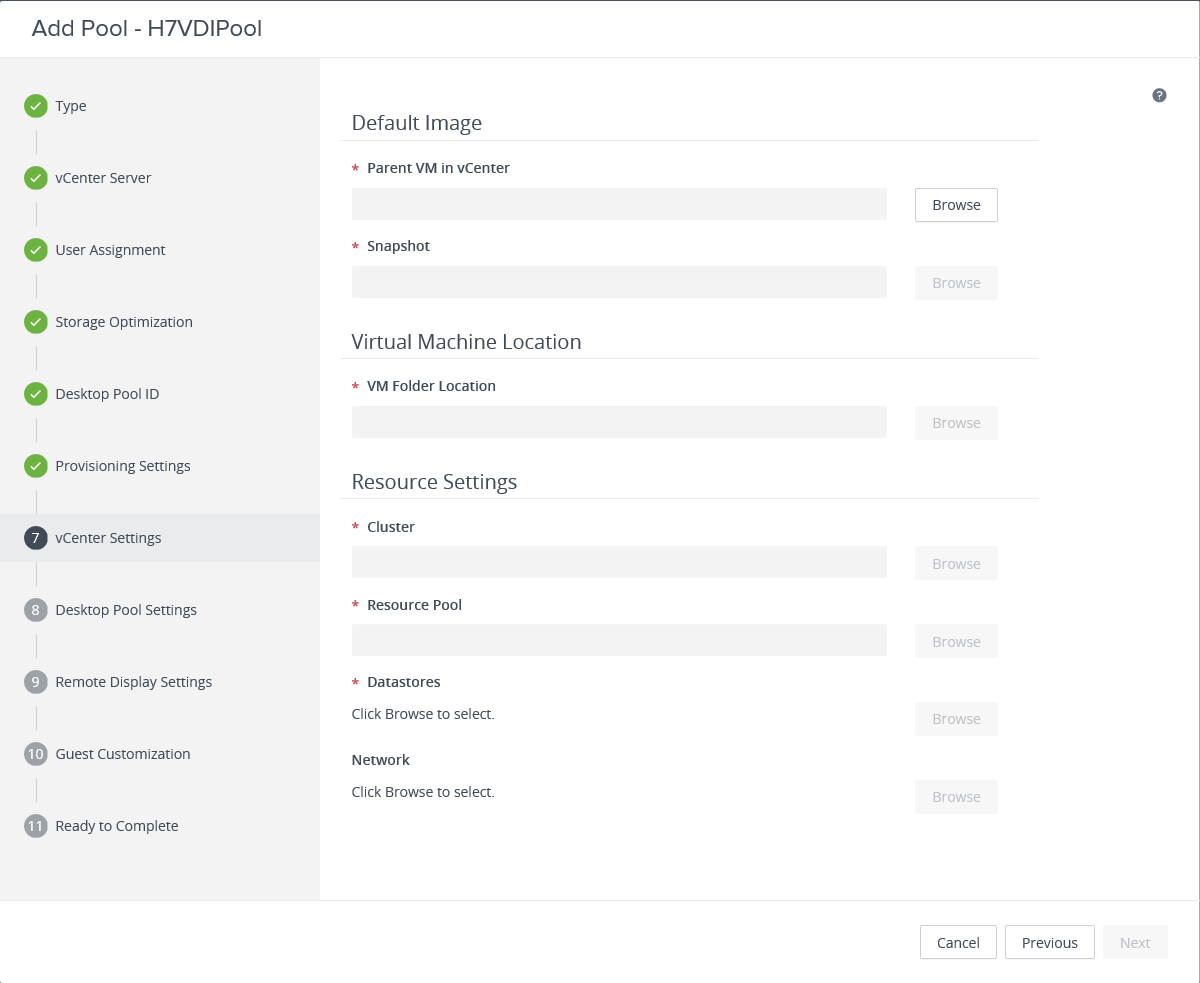
For the Parent VM in vCenter, click Browse, as shown in Figure 69.
Select the Parent VM for the Pool and click Submit, as shown in Figure 70.
For the Snapshot, click Browse, as shown in Figure 71.
Select the snapshot and click Submit, as shown in Figure 72.
For the VM Folder Location, click Browse, as shown in Figure 73.
Select the folder in vCenter and click Submit, as shown in Figure 74.
For the Cluster, click Browse, as shown in Figure 75.
Select the Cluster and click Submit, as shown in Figure 76.
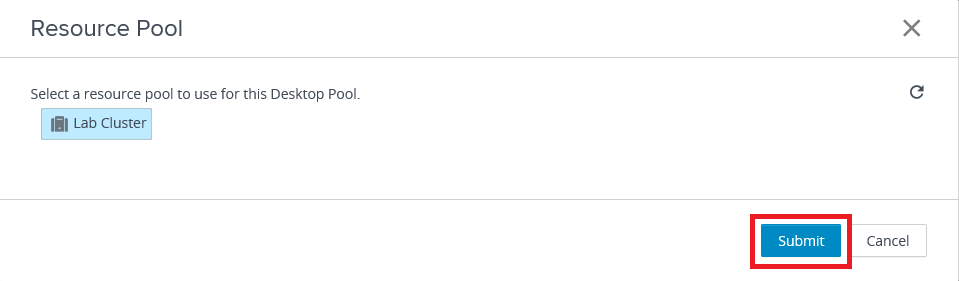
For the Resource Pool, click Browse, as shown in Figure 77.
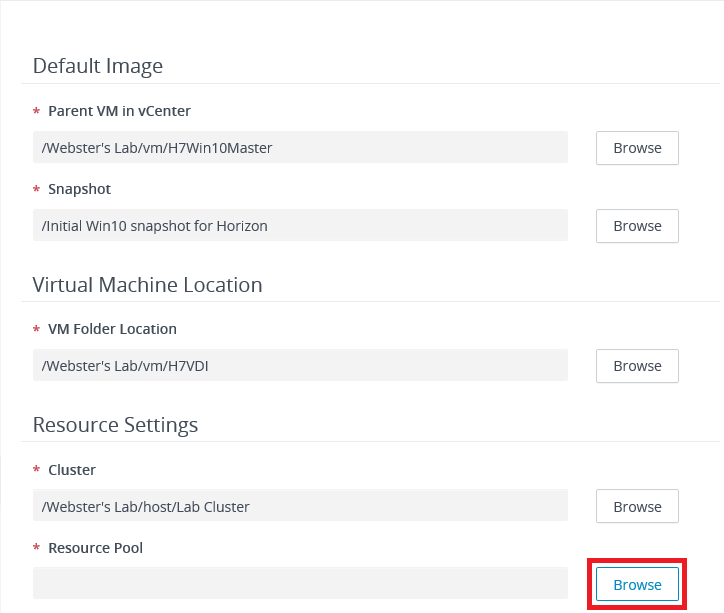
Select the Resource Pool and click Submit, as shown in Figure 78.
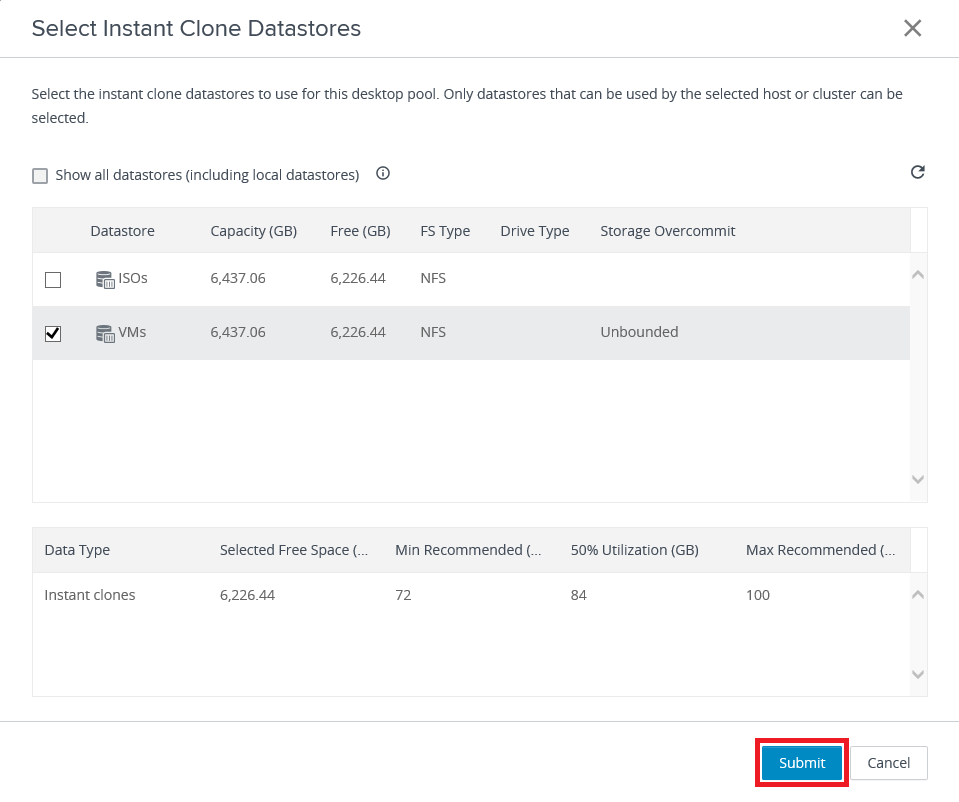
For the Datastores, click Browse, as shown in Figure 79.
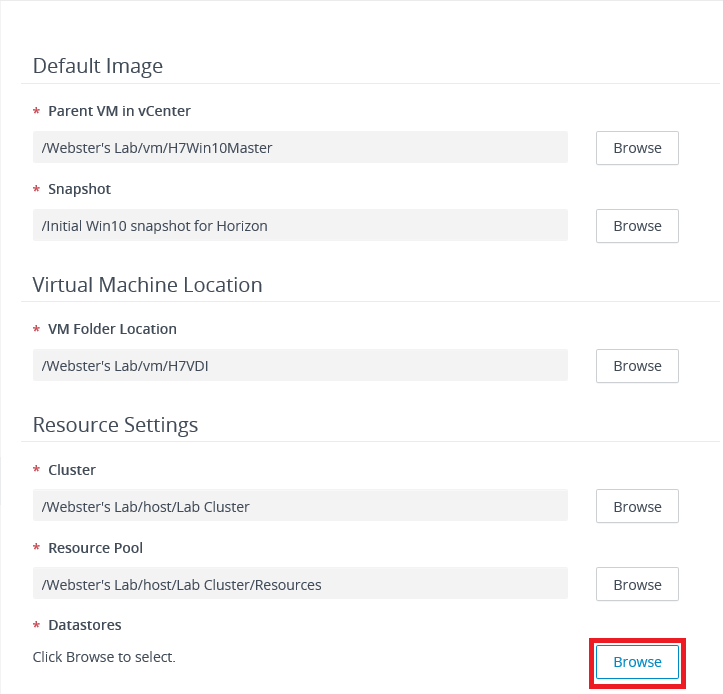
Select the Datastore(s) and click Submit, as shown in Figure 80.
By default, the Network used by the Parent VM selected in Figure 70 is used.
For the Network, click Browse, as shown in Figure 81.
Select the Network option and click Submit, as shown in Figure 82.

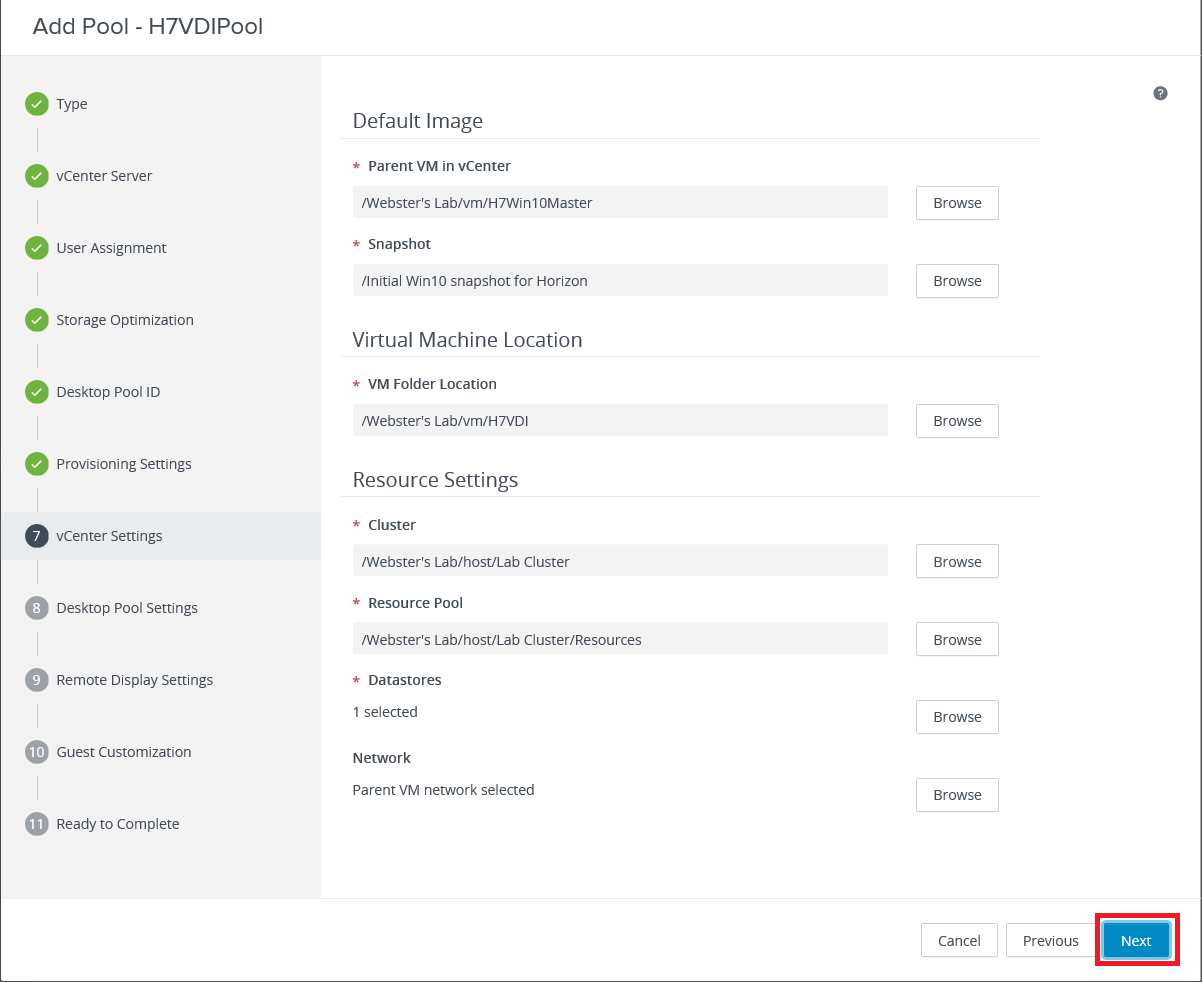
Click Next, as shown in Figure 83.
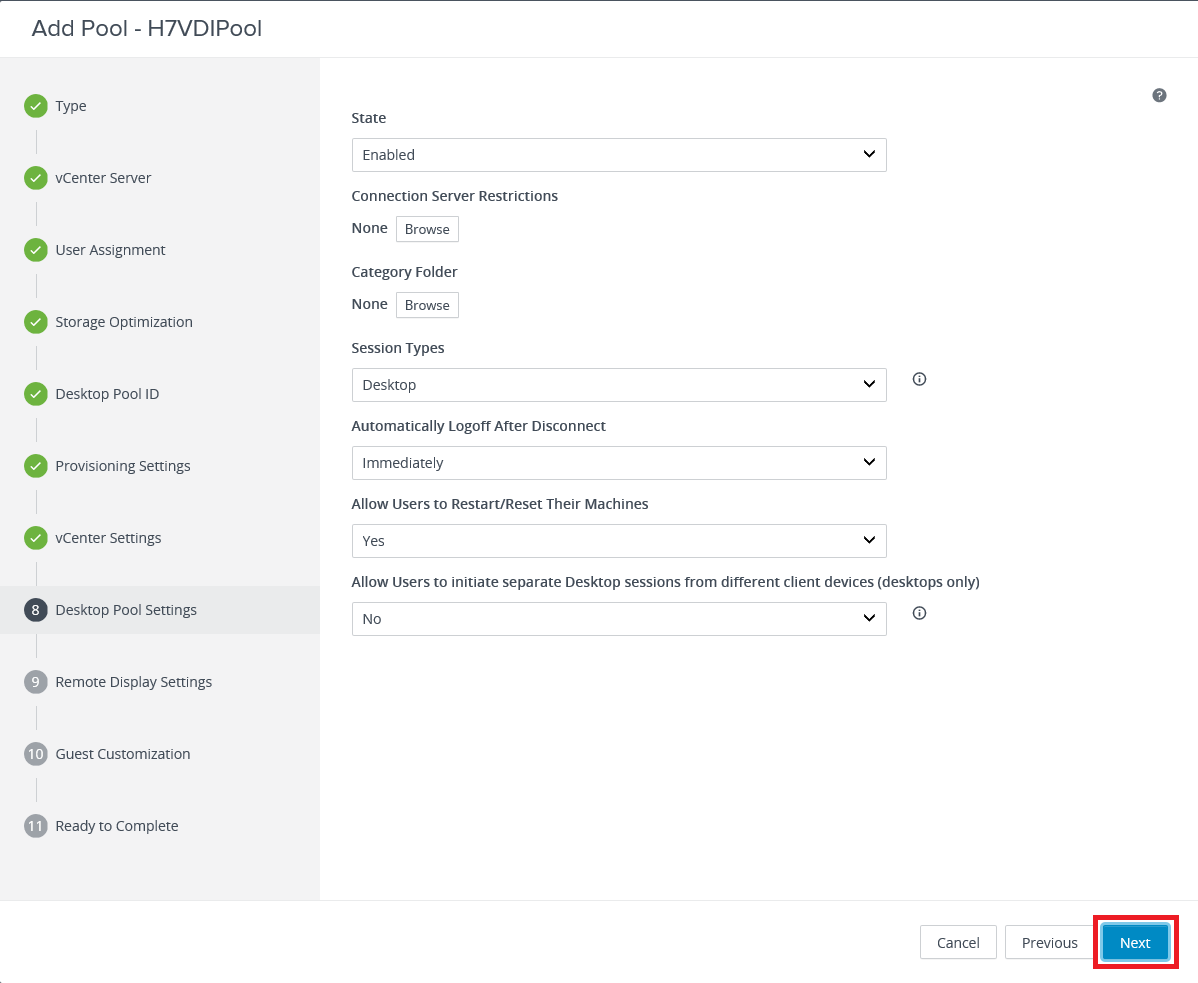
Select the necessary options and click Next, as shown in Figure 84.
I left Session Types at Desktop, changed Automatically Logoff After Disconnect to Immediately, and changed Allow Users to Restart/Reset Their Machines to Yes.
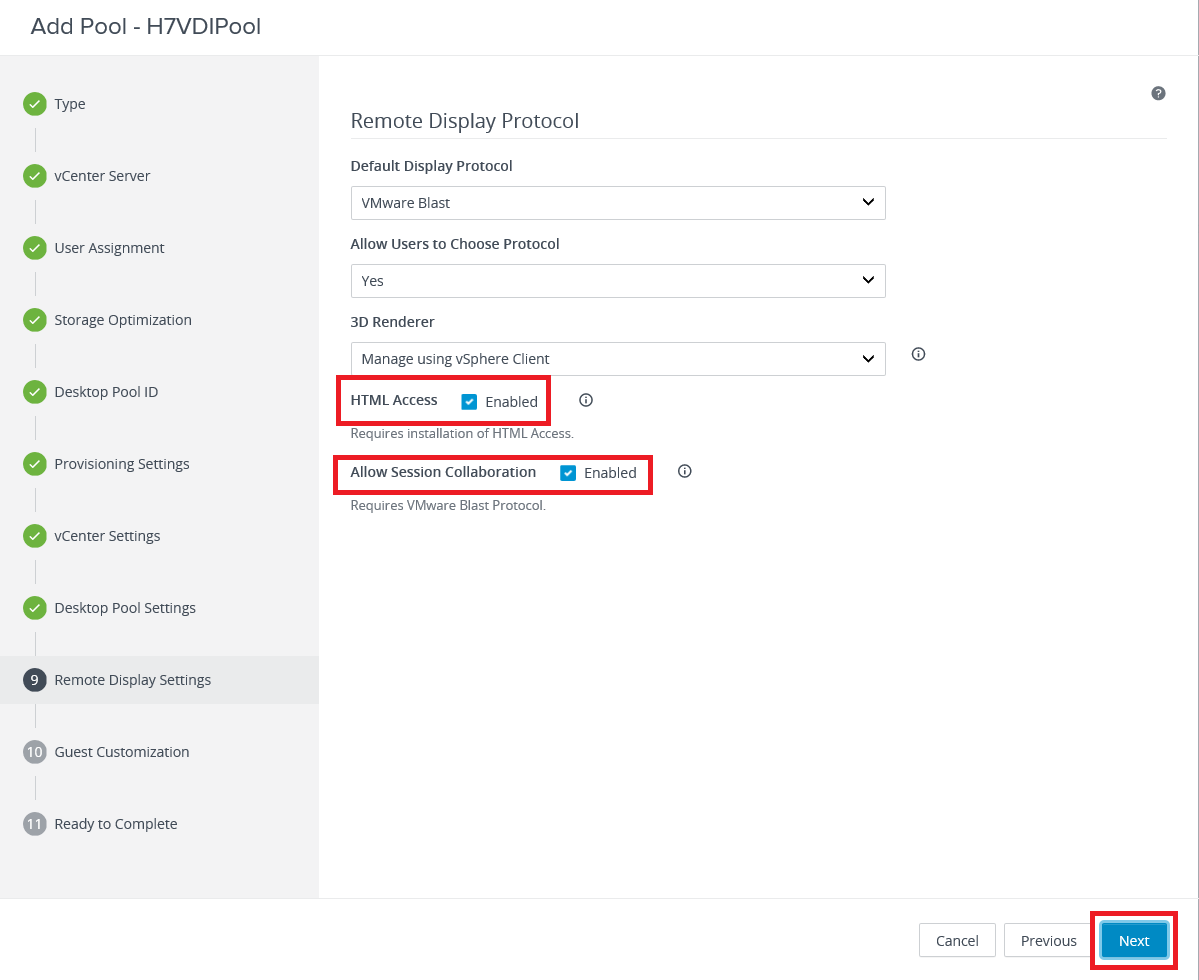
Select HTML Access and Allow Session Collaboration and click Next, as shown in Figure 85.
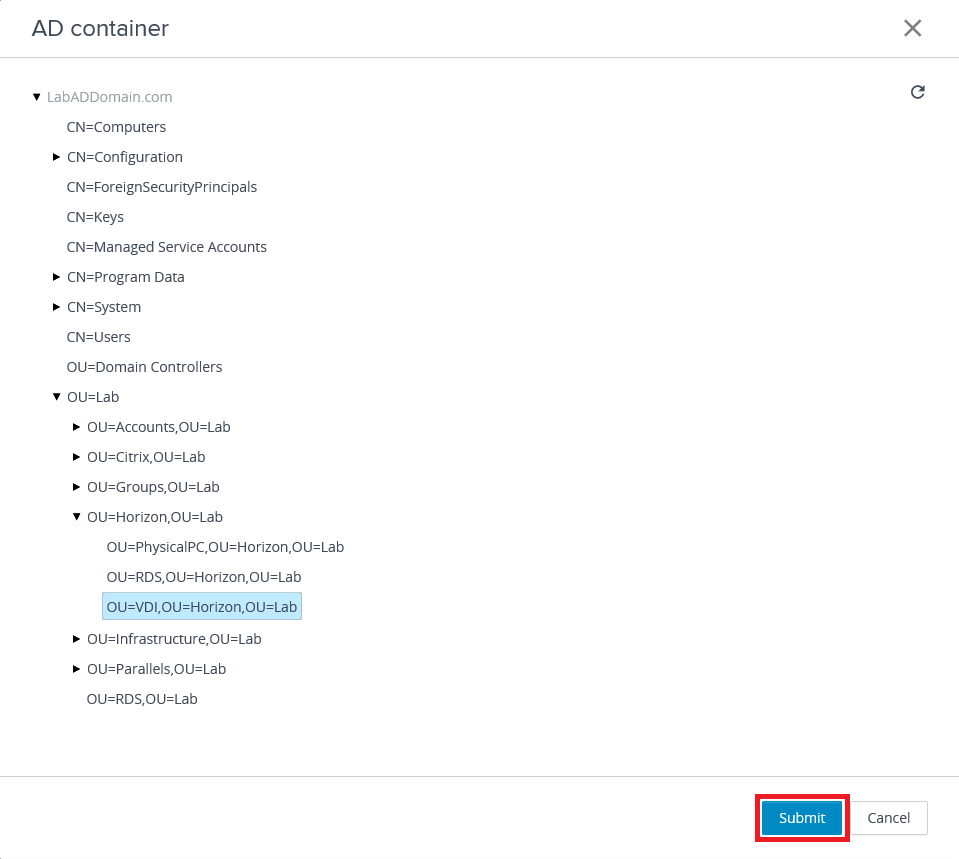
To select a location in Active Directory (AD) to place the created Pool VMs, click Browse, as shown in Figure 86.
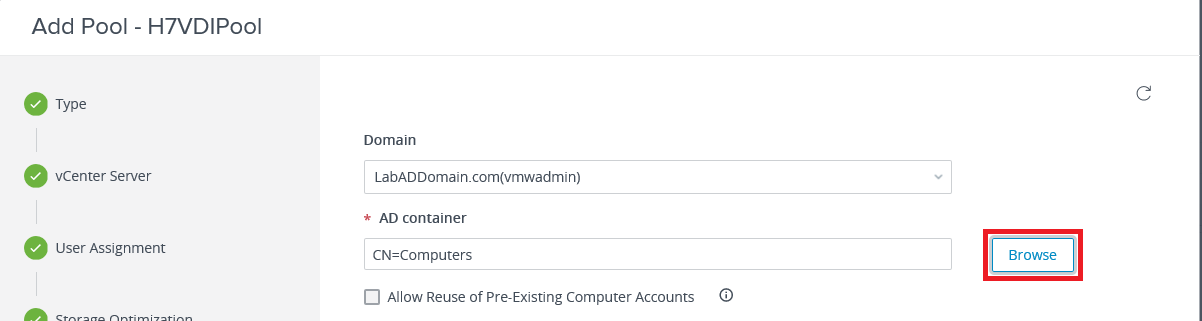
Select the OU and click Submit, as shown in Figure 87.
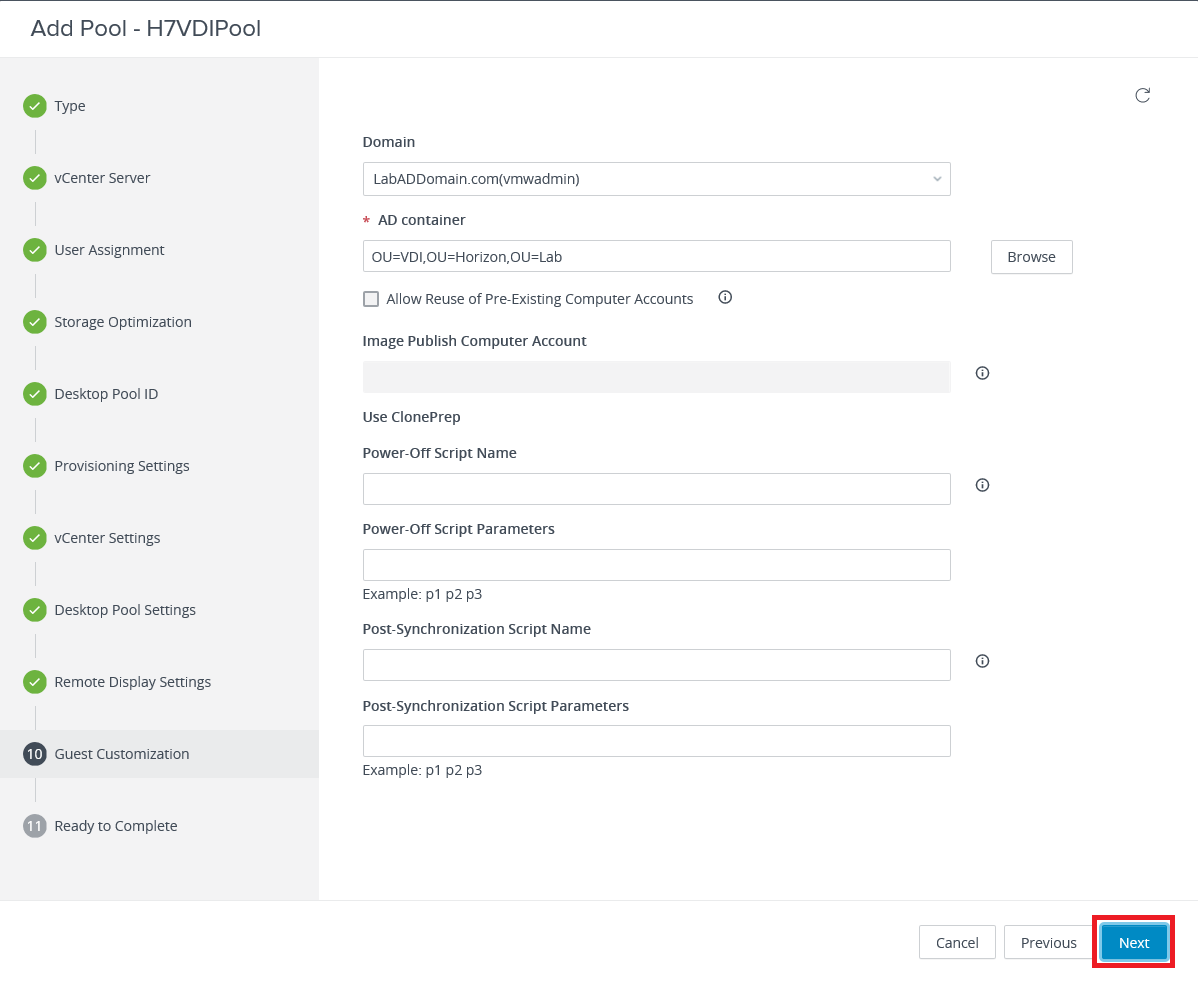
Click Next, as shown in Figure 88.
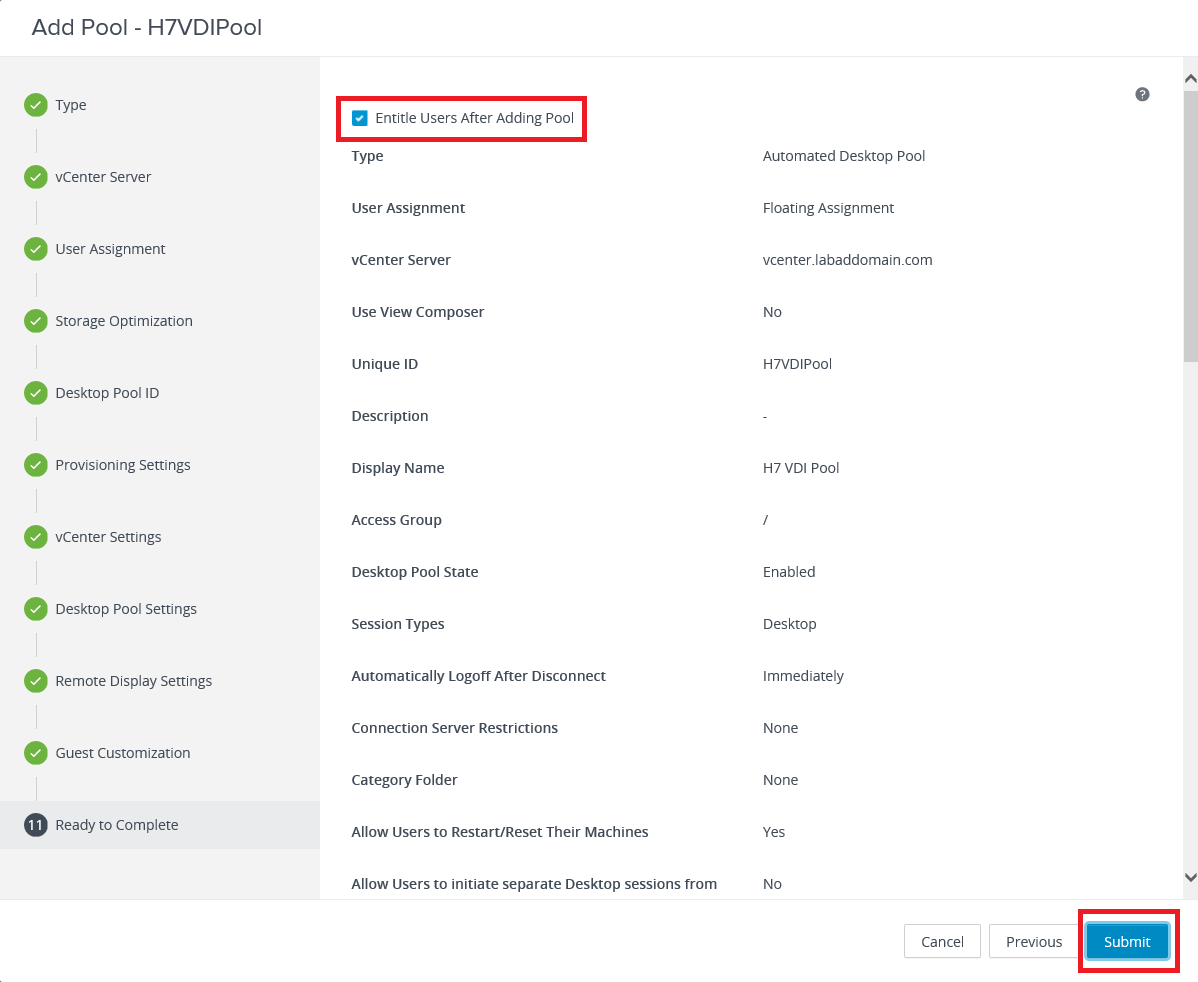
Select Entitle Users After Adding Pool, and click Submit to finish adding the Pool, as shown in Figure 89.
Click Add as shown in Figure 90.
Find and select the user(s) or group(s) and click OK, as shown in Figure 91.
Click OK, as shown in Figure 92.
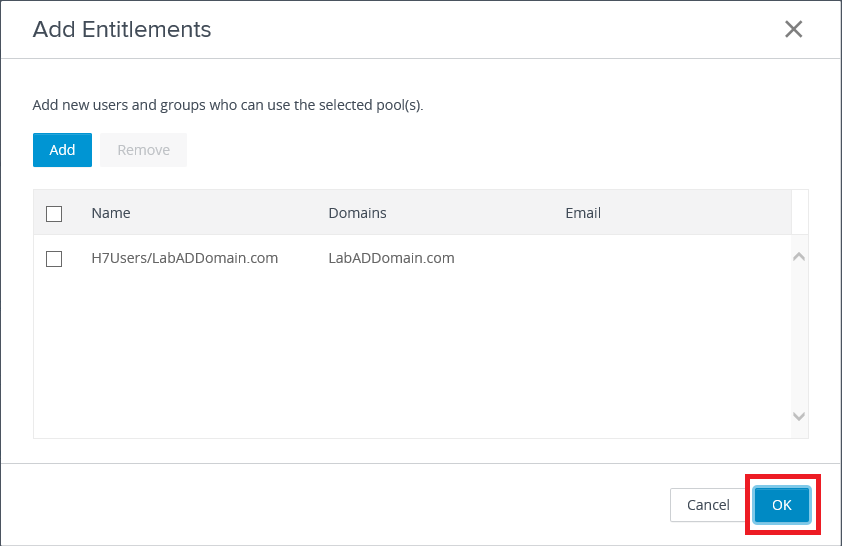
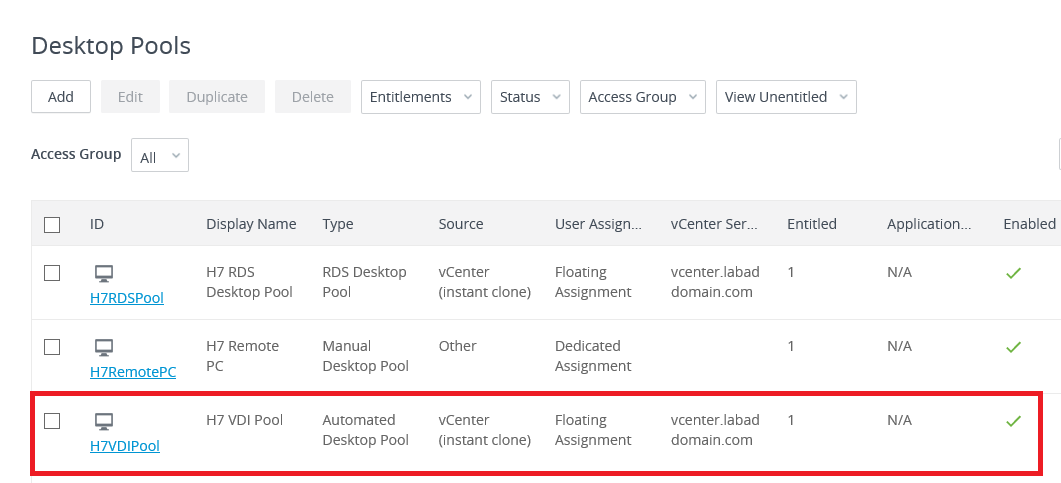
Figure 93 shows the Pool is added.
vCenter
Now that we created the RDS Farm and all three Pools and added Entitlements, all the Parent VMs, regular VMs, and folders are created.
For my lab, I had to wait about 20 minutes for all the various tasks to complete.
Figure 94 shows my vCenter after all tasks are complete.
Again, for comparison, Figure 95 shows the utilization of my cluster before starting the Horizon lab.

One item to need to tell you, after running through this Horizon lab a couple of times, when I got to this point, my VCSA (with 10GB RAM) complained of running out of memory. I had to increase the RAM to 12GB to keep my VCSA from throwing a memory error issue.
Figure 96 shows the current utilization.
Over 107GB of RAM used for one VCSA, one Connection Server, one Windows 10 VDI VM, one Server 2019 RDS VM, and 12 Parent VMs. I cannot imagine the resource utilization if there were multiple RDS Farms/Pools and multiple VDI Pools. I hope a future version of Horizon improves on this resource utilization situation.
Publishing Applications
Now on to publishing applications from the RDS server.
In the left frame, under Inventory, click Applications, as shown in Figure 97.

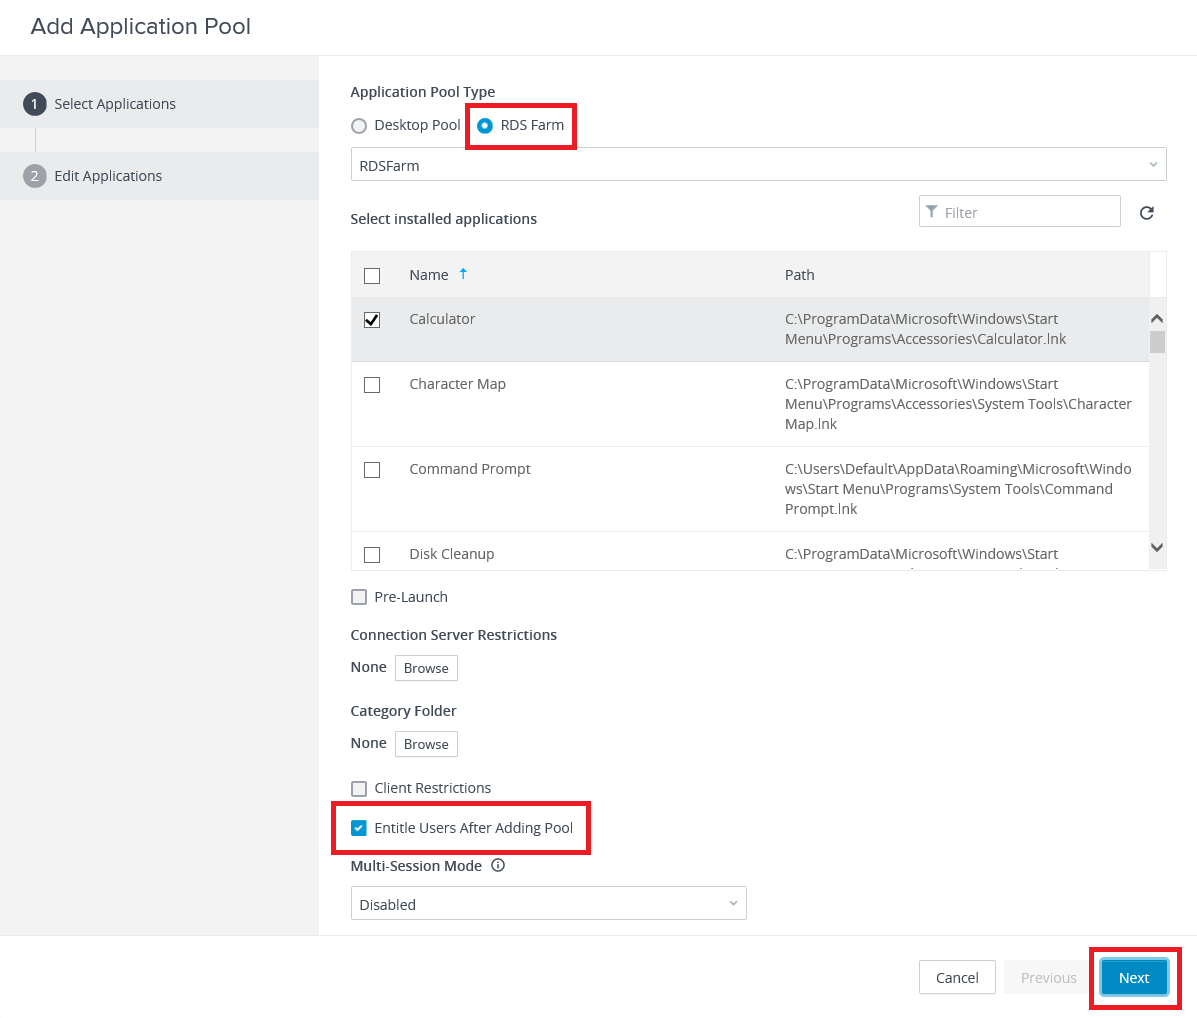
Click Add and then Add from Installed Applications, as shown in Figure 98.
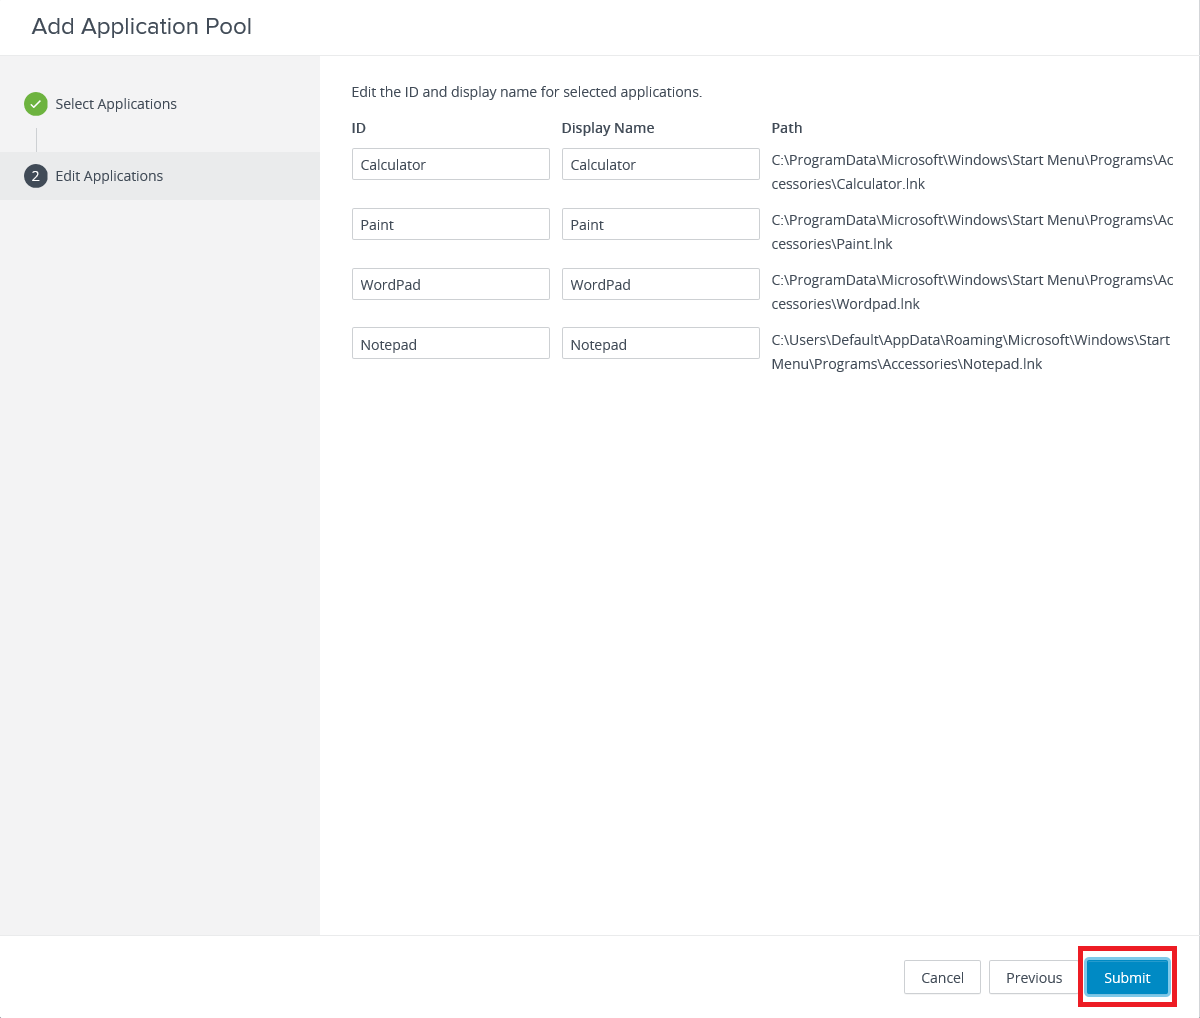
Select RDS Farm and select the applications to publish. I selected Calculator, Notepad, Paint, and WordPad. Verify Entitle Users After Adding Pool is selected and click Next, as shown in Figure 99.
If needed, update the application ID or Display Name and click Submit, as shown in Figure 100.
Note: For me, it usually took Submitting twice to get all the applications submitted, as shown in Figure 101. Don’t worry if it takes multiple tries. The process always works, eventually, as shown in Figure 102. These multiple submissions issues happened every time I ran through this process.


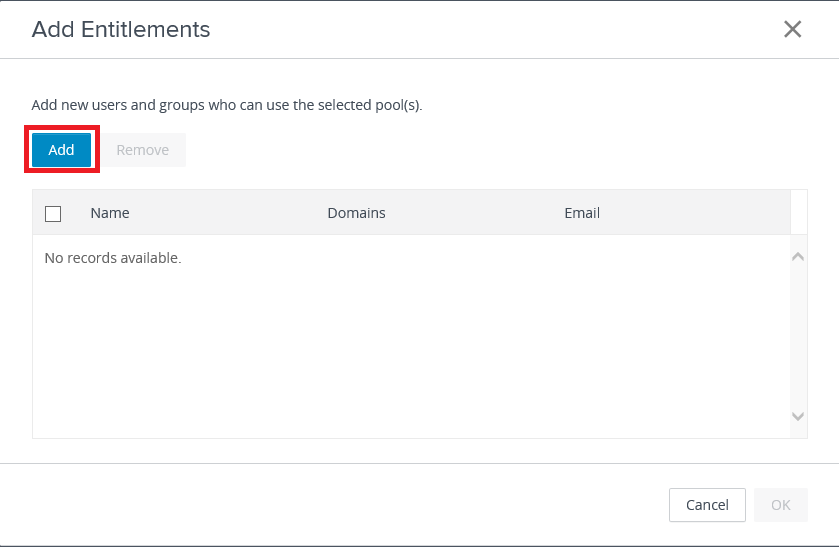
Click Add, as shown in Figure 103.
Find and select the user(s) or group(s) and click OK.

Click OK, as shown in Figure 105.
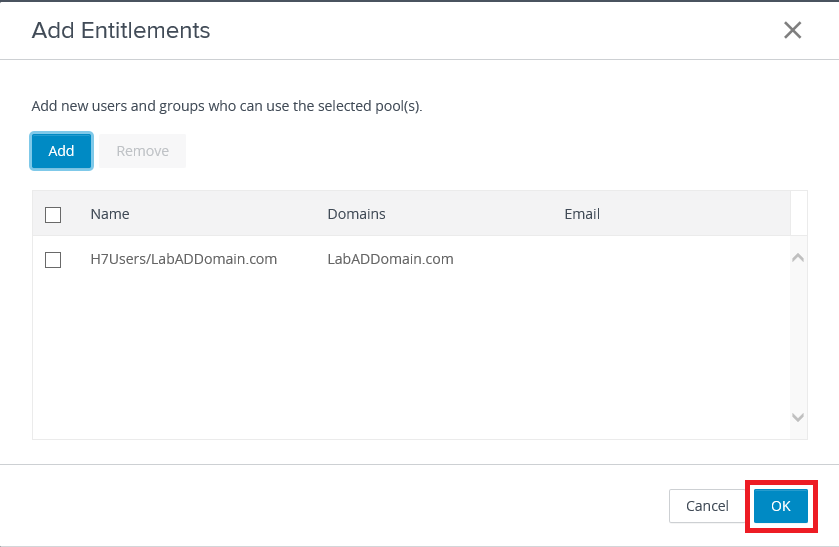
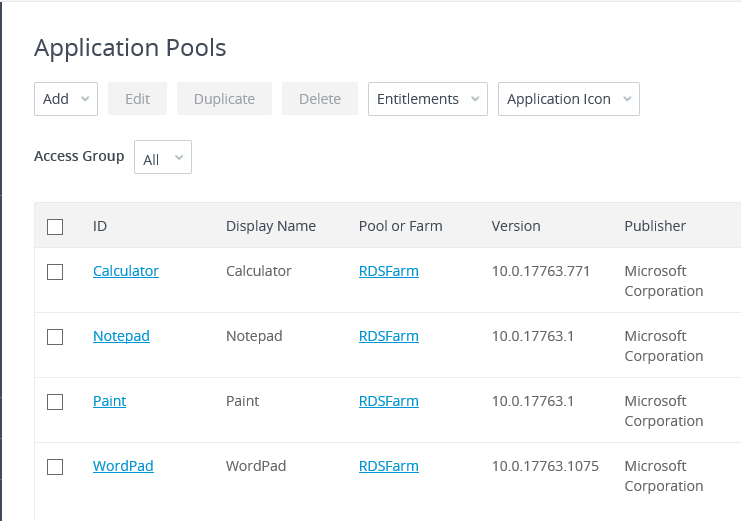
Figure 106 shows the applications are published.
ControlUp
Now that the Pools are added, what does ControlUp show us?
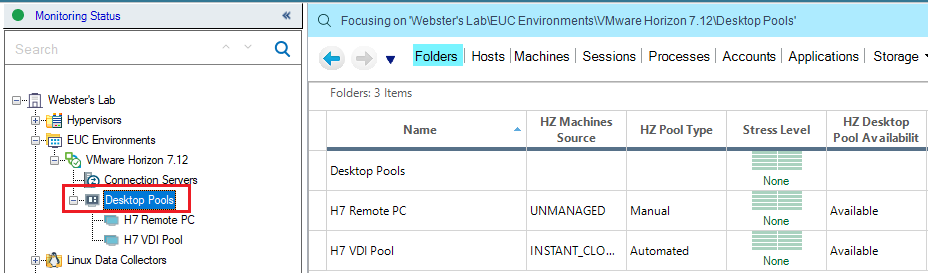
Go back to the ControlUp console, expand EUC Environments, expand your Horizon environment, click on Desktop Pools, and click Focus, as shown in Figure 107.

Expand Desktop Pools, as shown in Figure 108, and the two Desktop Pools are shown.
Currently, ControlUp doesn’t support RDS Farms. I hope that capability comes soon. You can still manually add your RDS servers to ControlUp. We will cover that In Part 11.
Up next: Accessing the published resources