[Updated 8-Nov-2021]
The vCenter Server Appliance (VCSA), like all software, receives updates. The VCSA makes it drop-dead simple to update. Before you start:
- Clear your browser’s cookies and cache. I recommend this to keep from getting the spinning wheel of nothing after the VCSA update.
- Backup the VCSA.
- Take a snapshot of the vCenter VM.
Note: From Abdullah Abdullah. When doing upgrades, it is always good to consult with VMware’s Interoperability Matrix and verify the upgrade path BEFORE attempting the upgrade.
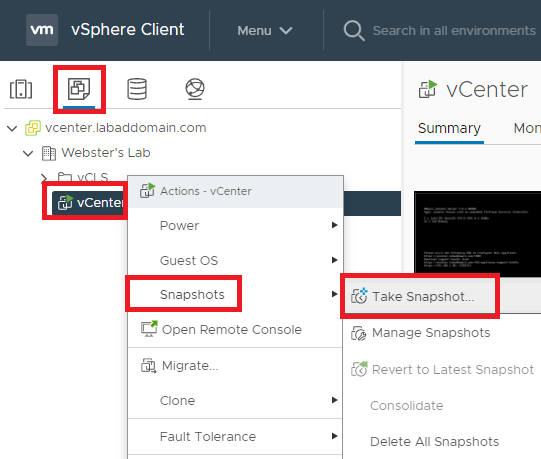
To take a snapshot of the vCenter VM from the vSphere client, in the left pane, click VMs and Templates, right-click the vCenter VM, click Snapshots, and click Take Snapshot…, as shown in Figure 1.
Enter a Name, an optional Description, and click Create, as shown in Figure 2.
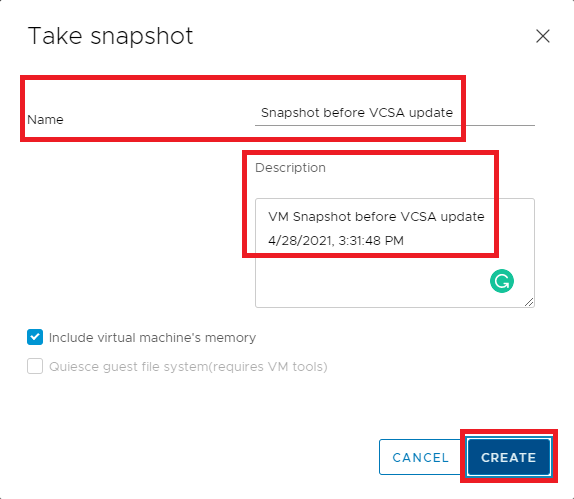
In my lab, creating the snapshot took about four minutes.
Now that we have a backup and a snapshot of the VCSA, let’s perform the update.
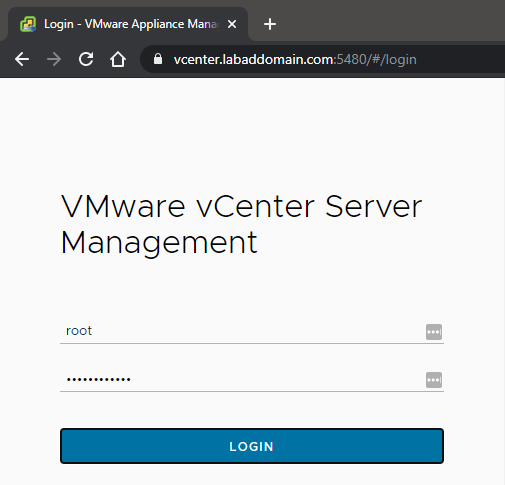
In your web browser, go to the VCSA management interface, https://VCSA-ip-address-or-fqdn:5480, as shown in Figure 14.

Log in to the VMware vCenter Server Management console as root using the password created during the install of the VCSA, as shown in Figures 4 and 5.
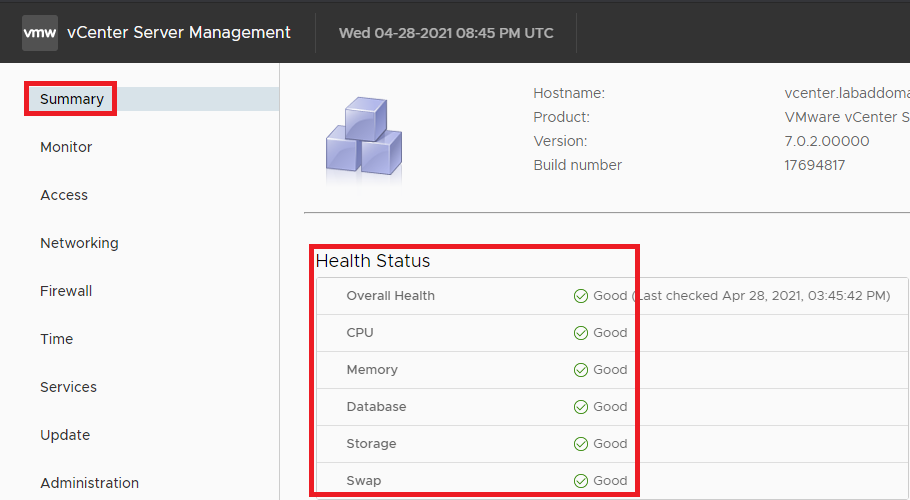
The first thing we need to do is verify there are no health issues with the VCSA. In the left pane, click Summary, and in the right pane, view the Health Status, as shown in Figure 6. Verify that all items show as Good. If any item is not Good, determine the cause of the health issue, remediate the issue, and restart the update process.
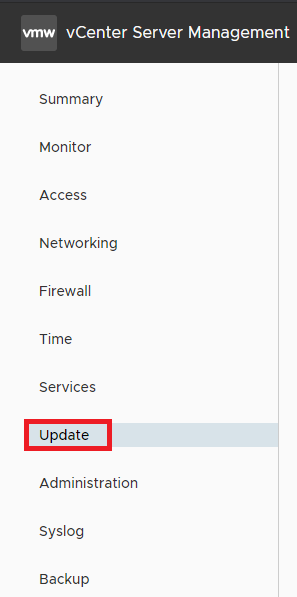
In the left pane, click Update, as shown in Figure 7.
If there is more than one update available, the Update screen states that VCSA updates are cumulative.
Select the most recent update available and click STAGE AND INSTALL, as shown in Figure 8.

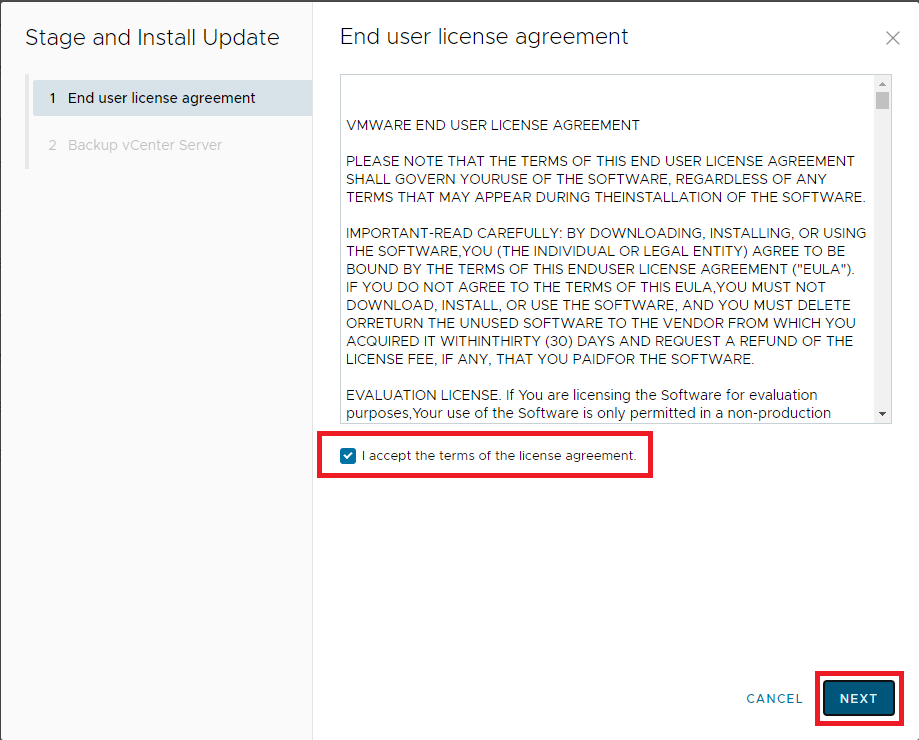
Select I accept the terms of the license agreement and click Next, as shown in Figure 9.
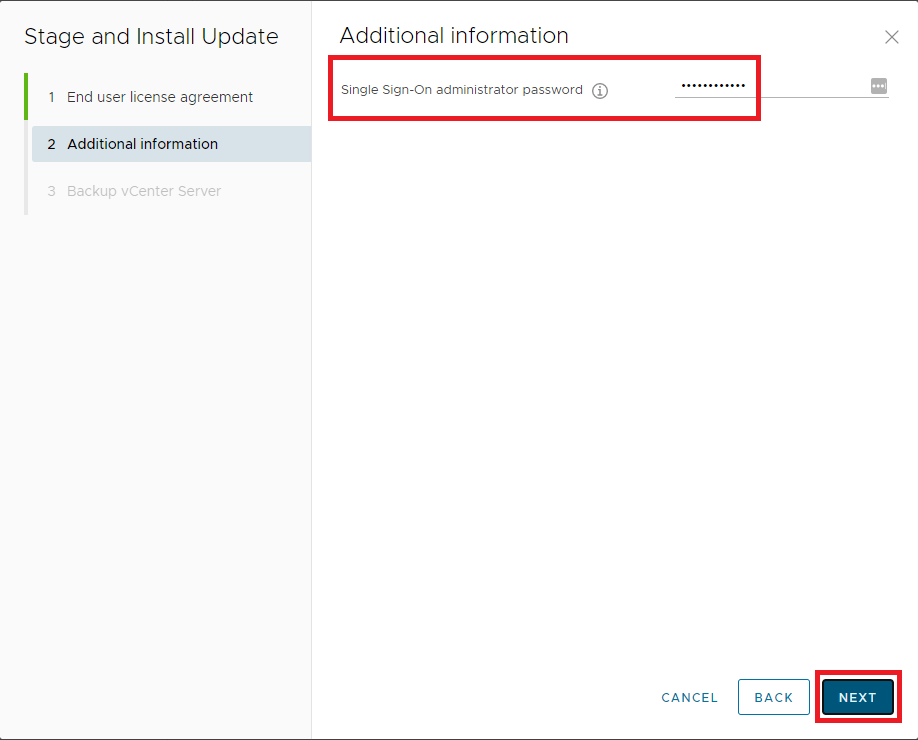
Enter the password for the vCenter’s administrator account and click Next, as shown in Figure 10.
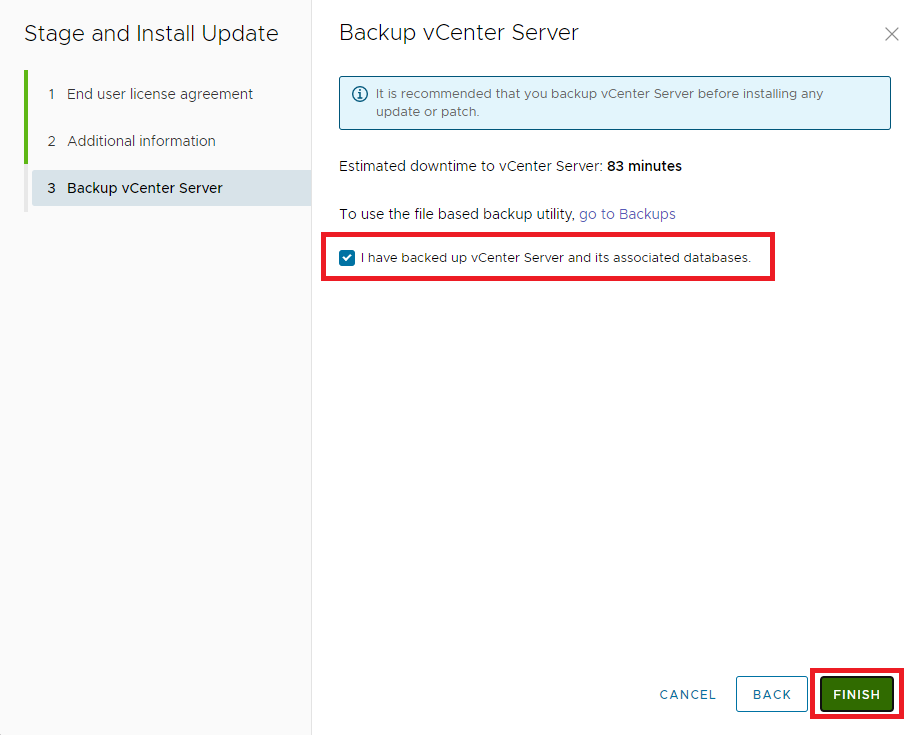
Select I have backed up vCenter Server and its associated databases and click Finish, as shown in Figure 11. I know you are not going to lie. You did a backup first, right?
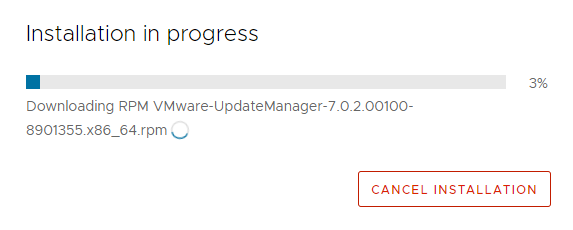
The Staging and Installation begin, as shown in Figure 12.
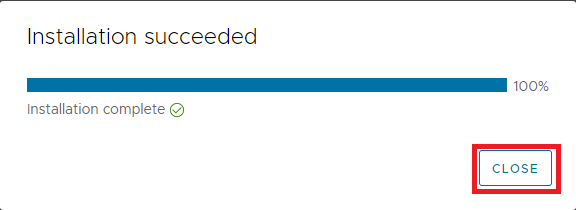
The Installation shows success, as shown in Figure 13. Click Close, and exit the browser.
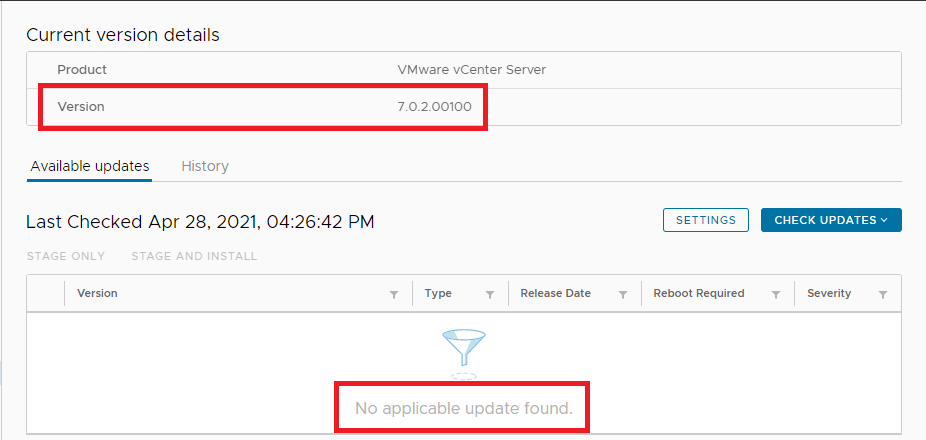
Log in to the VCSA appliance management interface and click on Update in the left pane. You see the VCSA’s current version and no Available updates on the Update screen, as shown in Figure 14.
Note: If you log in to the VCSA appliance management interface and the console never shows, clear your browser’s cookies and cache, exit your browser, and try again.
You can configure the VCSA to check for updates automatically.
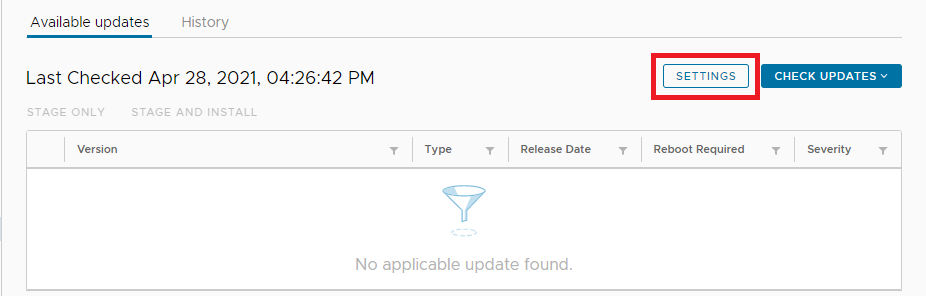
Click SETTINGS, as shown in Figure 15.
Select Check for updates automatically, enter the update check frequency, and click Save, as shown in Figure 16.
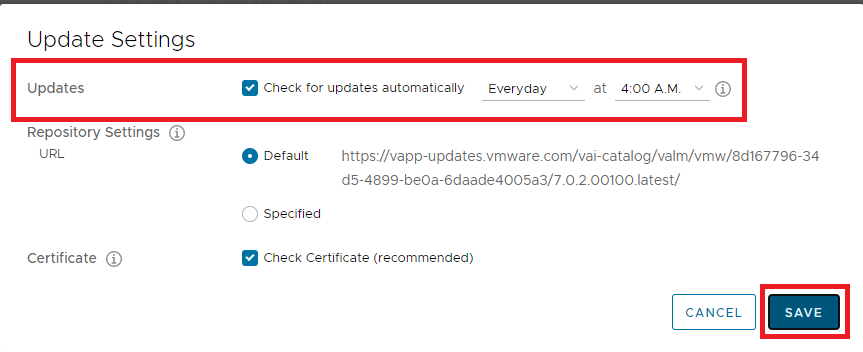
The only way to see the automatic check for updates schedule is to go back into SETTINGS.
Exit the VCSA management console.
With the update completed, there is no need to keep the snapshot made of the vCenter VM.
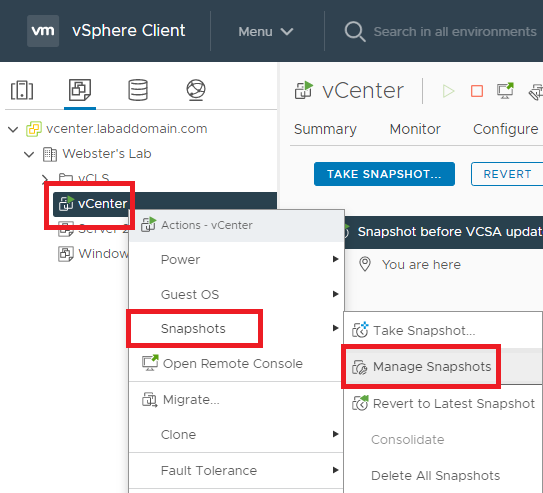
To delete the snapshot of the vCenter VM from the vSphere client, in the left pane, click VMs and Templates, right-click the vCenter VM, click Snapshots, and click Manage Snapshots, as shown in Figure 17.
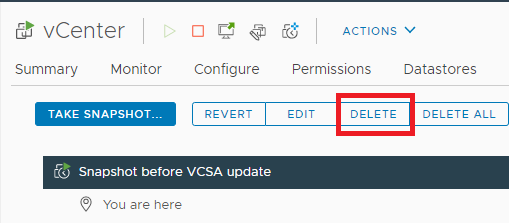
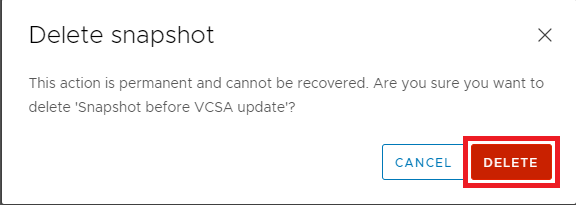
Click Delete, as shown in Figure 18.
Click Delete, as shown in Figure 19.
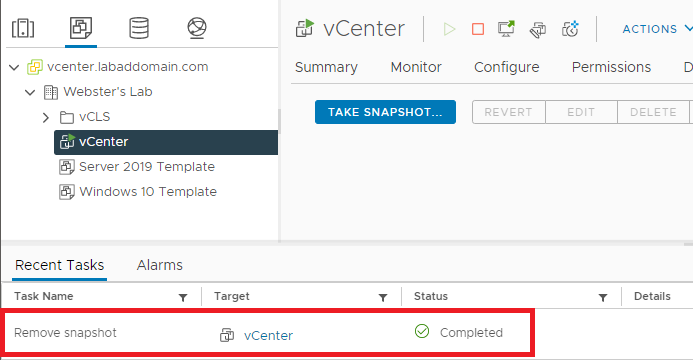
vCenter deletes the snapshot, as shown in Figure 20.
Up next: Install Citrix XenServer 8.2