[Updated 28-Aug-2021]
With both VMware vSphere and vCenter and Citrix XenServer and XenCenter installed and basic configuration completed, the next step is to create a Windows Server 2019 master image. After we build the Server 2019 master, we can start building the Microsoft infrastructure servers. For this article, I used Windows Server 2019 Standard Edition.
This article covers creating a template in both VMware vCenter and Citrix XenCenter.
VMware
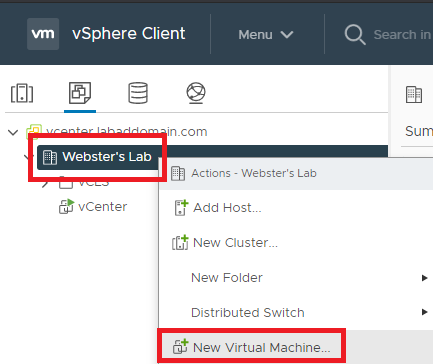
In vCenter, right-click the cluster and click on New Virtual Machine…, as shown in Figure 1.
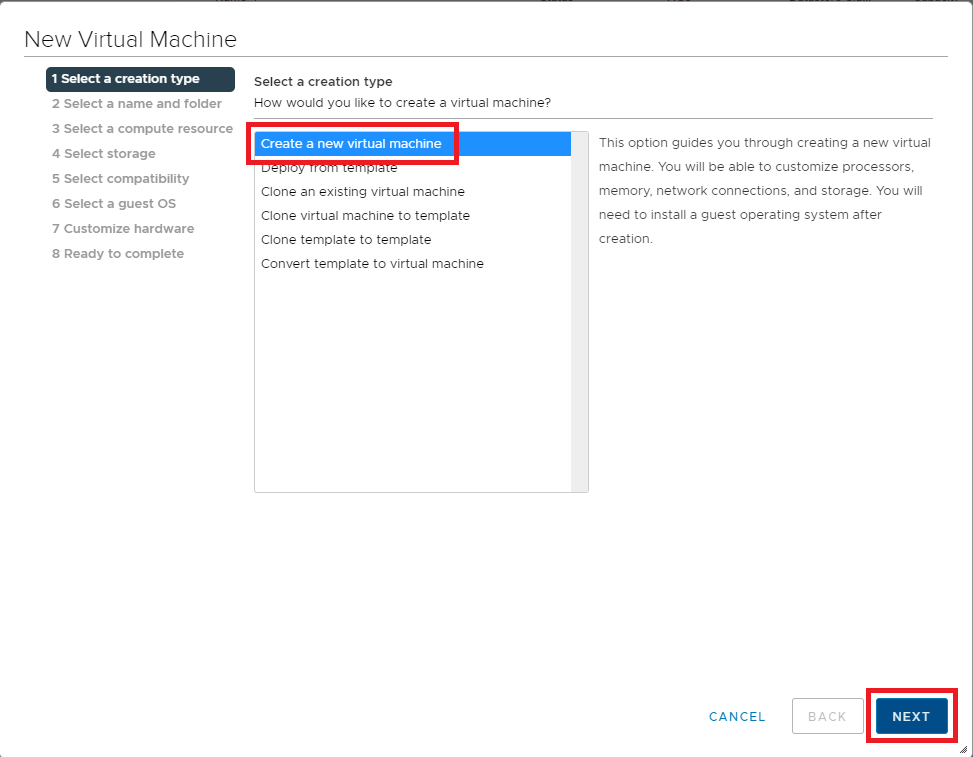
Select Create a new virtual machine and click Next, as shown in Figure 2.
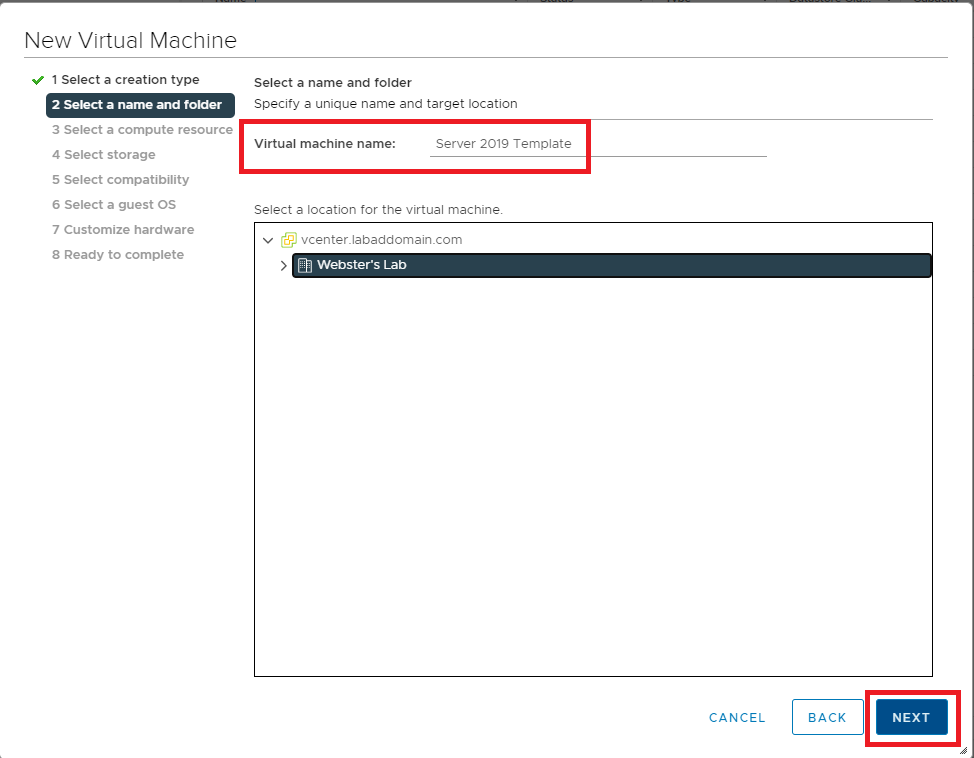
Enter a Virtual machine name and click Next, as shown in Figure 3.
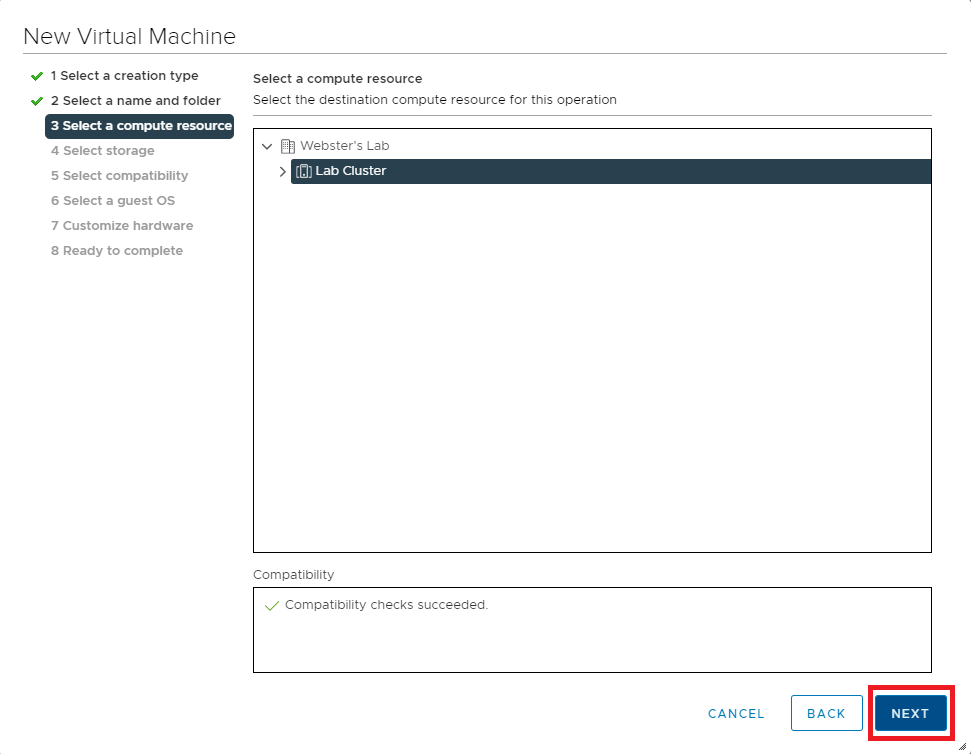
Click Next, as shown in Figure 4.
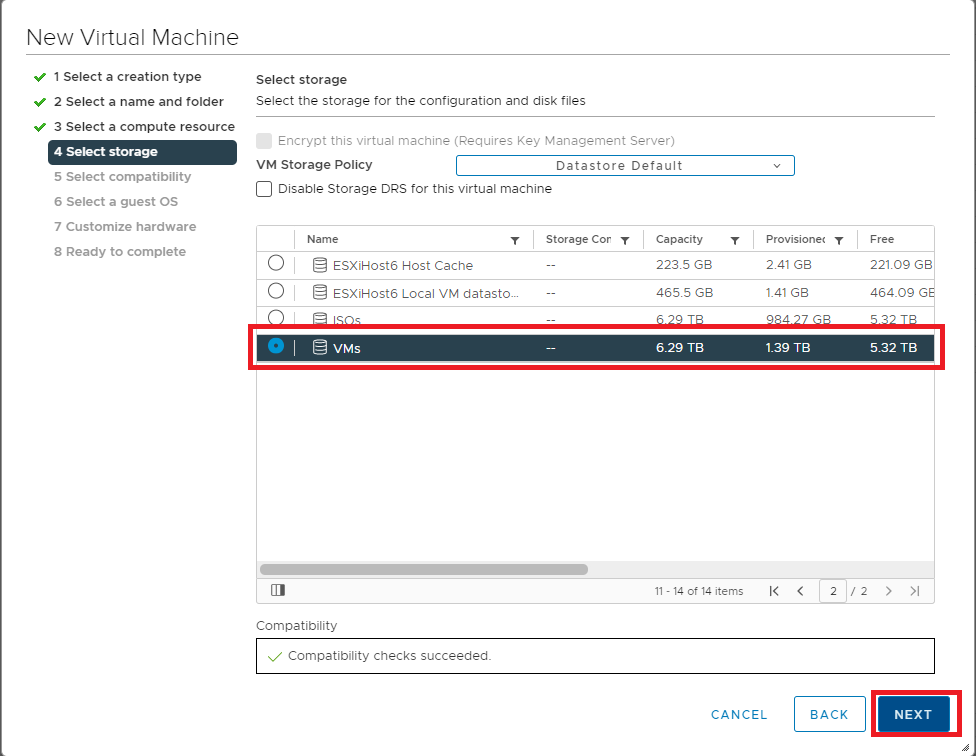
Select the NFS shared datastore created earlier in this series and click Next, as shown in Figure 5.
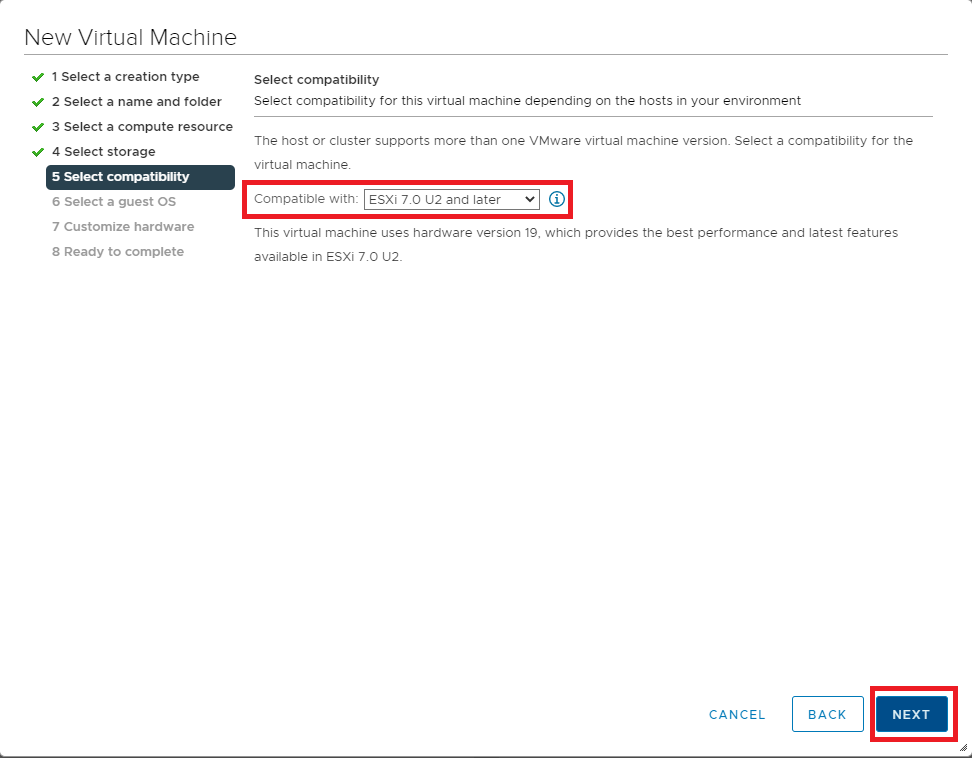
Keep the default Compatible with the value of ESXi 7.0 U2 and later and click Next, as shown in Figure 6.
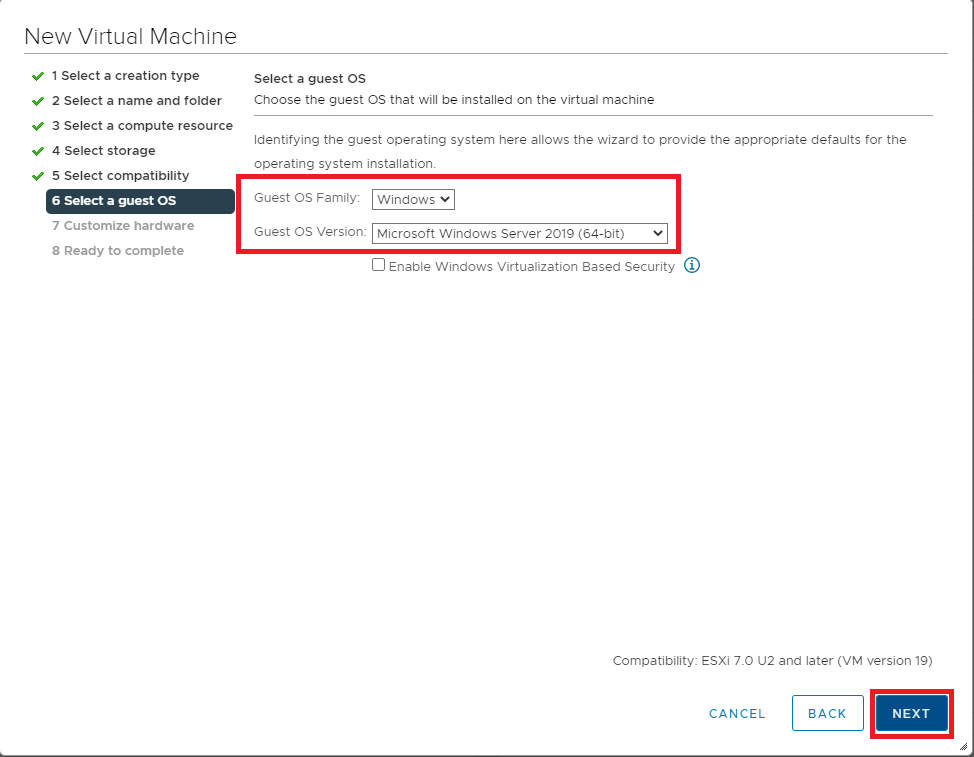
Verify that the Guest OS Family is Windows and that the Guest OS Version is Microsoft Windows Server 2019 (64-bit) and click Next, as shown in Figure 7.
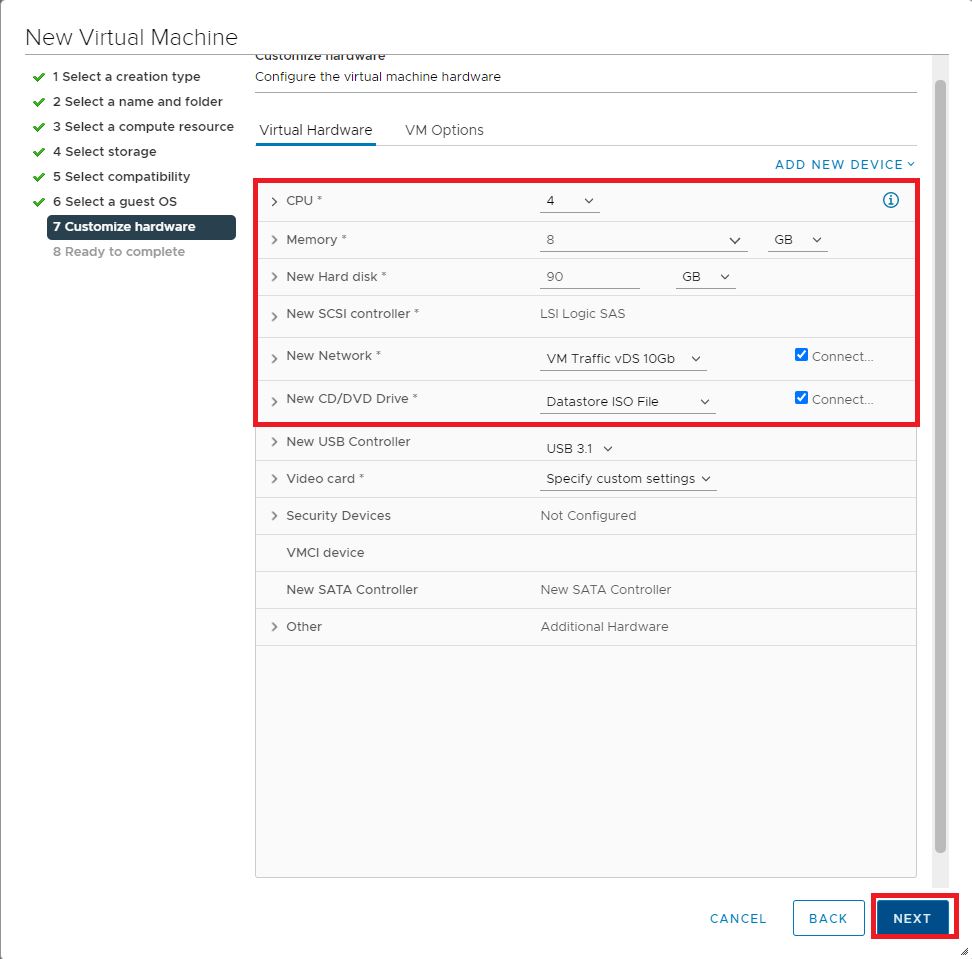
For CPU and Memory, use what works for your environment. For me, as shown in Figure 8, I used the following values:
- CPU: 4
- Memory: 8 GB
- New Hard disk: 90GB with Disk Provisioning type Thin Provision
- New SCSI controller: LSI Logic SAS
- New Network: VM Traffic vDS 10Gb (or whatever VM traffic vDS you created) and Adapter Type must be vmxnet3
- New CD/DVD Drive: Select the Windows Server 2019 ISO file from the ISO Datastore. Make sure to also select Connect At Power On
Use default values for the remaining options and click Next, as shown in Figure 8.
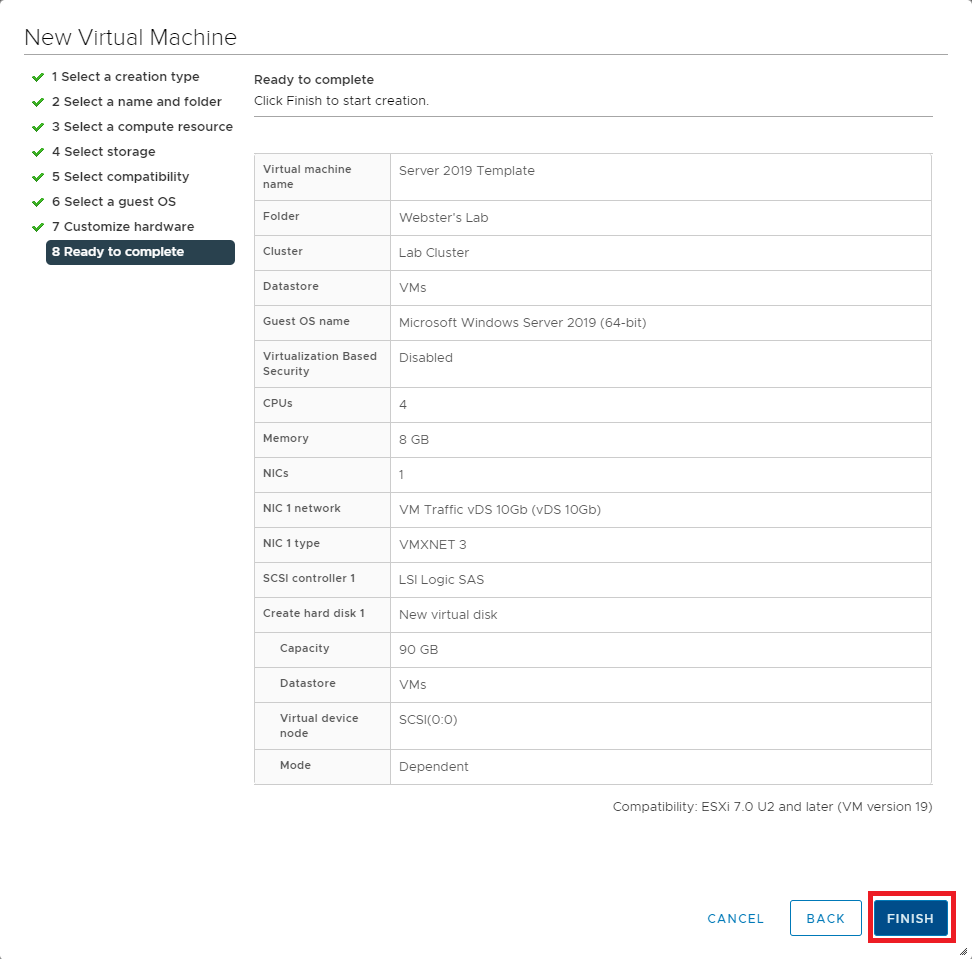
Verify that the configuration data for the new VM is correct and click Finish, as shown in Figure 9. If any item is incorrect, click Back, correct the item(s), and continue.
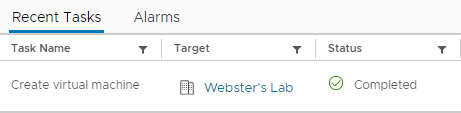
Wait for the creation of the VM to complete, as shown in Figure 10.
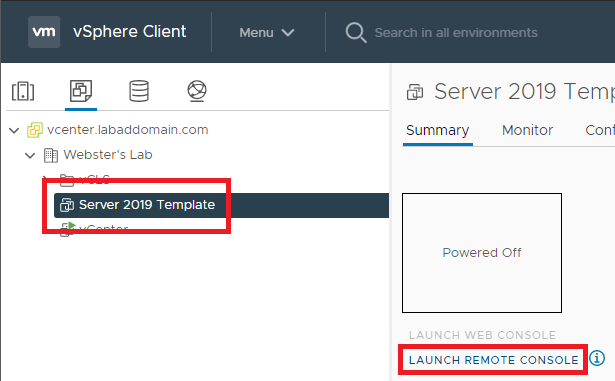
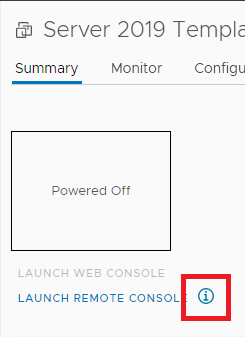
In vCenter, select the new template VM, and in the right pane, click LAUNCH REMOTE CONSOLE, as shown in Figure 11.
Note: From Abdullah Abdullah. You can use the Web Console instead of the Remote Console, but the VM must be powered on first to make the option available.
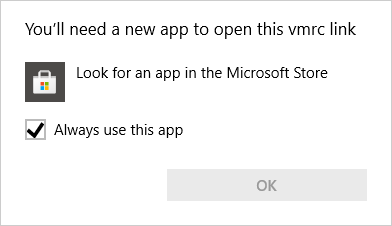
If you receive a popup stating You’ll need a new app to open this vrmc link, as shown in Figure 12, press Esc.
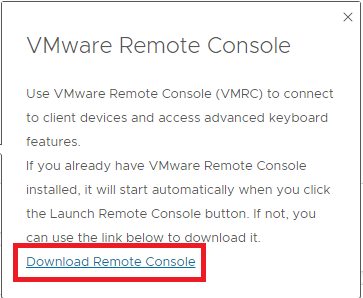
In vCenter, click the circled lower case I, as shown in Figure 13.
In the popup that appears, click Download Remote Console, as shown in Figure 14.
Follow the steps to install the VMware Remote Console, as shown in Figure 15.

Once you install the console, in vCenter, select the new template VM, and in the right pane, click LAUNCH REMOTE CONSOLE, as shown in Figure 11.
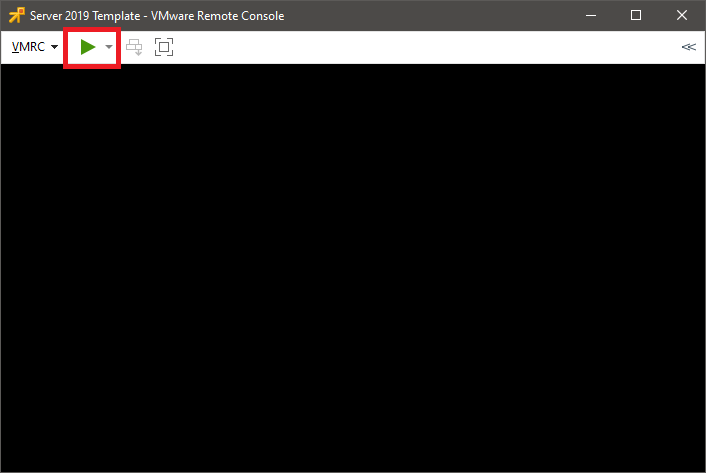
Depending on the speed of your ESXi hosts, you need to be quick in the following steps.
- Click the Green start button, as shown in Figure 16,
- Click inside the console window,
- Press a key, for example, the spacebar when prompted, as shown in Figure 17.
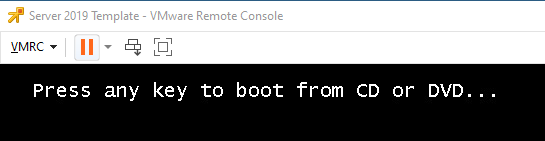
The installation of Windows Server 2019 begins.
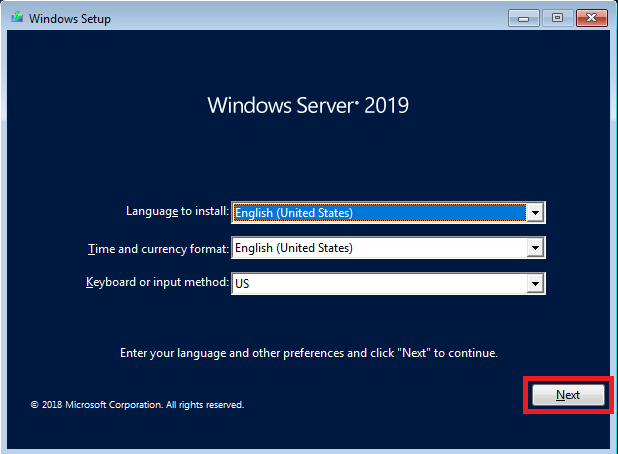
Select the options appropriate for you and click Next, as shown in Figure 18.
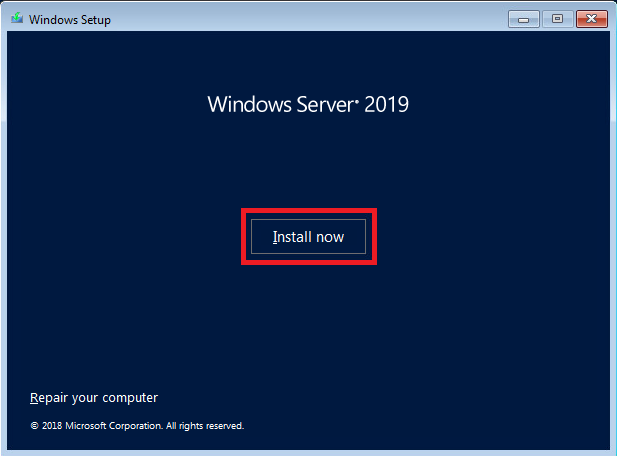
Click Install now, as shown in Figure 19.
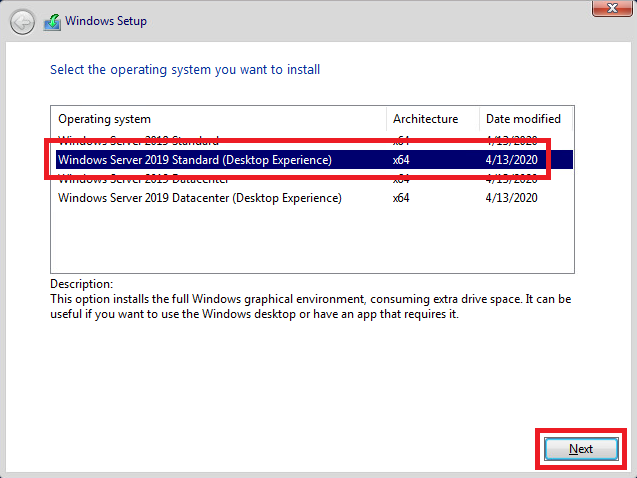
The Microsoft Action Pack Subscription has licenses for Windows Server 2019 Standard. I selected Windows Server 2019 Standard (Desktop Experience). Select either Standard or Datacenter, depending on the license you have.
Click Next, as shown in Figure 20.
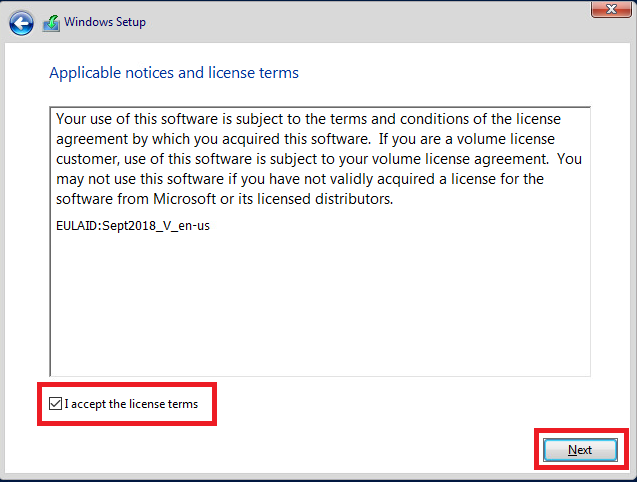
Select I accept the license terms and click Next, as shown in Figure 21.
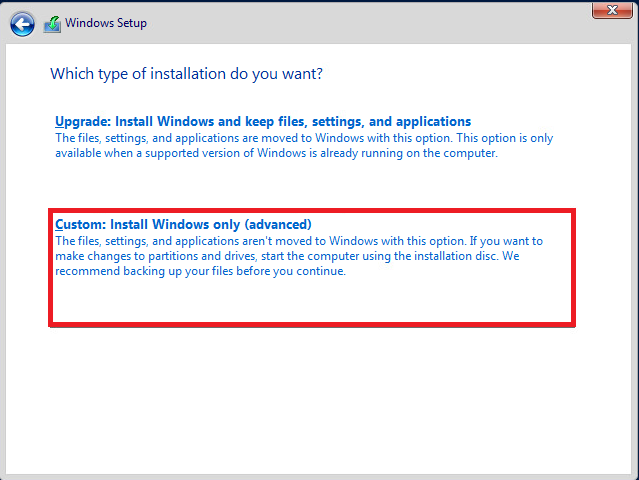
Select Custom: Install Windows only (advanced), as shown in Figure 22.
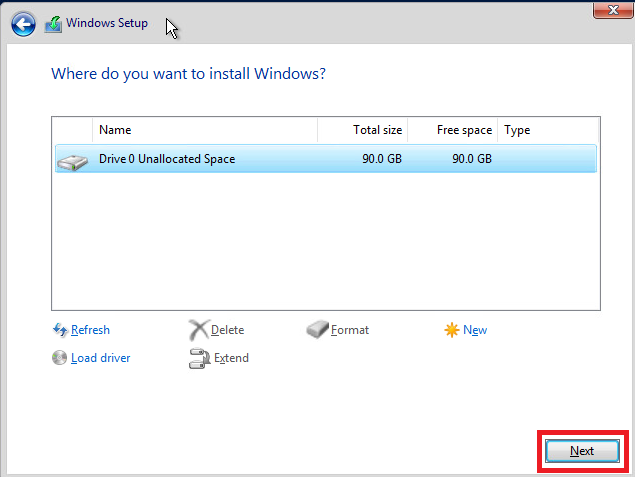
Click Next, as shown in Figure 23.
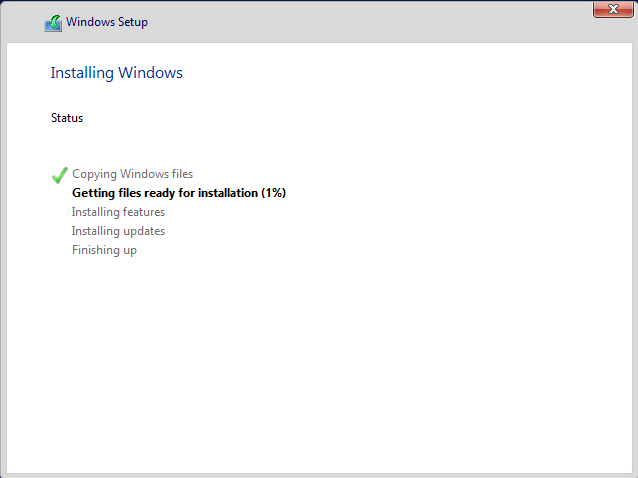
The Server 2019 installation begins, as shown in Figure 24.
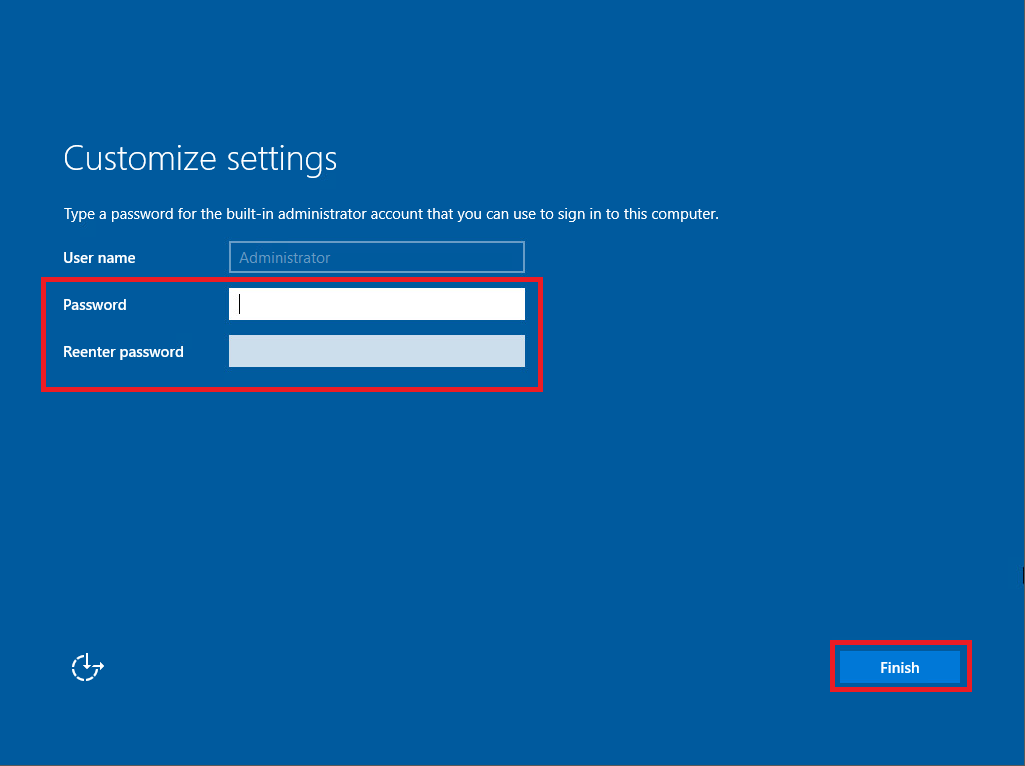
After the VM restarts, enter a password for the local Administrator account and click Finish, as shown in Figure 25.
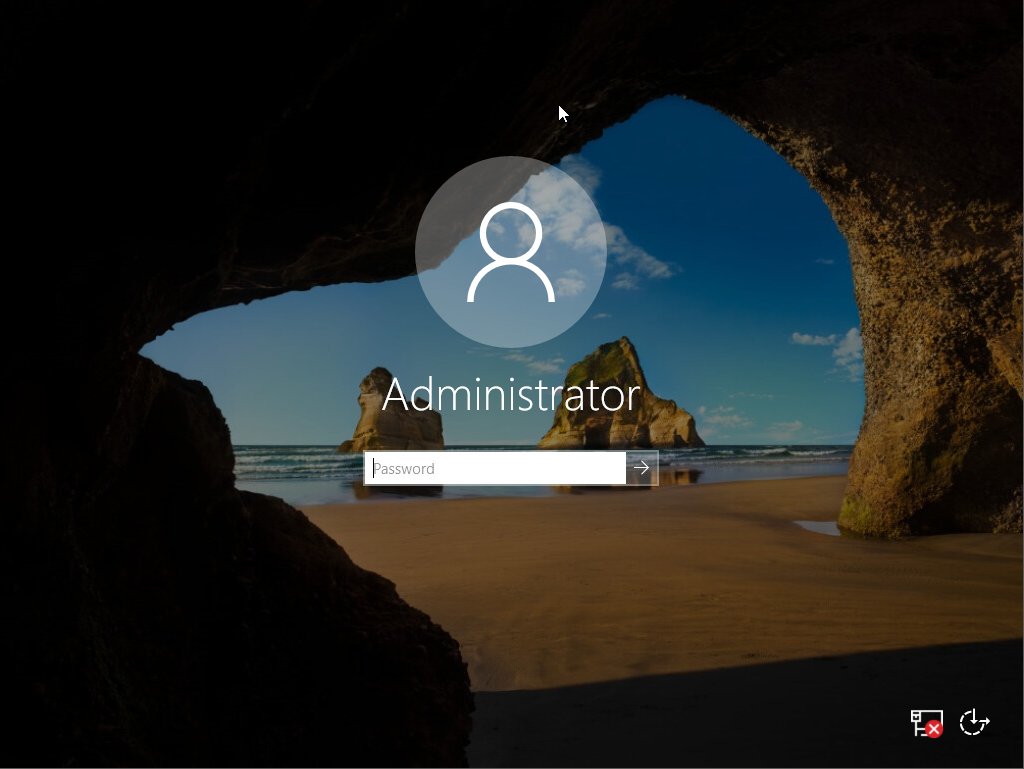
Press Ctrl-Alt-Insert, enter the password for the Administrator account, and press Enter, as shown in Figures 26 and 27.
Note: If you press Ctrl-Alt-Delete, your local computer processes that key combination. Ctrl-Alt-Insert is what most virtualization and remote consoles accept as Ctrl-Alt-Delete.
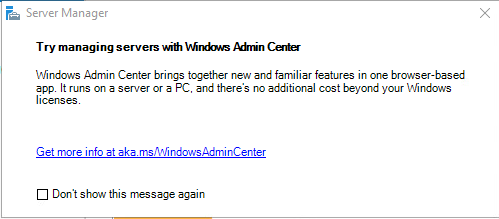
Close the popup shown in Figure 28 for Windows Admin Center. If you don’t want to see this popup again, select Don’t show this message again.
We need to install the VMware tools. Please see Overview of VMware Tools for a complete description.
Overview of VMware Tools
VMware Tools is a suite of utilities that enhances the performance of the virtual machine’s guest operating system and improves the management of the virtual machine. Without VMware Tools installed in your guest operating system, guest performance lacks important functionality. Installing VMware Tools eliminates or improves these issues:
- Low video resolution
- Inadequate color depth
- Incorrect display of network speed
- Restricted movement of the mouse
- Inability to copy and paste and drag-and-drop files
- Missing sound
- Provides the ability to take quiesced snapshots of the guest OS
- Synchronizes the time in the guest operating system with the time on the host
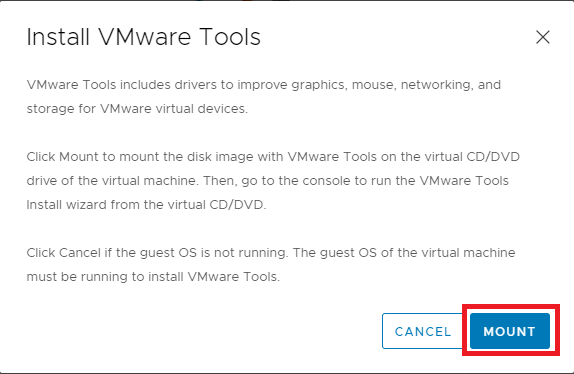
In vCenter, click Install VMware Tools, as shown in Figure 29.

Click Mount, as shown in Figure 30.
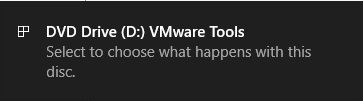
In the VM, you see a popup in the lower right corner, as shown in Figure 31.
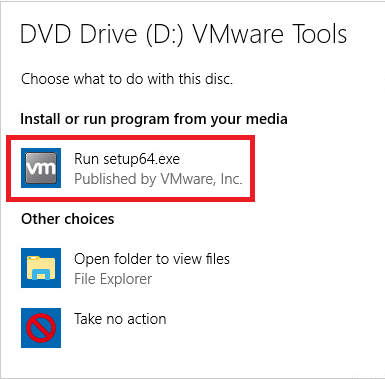
Click that popup and then click Run setup64.exe in the popup in the upper right corner, as shown in Figure 32.
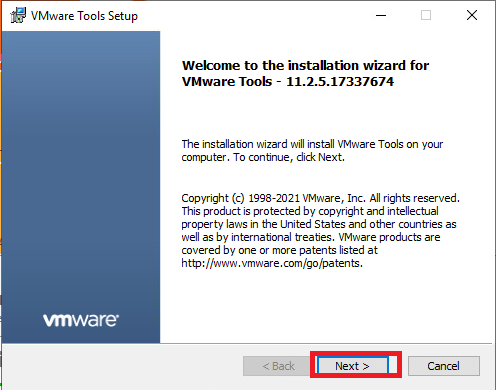
Click Next, as shown in Figure 33.
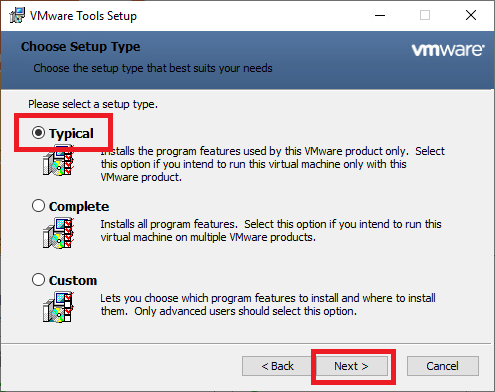
Select Typical and click Next, as shown in Figure 34.
Click Install, as shown in Figure 35.
You may receive a Networks popup message. Decide whether you want this VM discoverable on your network and click either Yes or No, as shown in Figure 36.
Click Finish, as shown in Figure 37.
Click Yes, as shown in Figure 38.
After the VM restarts, log back in and click Local Server in the left pane of Server Manager, as shown in Figure 39.
We use a template to create additional VMs. These additional VMs, when first powered on, go through what Microsoft calls the Out of Box Experience or OOBE.
When customers turn on their Windows PCs for the first time, they see the Windows Out of Box Experience (OOBE). OOBE consists of a series of screens that require customers to accept the license agreement, connect to the internet, log in with or sign up for a Microsoft Account, and share information with the OEM.
The following items are available to customize. Some make no sense to customize as the OOBE resets them to default values.
Note: I made the settings in bold to my template VM.
- Computer name: Don’t change
- Workgroup: Changeable
- Windows Defender Firewall: Changeable
- Remote management: Changeable
- Remote Desktop: Changeable
- Allow remote connections to this computer
- NIC Teaming: No need to change as there is only one network card at this time
- Ethernet0: Don’t change
- Last installed updates: Keeps date from Template VM
- Windows Update: Changeable
- Last checked for updates: Keeps date from Template VM
- Windows Defender Antivirus: Changeable
- Feedback & Diagnostics: Changeable
- Diagnostic data: Full
- Improve inking and typing: Off
- Feedback frequency: Never
- IE Enhanced Security Configuration: Changeable
- Admin: Off
- User: Off
- Time zone: Changeable
- Change time zone: Central Time
- Deselect Notify me when the clock changes
- Product ID: Don’t change
If you wish, you can install all Windows Updates, as I always do.
After you install all Windows Updates, reboot the server to clear any pending restart required flags.
After the VM restarts, log back in.
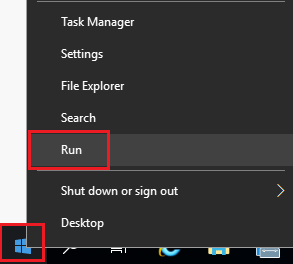
Right-click the Start button, click Run, as shown in Figure 40.
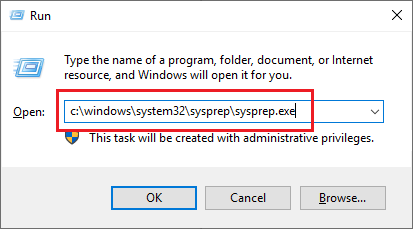
Type in c:\windows\system32\sysprep\sysprep.exe, and press Enter, as shown in Figure 41.
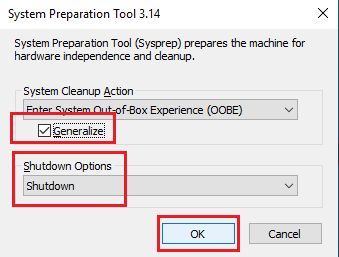
Select Generalize, select Shutdown from the Shutdown Options dropdown list, and click OK, as shown in Figure 42.
When the server is at the login screen, shut down the server.
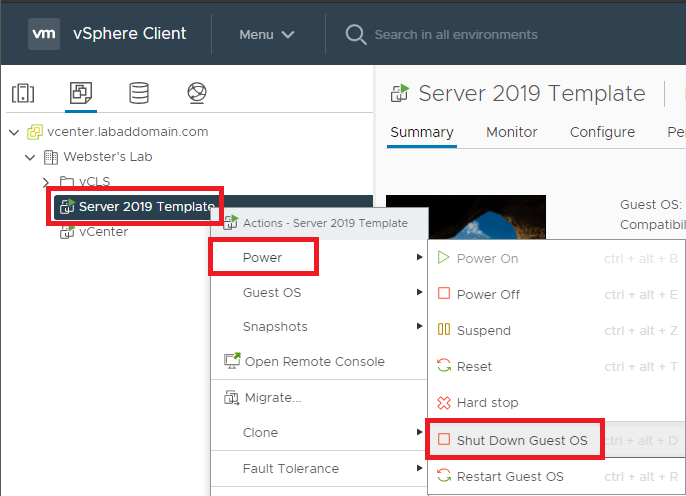
In vCenter, in the left pane, right-click the VM, click Power, and click Shut Down Guest OS, as shown in Figure 43.
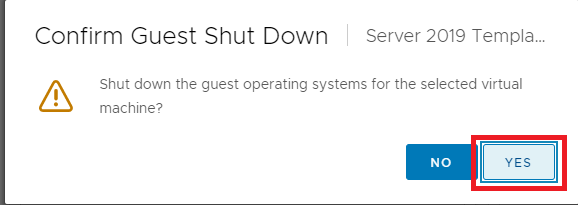
Click Yes, as shown in Figure 44.
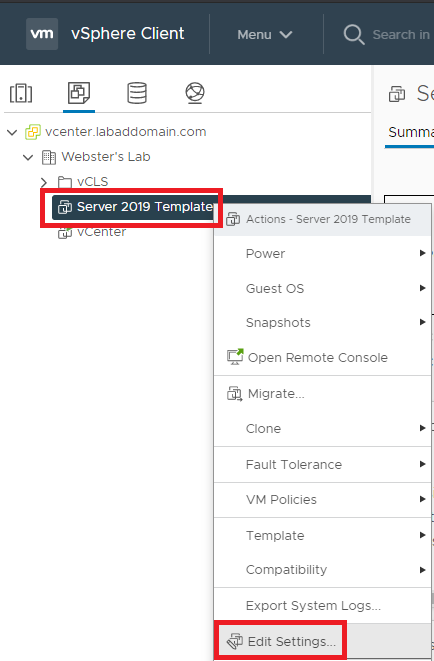
After the VM completes the shutdown process, right-click the VM, click Edit Settings…, as shown in Figure 45.
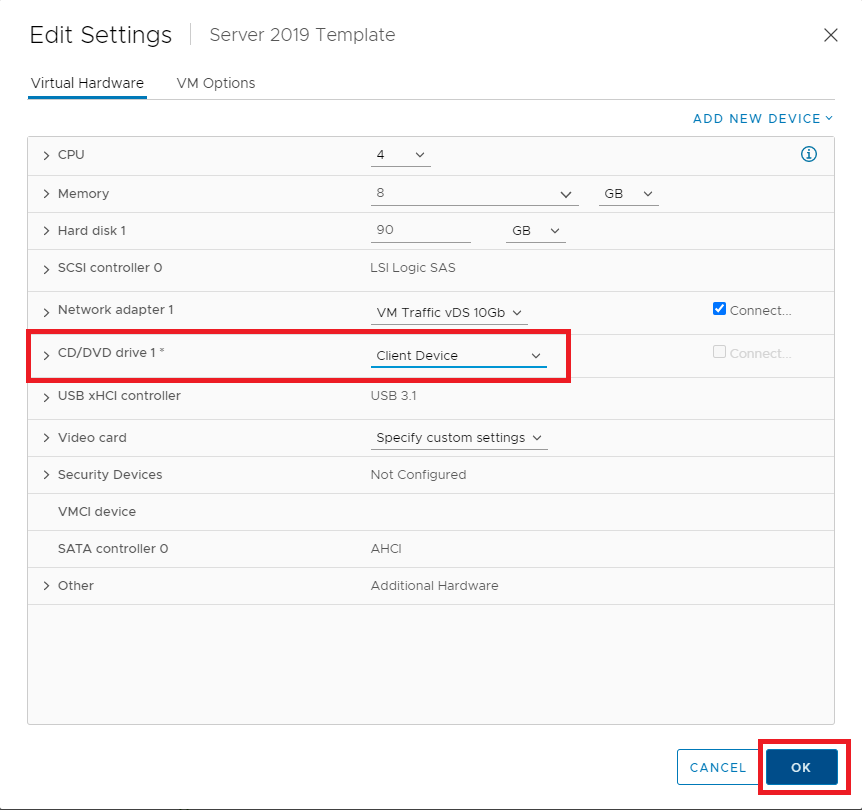
Change CD/DVD drive 1 to Client Device and click OK, as shown in Figure 46.
Right-click the VM, click Template, and click Convert to Template, as shown in Figure 47.
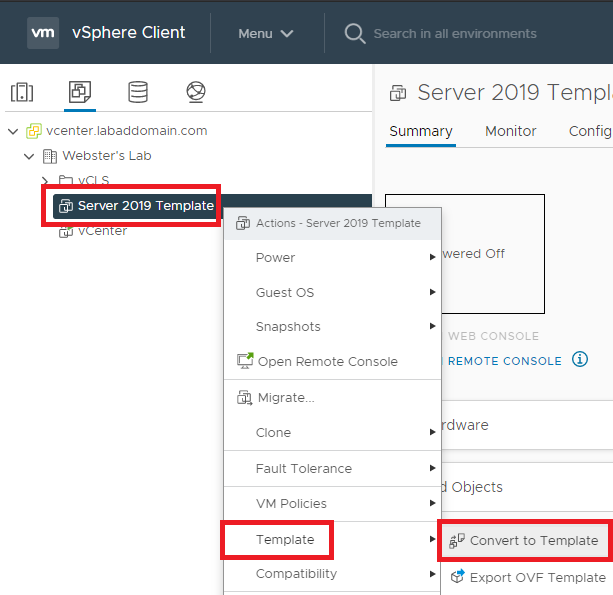
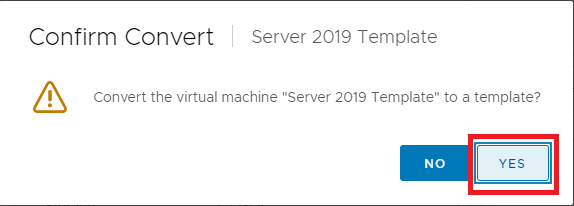
Click Yes, as shown in Figure 48.
The VM is now a template.
XenServer
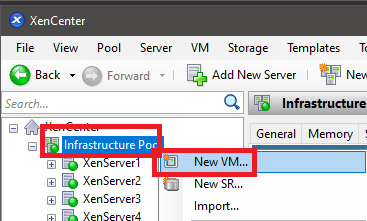
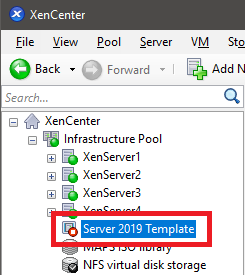
In XenCenter, right-click the pool and click on New VM…, as shown in Figure 49.
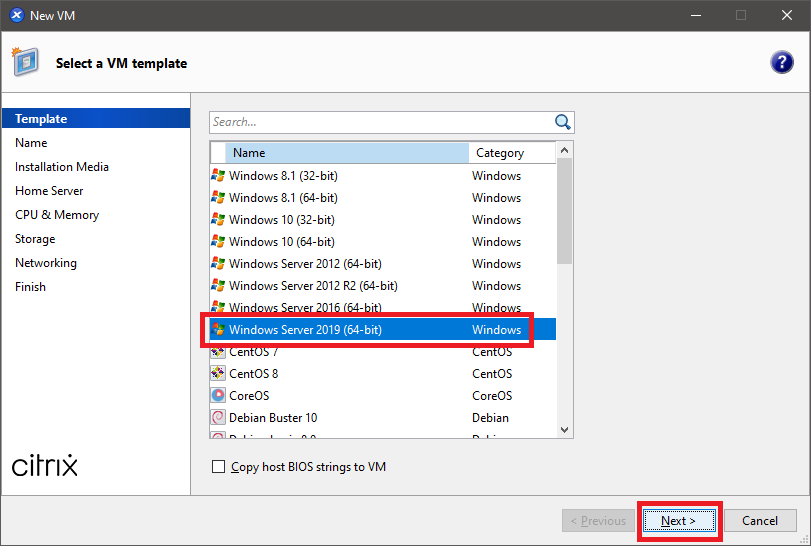
Select the Windows Server 2019 (64-bit) template and click Next, as shown in Figure 50.
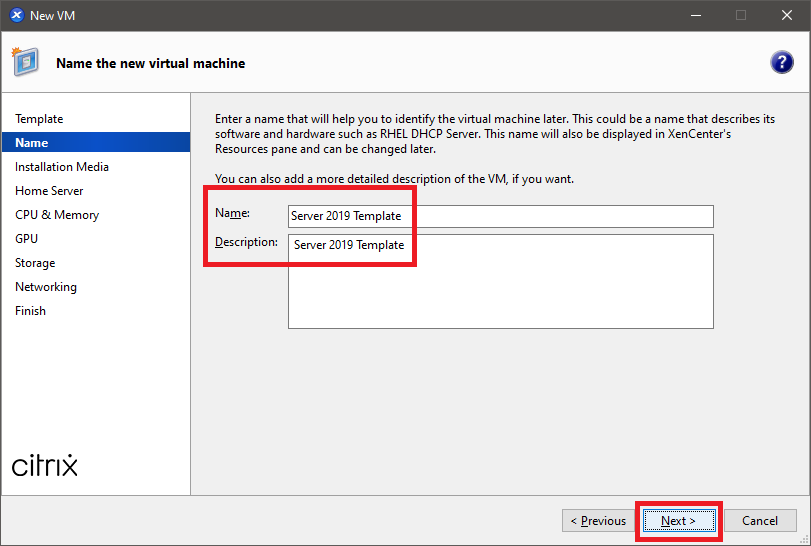
Enter a Virtual machine name, an optional Description, and click Next, as shown in Figure 51.
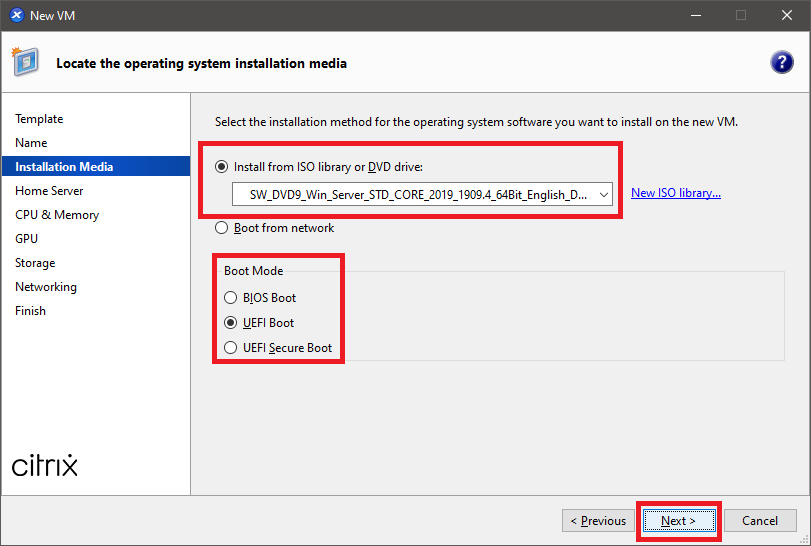
Select the Windows Server 2019 ISO, select your preferred Boot Mode, and click Next, as shown in Figure 52.
Select Don’t assign this VM a home server and click Next, as shown in Figure 53.

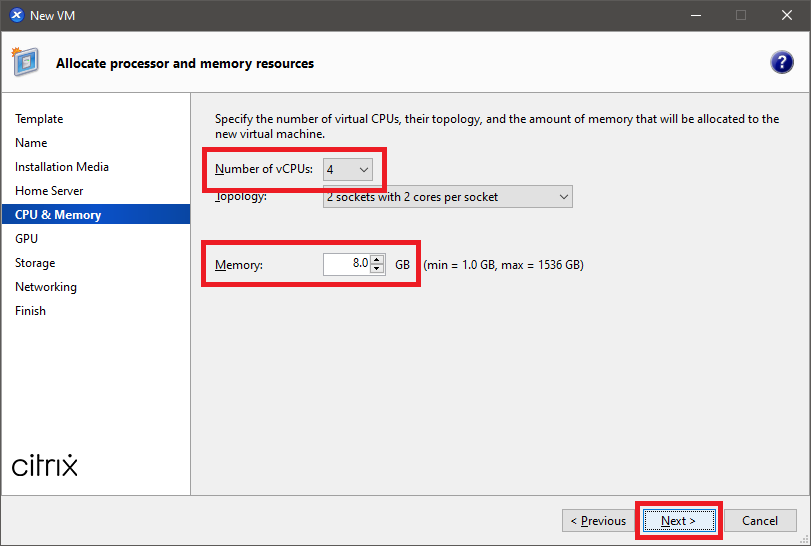
I selected 4 for the Number of vCPUs and 8 for Memory. I left the Topology at the value selected by XenCenter. Feel free to change the selection. Click Next, as shown in Figure 54.
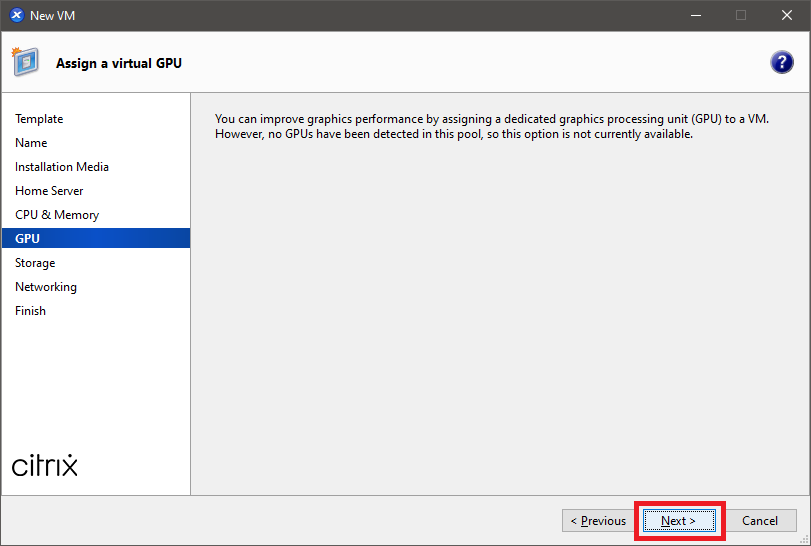
As my hosts do not have a GPU card, I clicked Next, as shown in Figure 55.
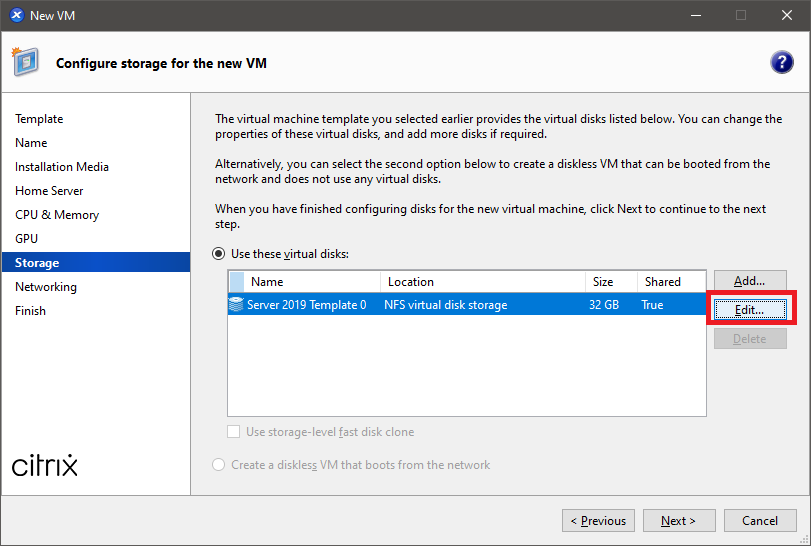
Click Edit, as shown in Figure 56.
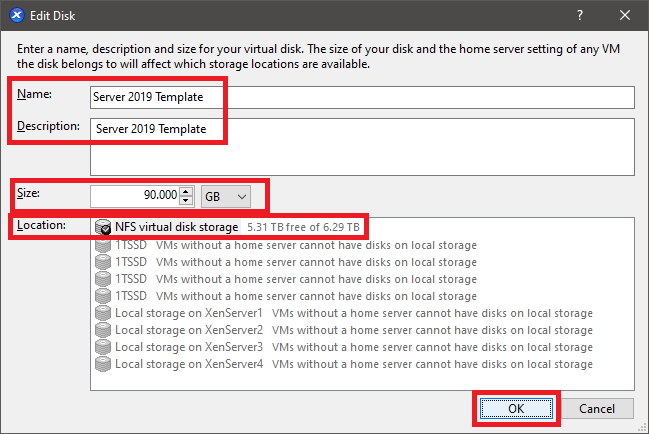
I prefer the hard disk Size of 90 GB used by VMware. I also recommend changing both the Name and Description. Doing so makes it easier later if you ever delete a VM and its attached hard disks. If all the hard disks have the same name and description, it is challenging to determine which disks go with which VM.
Enter a Name, Description, a hard disk Size, and select the shared storage repository created earlier. Click OK, as shown in Figure 57.
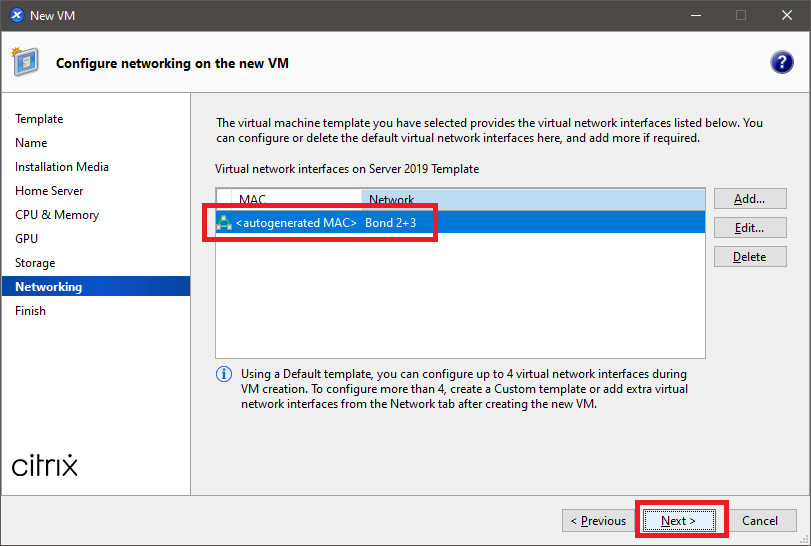
If multiple Virtual network interfaces are available, select the appropriate interface and click Next, as shown in Figure 58.
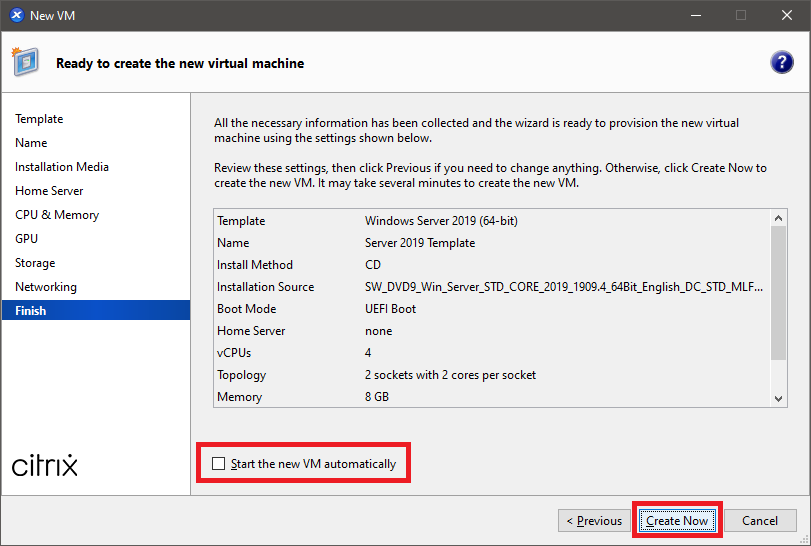
Verify all the configuration options are correct and click Create Now, as shown in Figure 59. If an option is not correct, click Previous, correct the option and then continue.
I deselected the option Start the new VM automatically since it doesn’t work.
Wait for the creation of the VM to complete, as shown in Figure 60.
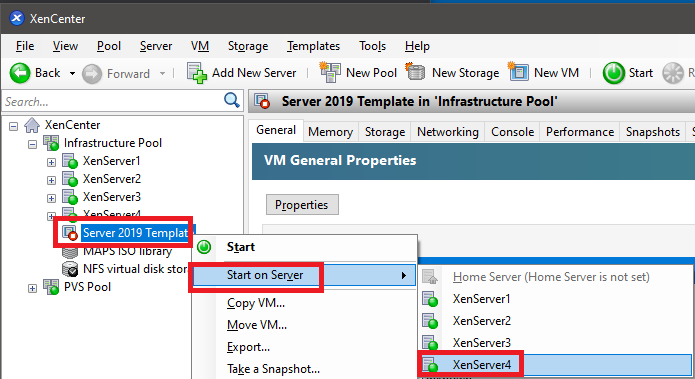
In XenCenter, right-click the new template VM, click Start on Server, select a host to start the VM, as shown in Figure 61.
Note: I started on a specific server to make getting screenshots easier.
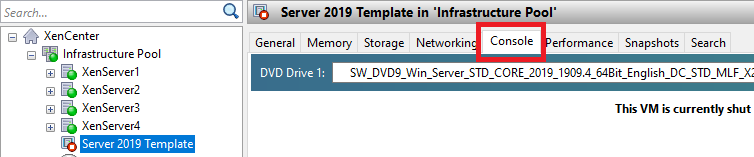
Click on the Console tab in the right pane, as shown in Figure 62.
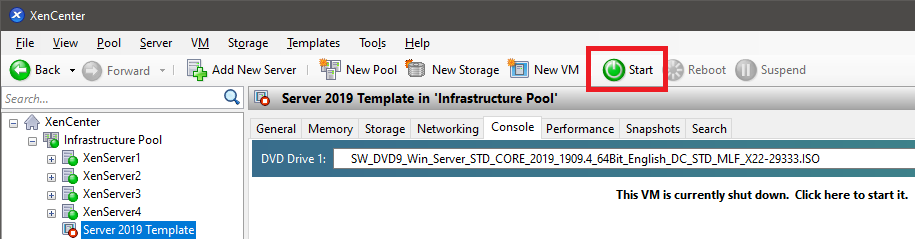
Depending on the speed of your XenServer hosts, you need to be quick in the following steps.
- Click the Green start button, as shown in Figure 63,
- Click inside the console window,
- Press a key, for example, the spacebar when prompted, as shown in Figure 64.
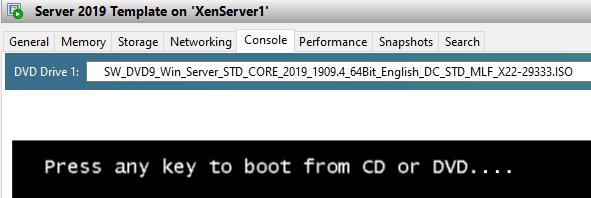
The installation of Windows Server 2019 begins.
The installation and initial configuration processes are the same, as shown in Figures 18 through 28.
After the initial login to the server, we need to install the Citrix VM Tools.
Citrix VM Tools for Windows provides high-performance I/O services without the overhead of traditional device emulation. Citrix VM Tools for Windows consists of I/O drivers (also known as paravirtualized drivers or PV drivers) and the Management Agent. Citrix VM Tools for Windows must be installed on each Windows VM for the VM to have a fully supported configuration. A VM functions without them, but performance is significantly hampered.
From the new Server 2019 VM, browse to the Citrix VM Tools downloaded earlier and double-click managementagentx64.msi.
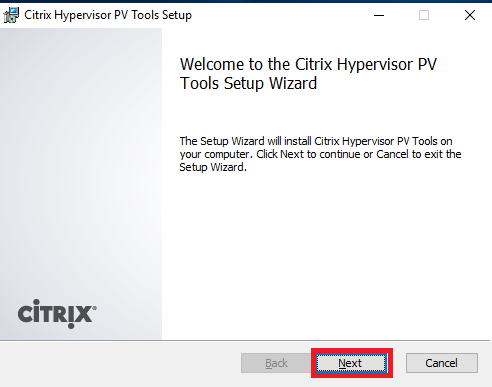
Click Next, as shown in Figure 65.
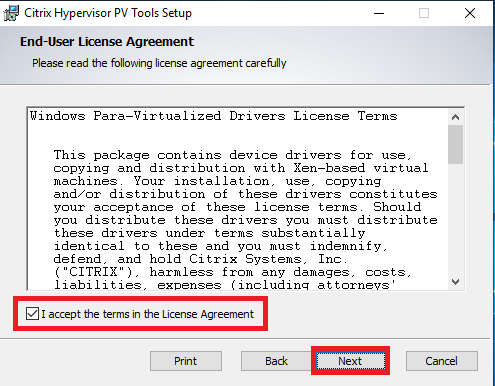
Select I accept the terms in the License Agreement and click Next, as shown in Figure 66.
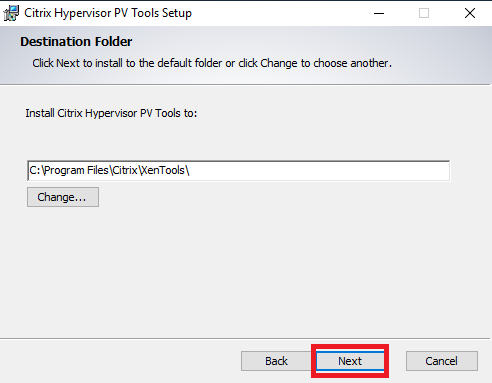
Click Next, as shown in Figure 67.
Decide whether to Send anonymous usage information to Citrix and click Next, as shown in Figure 68.

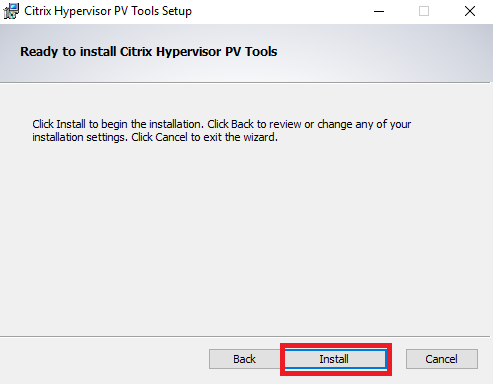
Click Install, as shown in Figure 69.
You may receive a Networks popup message. Decide whether you want this VM discoverable on your network and click either Yes or No, as shown in Figure 70.

Click Finish, as shown in Figure 71.
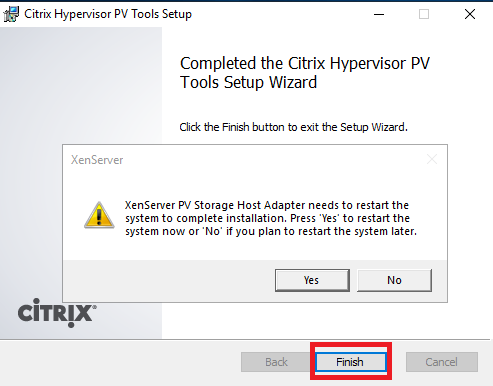
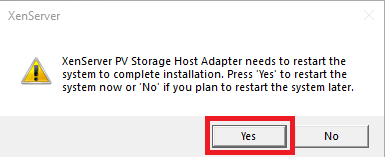
Click Yes, as shown in Figure 72.
After the VM restarts, log back in and click OK, as shown in Figure 73.
Click Local Server in the left pane of Server Manager, as shown in Figure 74.

Eject the Windows Server 2019 ISO file, as shown in Figure 75.

We use a template to create additional VMs. These additional VMs, when first powered on, go through what Microsoft calls the Out of Box Experience or OOBE.
When customers turn on their Windows PCs for the first time, they see the Windows Out of Box Experience (OOBE). OOBE consists of a series of screens that require customers to accept the license agreement, connect to the internet, log in with or sign up for a Microsoft Account, and share information with the OEM.
The following items are available to customize. Some make no sense to customize as the OOBE resets them to default values.
Note: I made the settings in bold to my template VM.
- Computer name: Don’t change
- Workgroup: Changeable
- Windows Defender Firewall: Changeable
- Remote management: Changeable
- Remote Desktop: Changeable
- Allow remote connections to this computer
- NIC Teaming: No need to change as there is only one network card at this time
- Ethernet0: Don’t change
- Last installed updates: Keeps date from Template VM
- Windows Update: Changeable
- Last checked for updates: Keeps date from Template VM
- Windows Defender Antivirus: Changeable
- Feedback & Diagnostics: Changeable
- Diagnostic data: Full
- Improve inking and typing: Off
- Feedback frequency: Never
- IE Enhanced Security Configuration: Changeable
- Admin: Off
- User: Off
- Time zone: Changeable
- Change time zone: Central Time
- Deselect Notify me when the clock changes
- Product ID: Don’t change
If you wish, you can install all Windows Updates, as I always do. I never install any Preview updates.
After you install all Windows Updates, reboot the server to clear any pending restart required flags.
After the VM restarts, log back in.
Right-click the Start button, click Run, as shown in Figure 76.

Type in c:\windows\system32\sysprep\sysprep.exe, and press Enter, as shown in Figure 77.

Select Generalize, select Shutdown from the Shutdown Options dropdown list, and click OK, as shown in Figure 78.

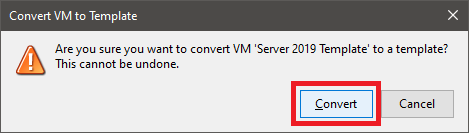
After the VM completes the shutdown process, right-click the VM, and click Convert to Template, as shown in Figure 79.
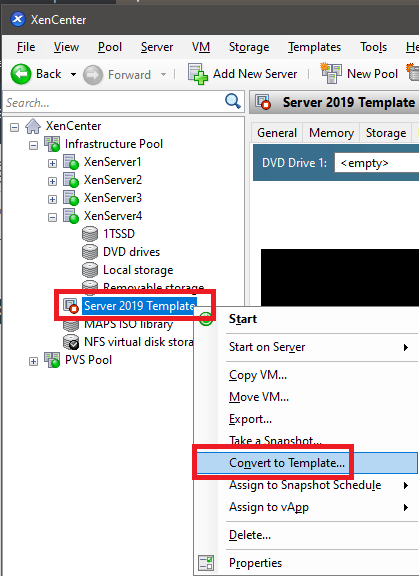
Click Convert, as shown in Figure 80.
The VM is now a template.
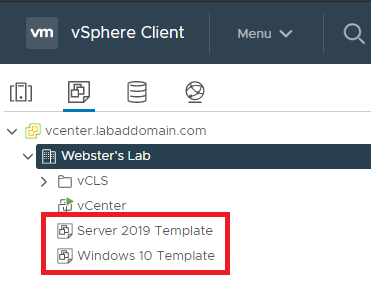
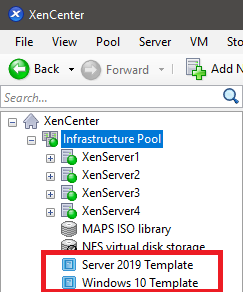
You can follow the same general process to create a Windows 10 template. I created one based on Windows 10 20H2, as shown in Figures 81 and 82.
Notes:
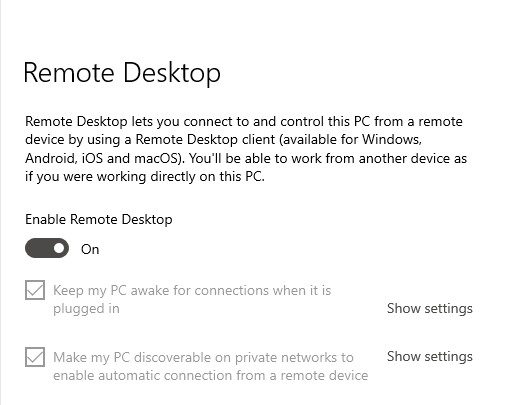
- Don’t forget to enable Remote Desktop access, as shown in Figure 83.
- Settings, System, Remote Desktop, Enable Remote Desktop
- Don’t make many changes to VM or the configuration options, as the OOBE resets most changes when creating a VM from the template.
- I don’t install any Preview updates offered by Windows Updates.
We use the Server 2019 Template to build two domain controllers and a Microsoft Certificate Authority server in the next Part.
Up next: Create VMs from the Server 2019 Template.
Great work on documenting your build!
For building Windows and/or Linux templates on vSphere, you really should check out https://github.com/v12n-io/packer or this if you use a Mac – https://github.com/rainpole/packer-vsphere
I’ve tried both & all I got to say is damn!!
fyi: I don’t know any of the folks that own those github repo’s.
+1 to femi’ for supporting this document and the use of packer 🙂