[Updated 4-Sep-2021]
Whew, that was a lot to cover in over 400 screenshots and 450 pages. After completing your Horizon testing, there is a step-by-step process to undo all the work done in Chapters 1 through 15. Others may prefer their order, but I am sure we all accomplish the same end goal, returning the lab to the pre-Horizon 7.12 state.
Tearing Down the Horizon Lab
After the testing of Horizon 7.12 is over, you may want to remove all the components, pieces, and parts.
- Verify that there are no users logged in to any published resource.
- Remove the Application Pool(s).
- Remove the Desktop Pool(s).
- Remove the RDS Farm(s).
- Remove the Parent VMs, Replica VMs, Internal Templates, Sync VMs, and the Folders created by the Instant Clone process.
- Remove the Connection Server.
- Remove the SQL account and database.
- Uninstall the DEM Management Console
- Remove the DEM Configuration and Profile shares and folder trees.
- Remove the Horizon stuff from UMS
- Cleanup ControlUp
- Remove Snapshots or Master Images
- Remove any Group Policies created.
- Remove any User Accounts created.
- Remove any Security Groups created.
- Remove any Organizational Units created.
- Remove the DEM and Horizon agents from any physical computers.
- Revoke any issued certificates for any Horizon-related computer accounts from the domain CA.
- Remove any remaining Horizon-related computer accounts in Active Directory.
- Delete any remaining Horizon-related Lease records from DHCP.
Verify that there are no users logged in to any published resource.
From the Connection Server, log in to the Horizon 7 Console. Under Monitor, click on Dashboard from the left frame and verify the session count is 0, as shown in Figures 1 and 2.
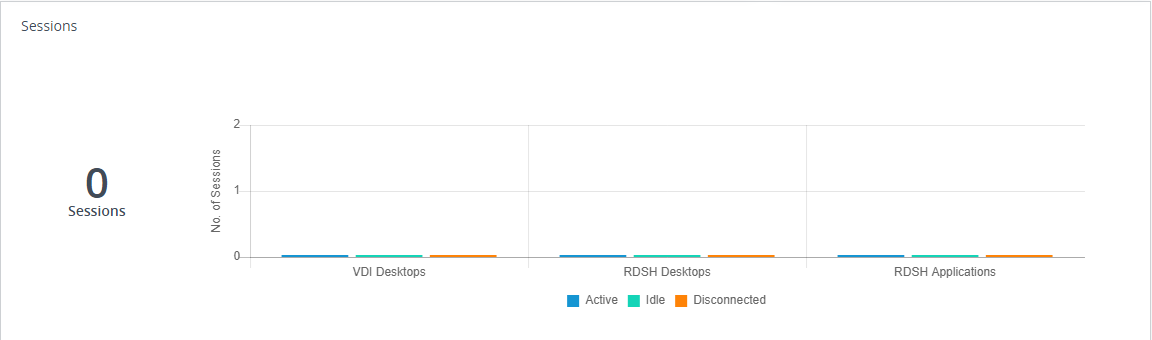
If there are any sessions active, find and end the sessions or restart the RDS hosts or VDI desktops.
Remove the Application Pool(s).
In the left frame of the Horizon Console, under Inventory, click Applications, as shown in Figure 3.
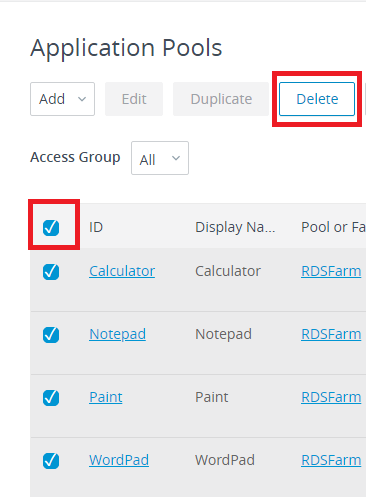
Select all applications and click Delete, as shown in Figure 4.
Click OK, as shown in Figure 5.

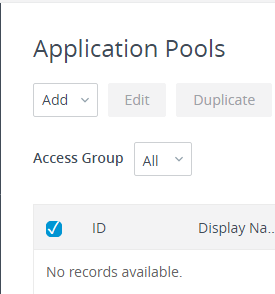
The Application Pools are deleted, as shown in Figure 6.
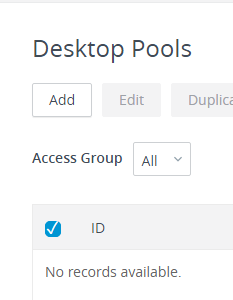
Remove the Desktop Pool(s).
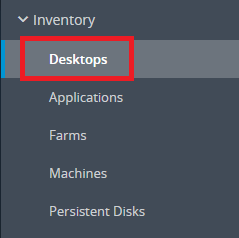
In the left frame of the Horizon Console, under Inventory, click Desktops, as shown in Figure 7.
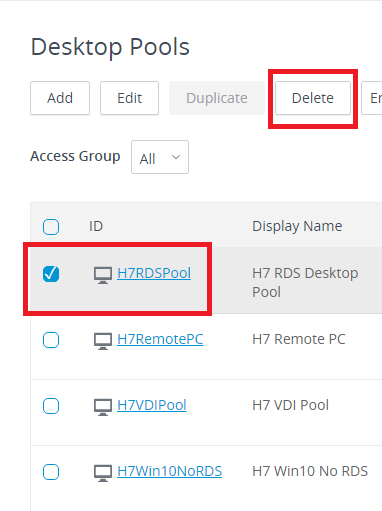
Only one Desktop Pool can be deleted at a time.
Select one Desktop Pool and click Delete, as shown in Figure 8.
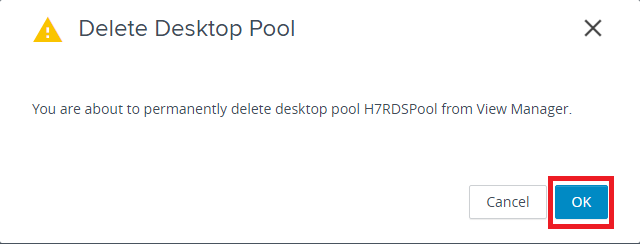
Click OK, as shown in Figure 9.
Repeat until all Desktop Pools are deleted.
It can take several minutes until the Desktop Pool(s) and all VMs are deleted, as shown in Figure 10.
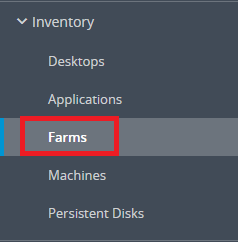
Remove the RDS Farm(s).
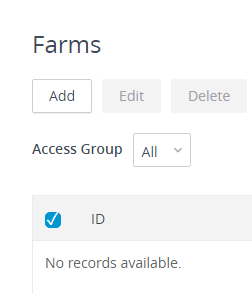
In the left frame of the Horizon Console, under Inventory, click Farms, as shown in Figure 11.
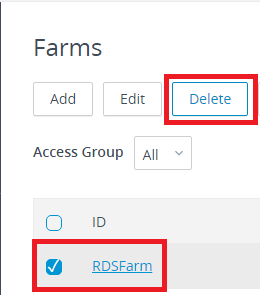
Only one Farm can be deleted at a time.
Select one Farm and click Delete, as shown in Figure 12.
Click OK, as shown in Figure 13.
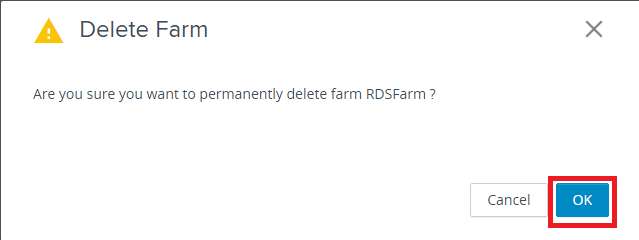
It can take several minutes until the Farm(s) and all VMs are deleted, as shown in Figure 14.
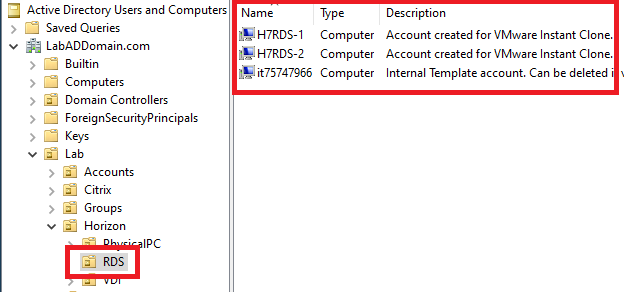
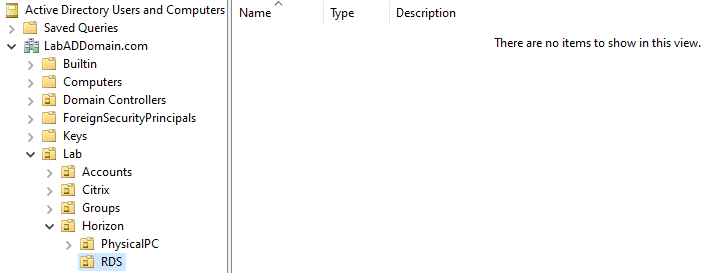
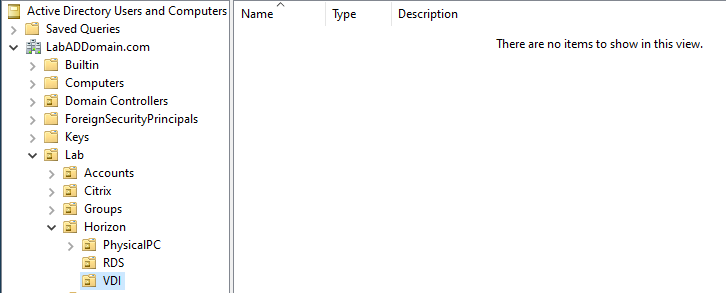
After a period, both vCenter and Active Directory should have been cleaned up of items created during the Instant Clone processes, as shown in Figures 15 through 20.
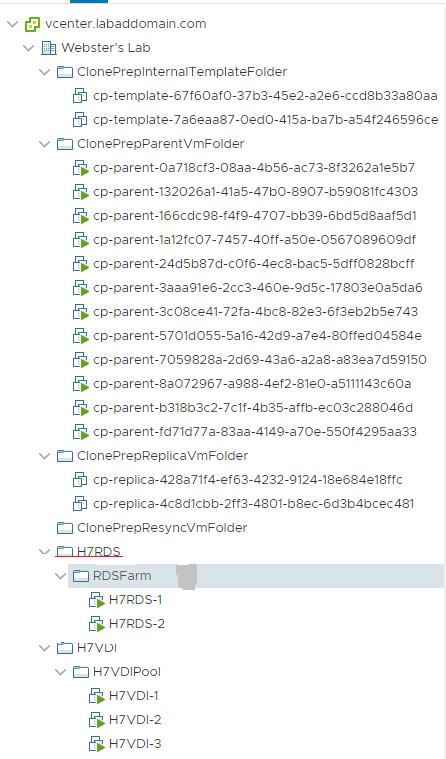
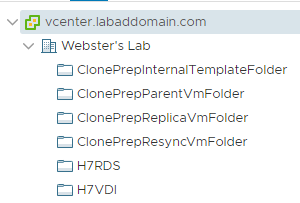
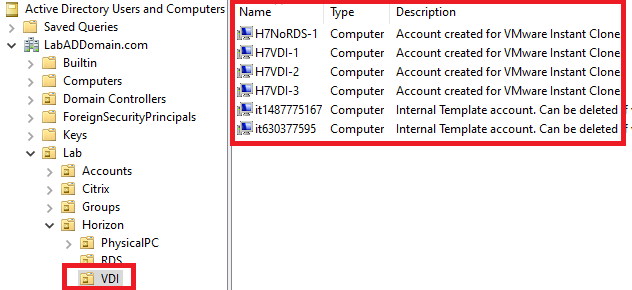
Remove the Parent VMs, Replica VMs, Internal Templates, Sync VMs, and the Folders created by the Instant Clone process.
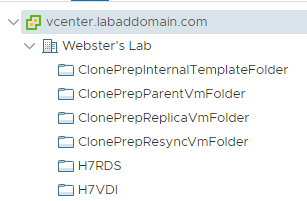
Deleting the Desktop Pools and RDS Farms should have deleted all Parent VMs, replica VMs, internal templates, sync VMs, and the folders created for the Desktop Pools and RDS Farms. All that should be left are four folders plus any top-level folders you may have created for the Desktop Pools and RDS Farms.
The four folders are:
- ClonePrepInternalTemplateFolder
- ClonePrepParentVmFolder
- ClonePrepReplicaVmFolder
- ClonePrepResyncVmFolder
These folders are protected and require a special process to remove.
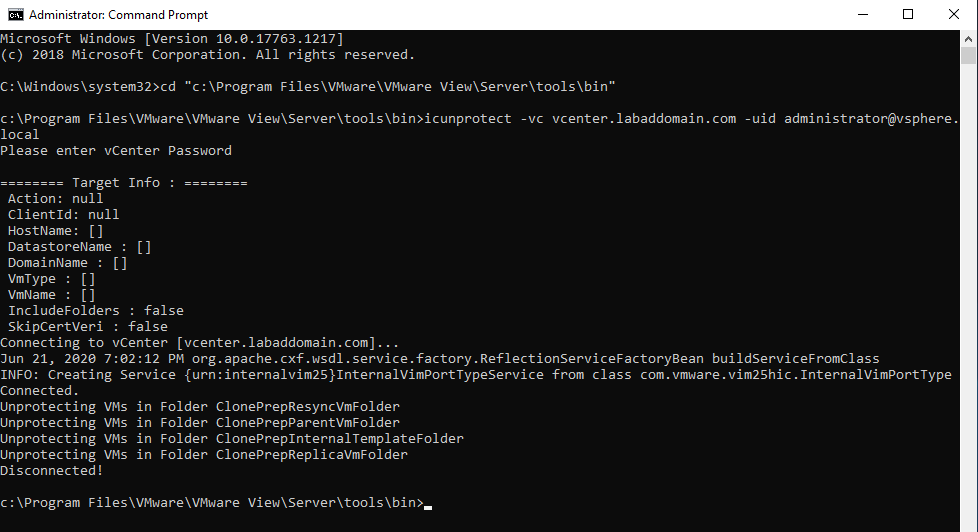
On the Connection Server, open an elevated Command Prompt.
Change to the c:\Program Files\VMware\VMware View\Server\tools\bin folder.
Run icunprotect -vc <vcenter FQDN or IP> -uid <vcenter admin>
For example, as shown in Figure 21:
icunprotect -vc vcenter.labaddomain.com -uid [email protected]
You are prompted for the password for [email protected].
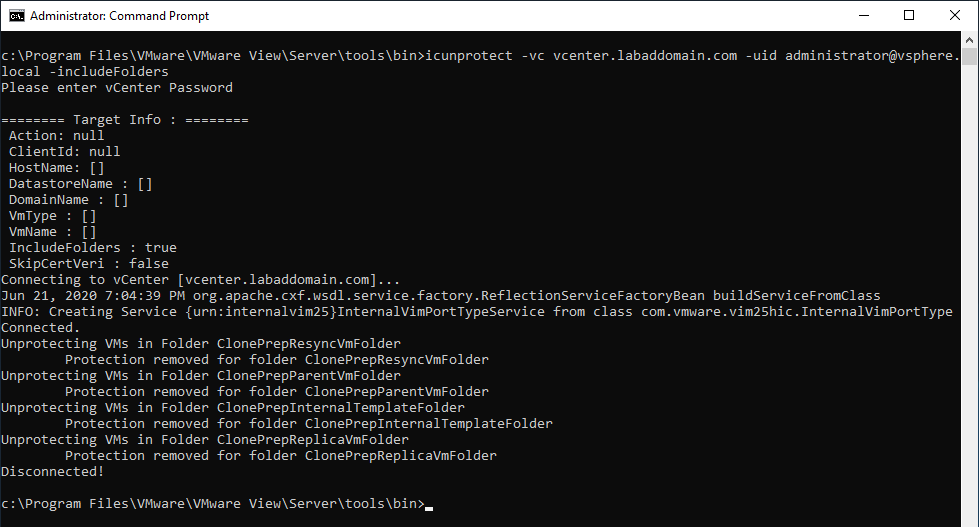
Run icunprotect -vc <vcenter FQDN or IP> -uid <vcenter admin> -includeFolders [Note: includeFolders is Case Sensitive]
For example, as shown in Figure 22:
icunprotect -vc vcenter.labaddomain.com -uid [email protected] -includeFolders
You are prompted for the password for [email protected].
Exit the command prompt.
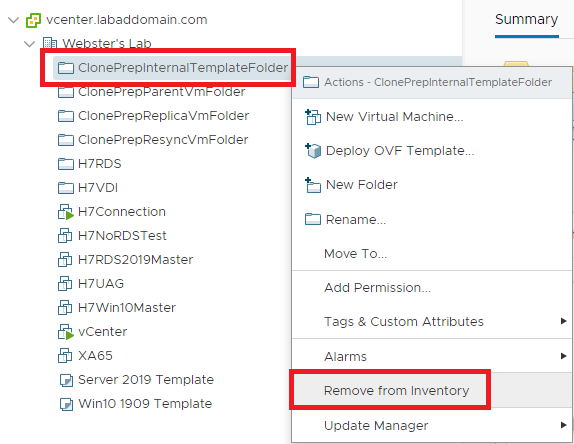
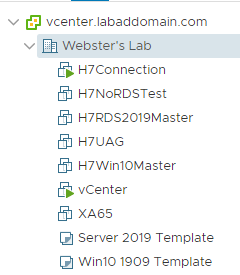
In vCenter, you can Remove from Inventory the four Instant Clone Folders and any folders created for the Desktop Pools and RDS Farms, as shown in Figures 23 and 24.
Click Yes, as shown in Figure 25.
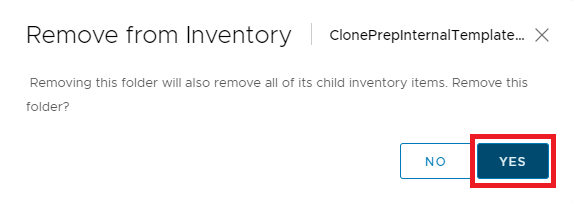
Repeat until all folders are removed from inventory, as shown in Figure 26.
Remove the Connection Server.
Shut down the Connection Server.
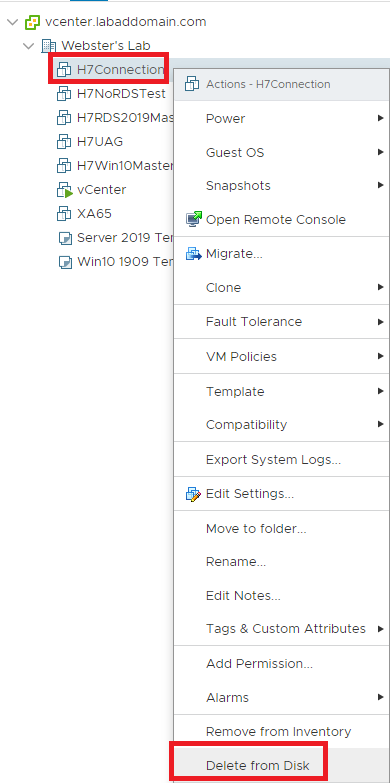
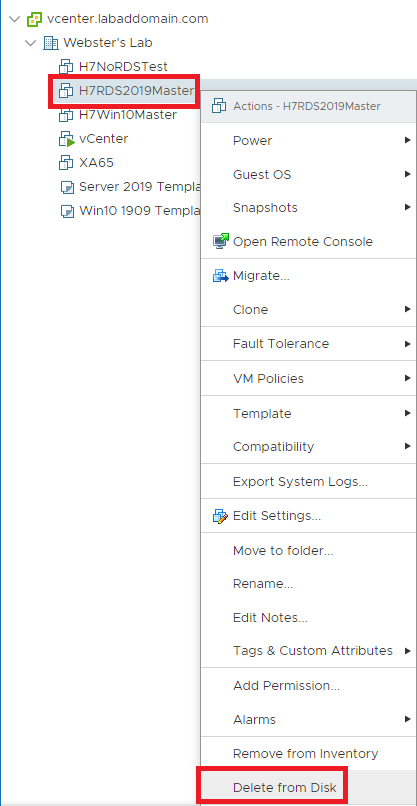
Right-click the Connection Server in vCenter, and click Delete from Disk, as shown in Figure 27.
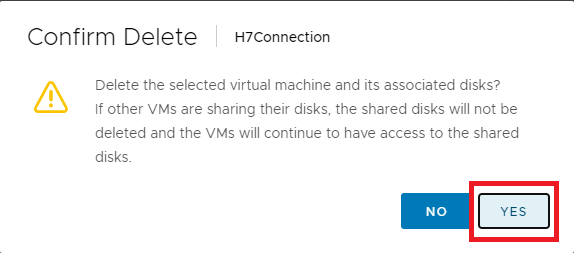
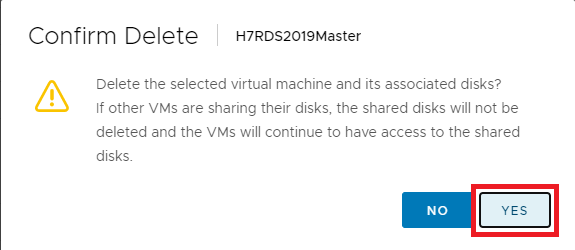
Click Yes, as shown in Figure 28.
Finally, delete the computer account from Active Directory.
Remove the SQL account and database.
In the SQL Management Studio, delete the SQL sa account and database.
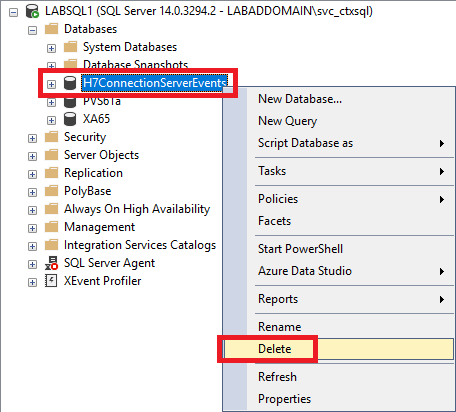
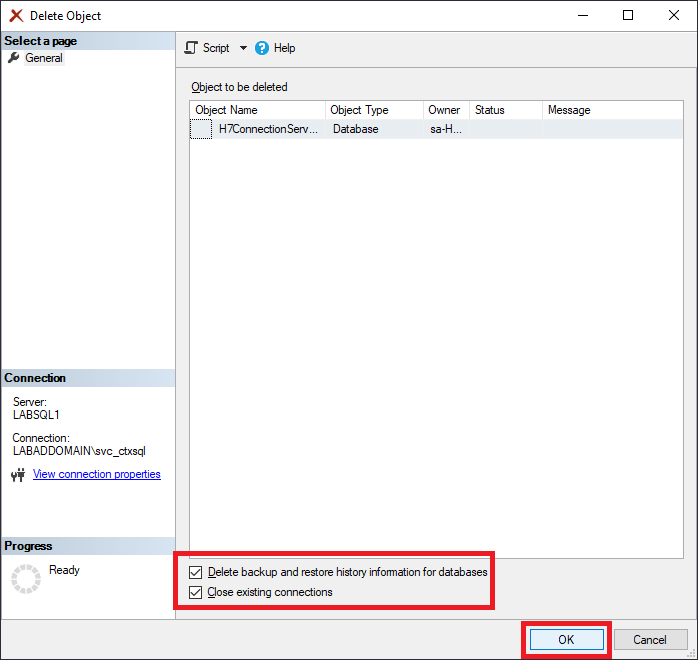
Expand Databases, right-click the Connection Server Event database, and click Delete, as shown in Figure 29.
Select Delete backup and restore history information for databases and Close existing connections, then click OK, as shown in Figure 30.
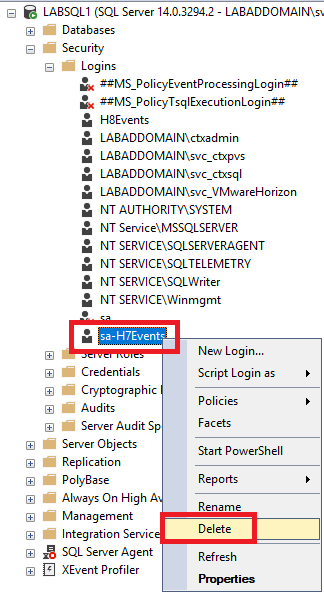
Expand Security, expand Logins, right-click the account created, and click Delete, as shown in Figure 31.
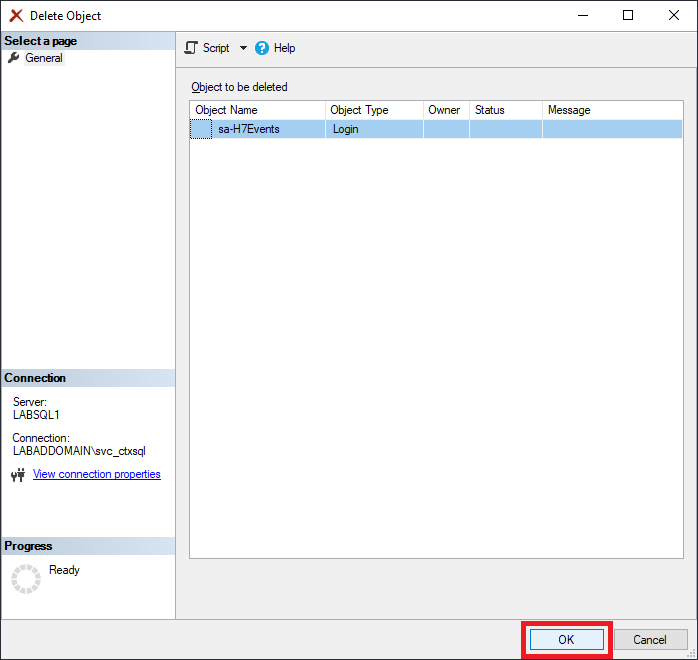
Click OK, as shown in Figure 32.
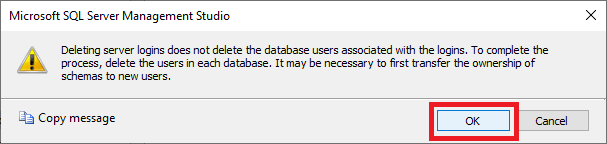
Click OK, as shown in Figure 33.
Exit the SQL Management Studio.
Uninstall the DEM Management Console
On the computer(s) where the DEM Management Console is installed, depending on how your system is configured:
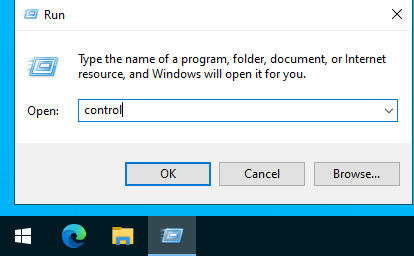
Right-click Start, then click Run, then type in Control, as shown in Figure 34.
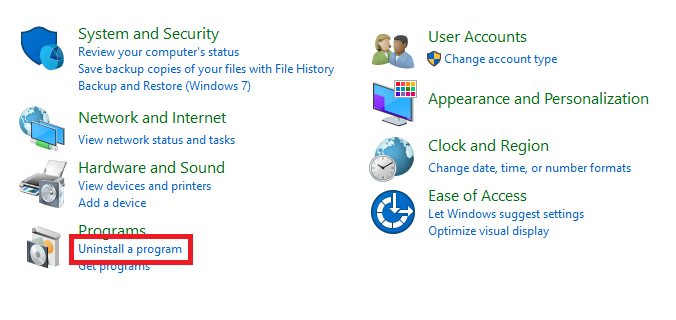
Click Uninstall a program, as shown in Figure 35.
Or right-click Start, then click Run, then type in Control, as shown in Figure 34.
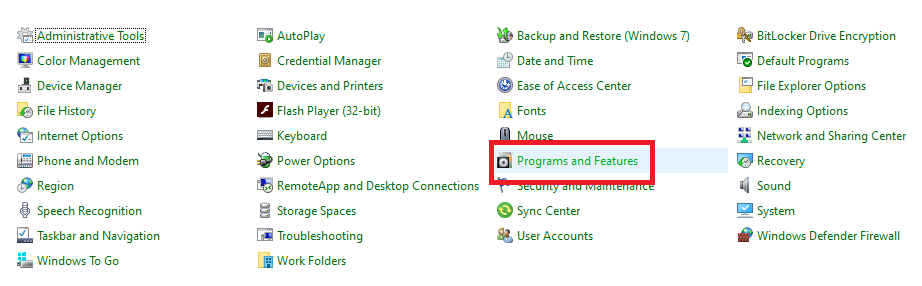
Click Programs and Features, as shown in Figure 36.
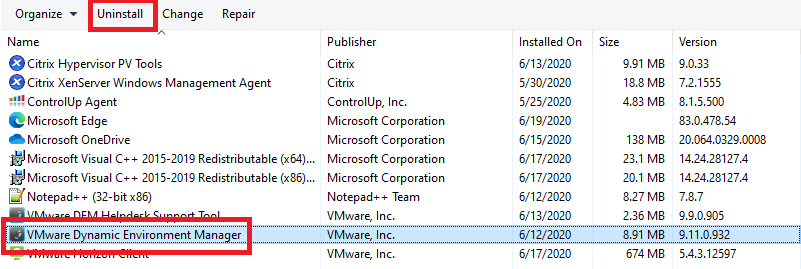
Scroll down to VMware Dynamic Environment Manager, click it, and click Uninstall, as shown in Figure 37.
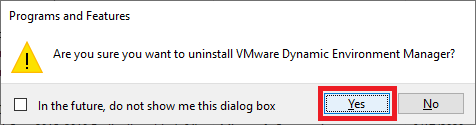
Click Yes, as shown in Figure 38.
If UAC is enabled, click Yes.
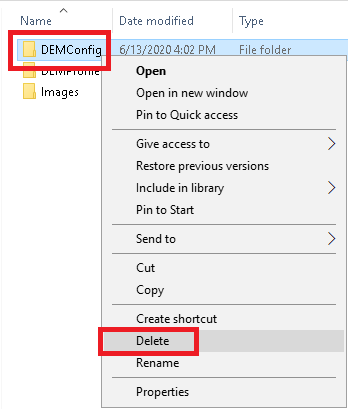
Remove the DEM Configuration and Profile shares and folder trees.
From the file server, delete the folder trees created for the DEM Configuration and Profile shares, as shown in Figures 39 and 40.

Note: If you have any permissions errors deleting either folder, use the free SetACL Studio from Helge Klein (one of the smartest AND nicest people on the planet) to delete the problem folder tree.
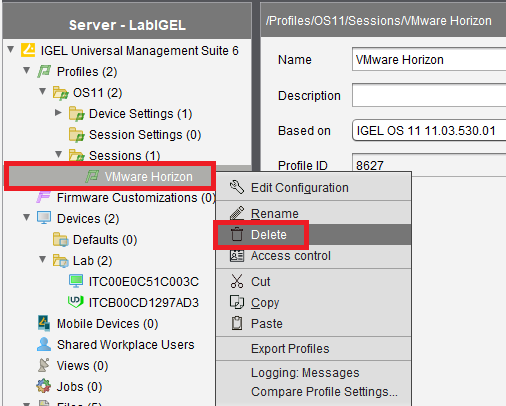
Remove the Horizon Stuff from UMS
From the UMS Console, right-click the profile created for VMware Horizon and click Delete, as shown in Figure 41.
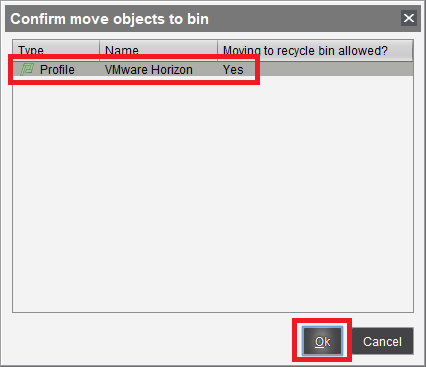
Select the profile and click OK, as shown in Figure 42.
Select Next Reboot and click OK, as shown in Figure 43. There are two more updates before applying the changes to the IGEL device(s).
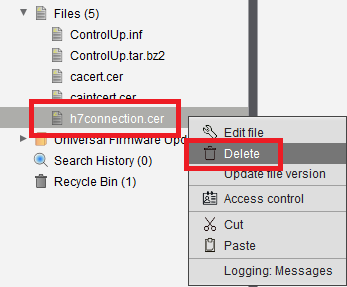
Under Files, right-click the SSL certificate for the Connection Server and click Delete, as shown in Figure 44.
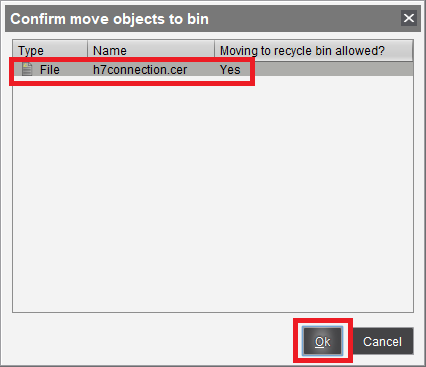
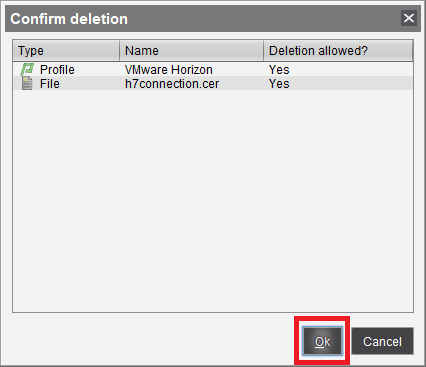
Select the certificate file and click OK, as shown in Figure 45.
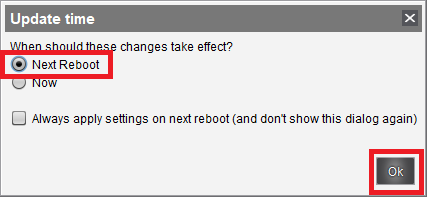
Select Next Reboot and click OK, as shown in Figure 46. There is one update left.

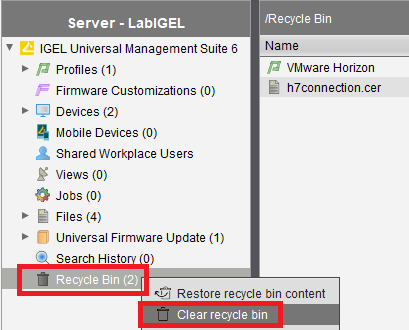
Right-click Recycle Bin and click Clear recycle bin, as shown in Figure 47.
Click OK, as shown in Figure 48.
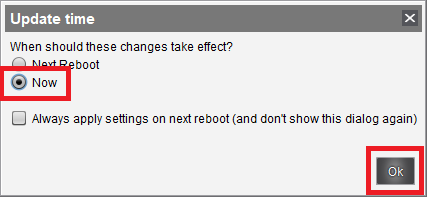
Select Now and click OK, as shown in Figure 49.
You can exit the UMS console.
Cleanup ControlUp
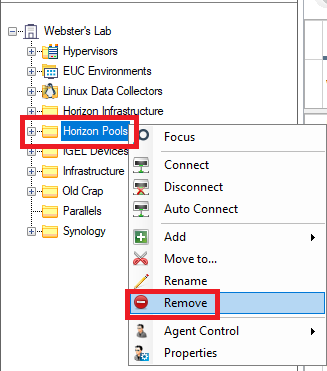
In the ControlUp console, right-click a folder containing Horizon computers and click Remove, as shown in Figure 50.
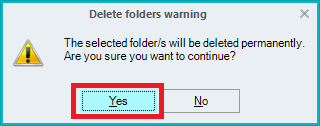
Click Yes, as shown in Figure 51.
Repeat for any other Horizon folders created.
Expand EUC Environments, right0click your Horizon environment, and click Remove, as shown in Figure 52.
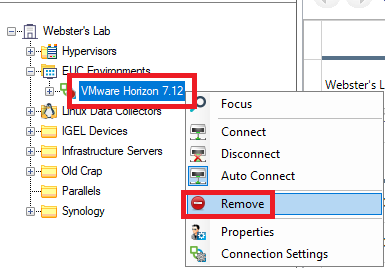
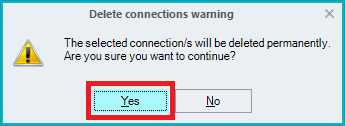
Click Yes, as shown in Figure 53.
You can exit the ControlUp console.
Remove Snapshots or Master Images
If you plan to reuse the master images, remove the snapshots created for this lab.
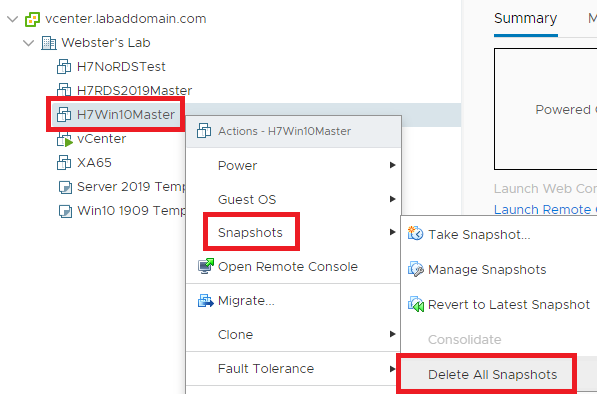
Select a master image in vCenter, right-click the master image, move the mouse over Snapshots and click Delete All Snapshots, as shown in Figure 54.
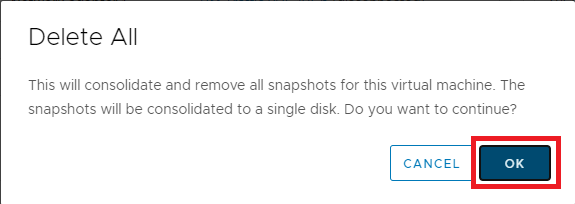
Click OK, as shown in Figure 55.
Repeat for the other master images.
If you do not plan to reuse the master images, delete the master images from disk in vCenter.
Select a master image in vCenter, right-click the master image, click Delete From Disk, as shown in Figure 56.
Click Yes, as shown in Figure 57.
Repeat for any other master images to remove.
Optional Items
The following items are optional. You may remove any or all or none of these items.
- Remove any Group Policies created.
- Remove any User Accounts created.
- Remove any Security Groups created.
- Remove any Organizational Units created.
- Remove the DEM and Horizon agents from any physical computers.
- Revoke any issued certificates for any Horizon-related computer accounts from the domain CA.
- Remove any remaining Horizon-related computer accounts in Active Directory.
- Delete any remaining Horizon-related Lease records from DHCP.
- Delete any remaining Horizon-related records from the DNS Forward and Reverse Lookup Zones.
I hope you enjoyed our brief look at VMware Horizon 7.12.
Thanks for all Mr. Webster !
Mr. Webster, Your series on VMware Horizon 7.12 is truly Impressive. Great job Mr. Webster!
thank you for sharing, it very detail and clear.