[Updated 8-Nov-2021]
The next step is to create a management computer from the Windows 10 template with the additional servers built and configured. We use the VM built in this article for PowerShell scripting running consoles from Citrix, Microsoft, Parallels, and VMware. My lab’s infrastructure VMs reside in my XenServer pool, as explained in the Introduction article. I consider the management computer an infrastructure computer as it is permanent.
Note: What I call a Management Computer goes by different names.
- Jump Server
- Jump Machine
- Jump Host
- Bastion Machine
- Bastion Host
- And I am sure other locations around the world use other names
Whatever you want to call it, this is a centralized computer for managing and accessing servers, network equipment, storage devices, and other management activities. Some people use a server operating system (OS), and some use a desktop OS. It depends on the licensing restrictions of the software used on the computer.
From the introduction article, this is the VM we are building.
| Name | Description | IP Address |
| LabMgmtPC | VM with management consoles, PowerShell stuff, and Office | 192.168.1.200 |
VMware
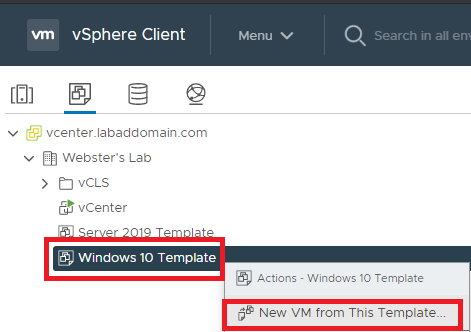
In vCenter, right-click the Windows 10 Template and click on New VM from This Template…, as shown in Figure 1.
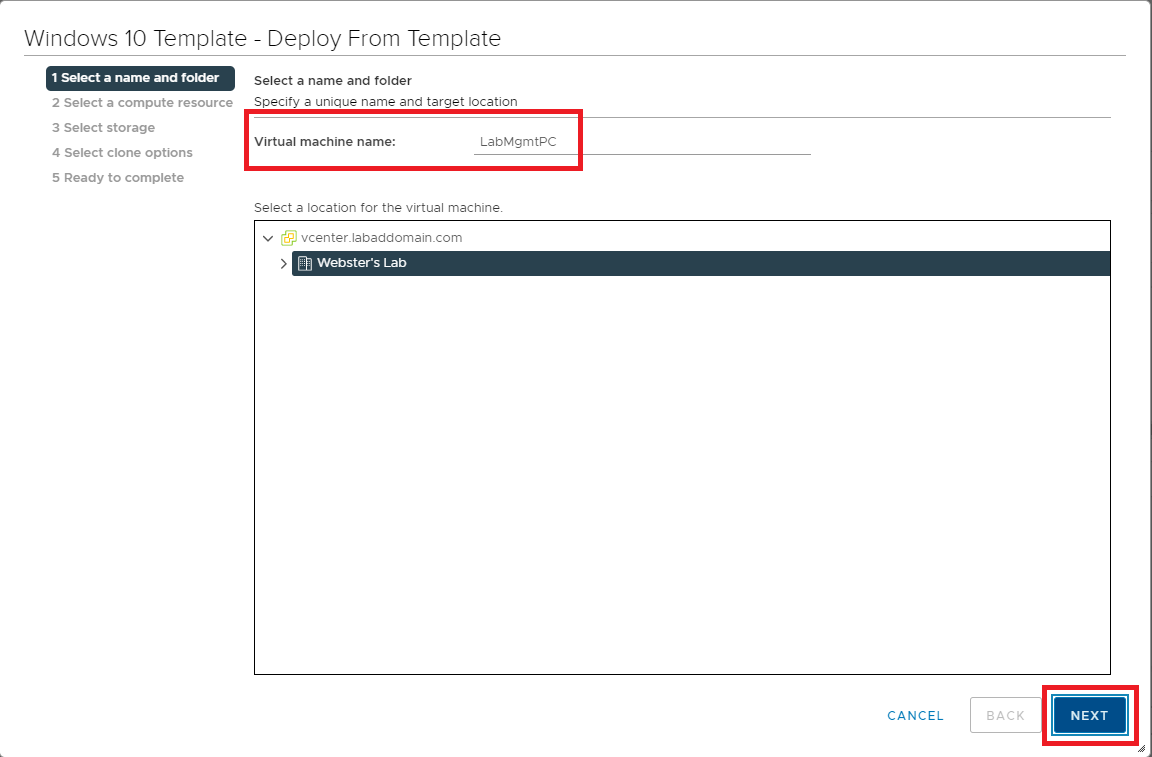
Enter a Virtual machine name and click Next, as shown in Figure 2.
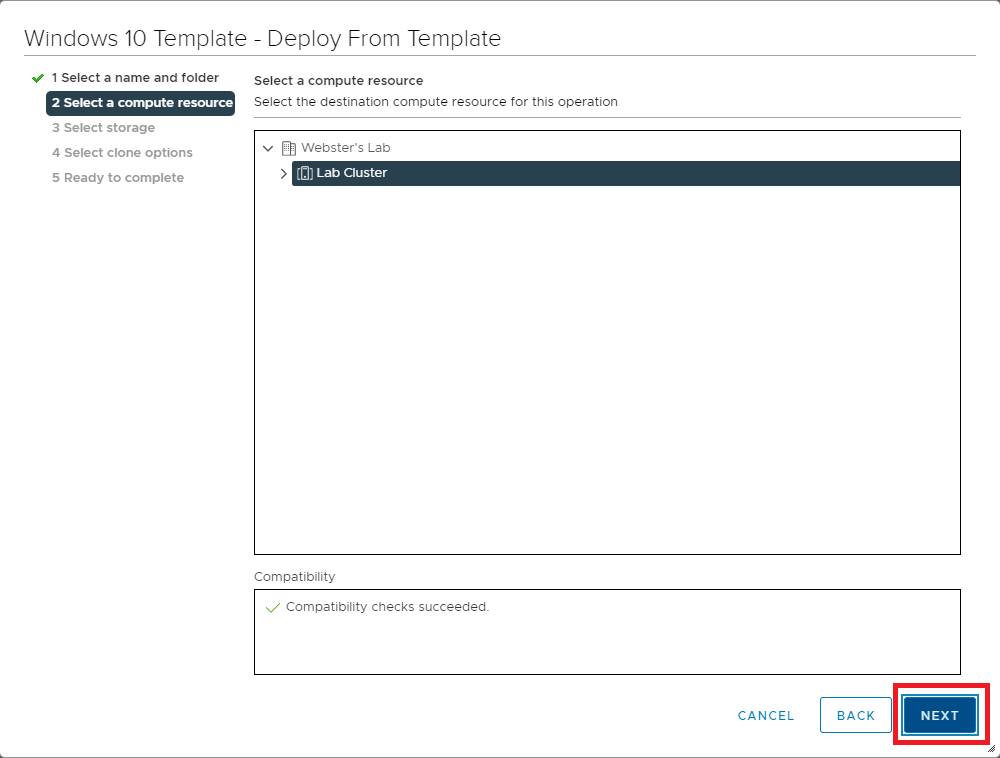
Click Next, as shown in Figure 3.
Select the NFS shared datastore created earlier in this series and click Next, as shown in Figure 4.

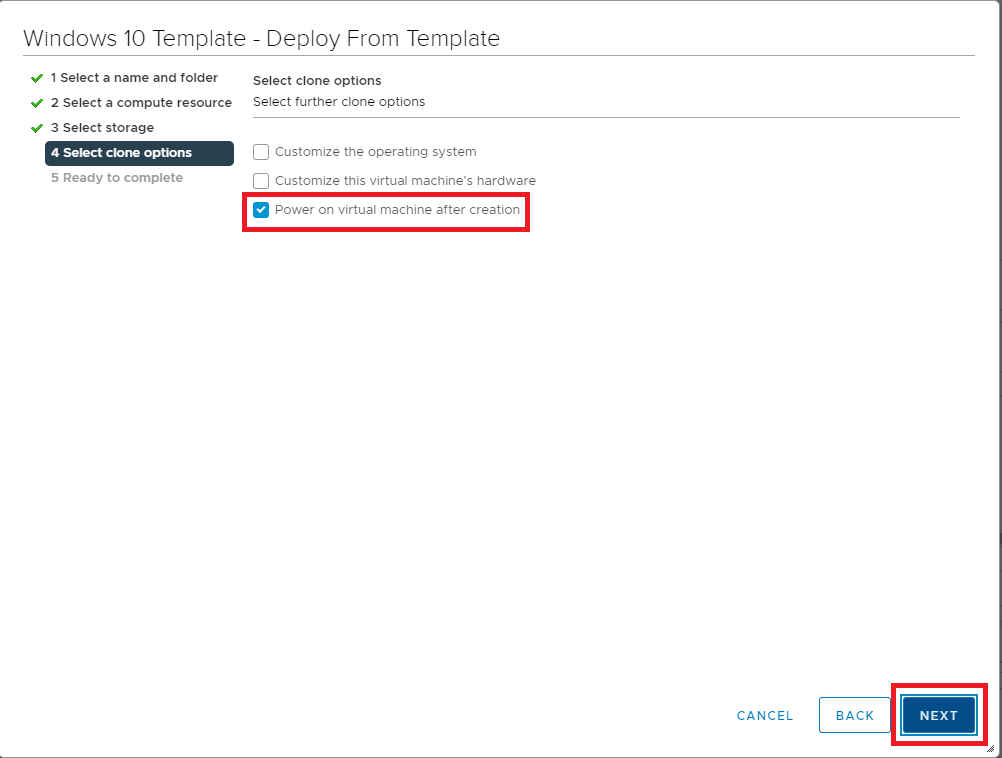
Select Power on virtual machine after creation and click Next, as shown in Figure 5.
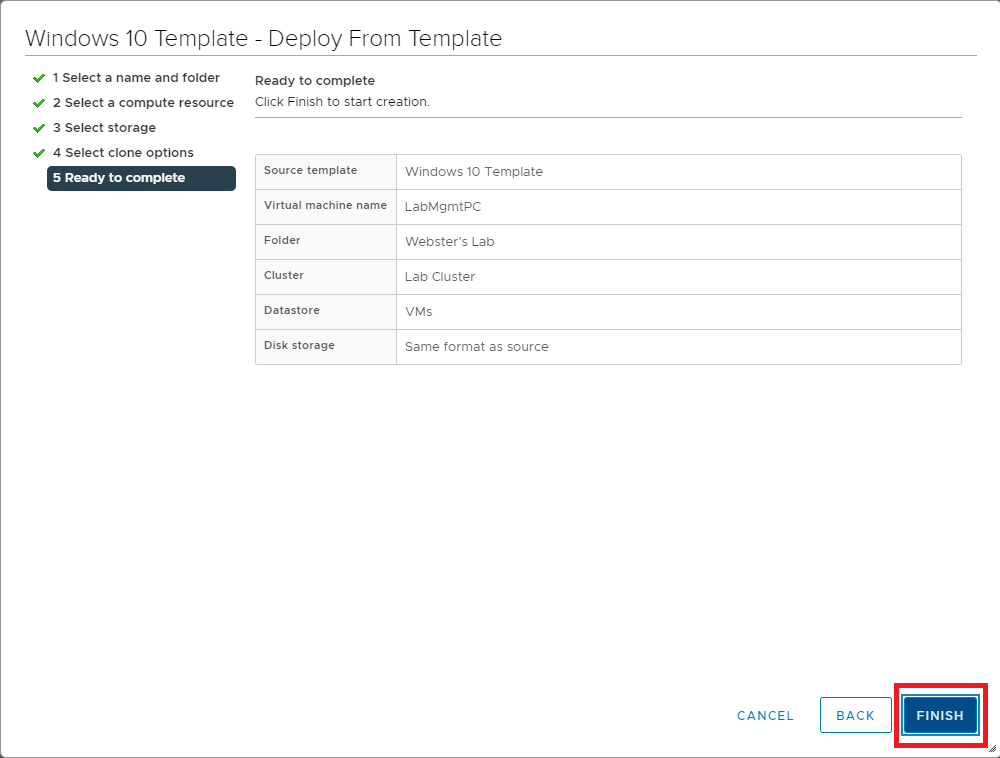
Verify that the configuration data for the new VM is correct and click Finish, as shown in Figure 6. If any item is incorrect, click Back, correct the item(s), and continue.
It took about 2 minutes to create the VM from the template in my lab.
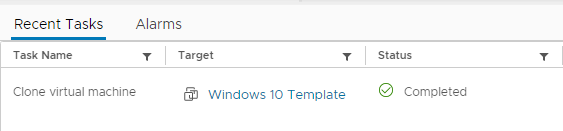
Wait for the creation of the VM to complete, as shown in Figure 7.
Since we enabled Remote Desktop in the Template, the new VM has it enabled.
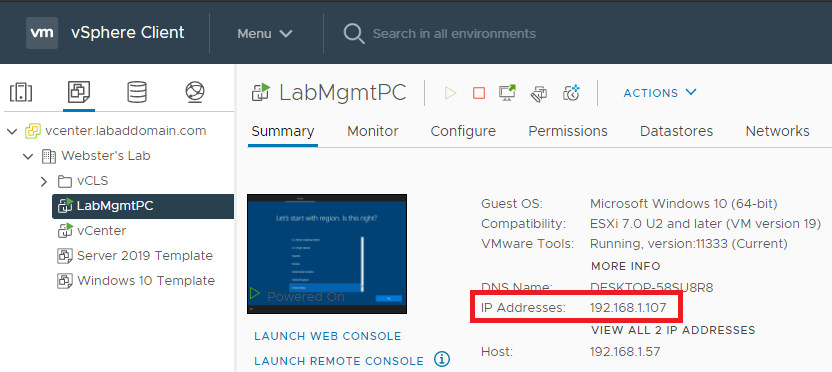
In vCenter, select the new Windows 10 VM, and in the right pane, look at the IP address, as shown in Figure 8.
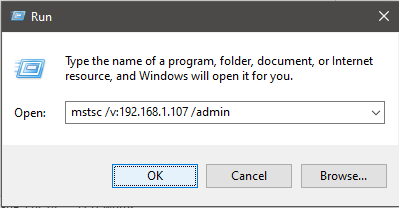
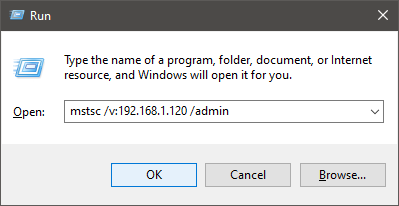
As shown in Figure 9, click Start, Run, and type in mstsc /v:ipaddress /admin, and press Enter [where IP Address is the IP address shown in Figure 8].
Using Remote Desktop at this point makes it easier for me to get screenshots.
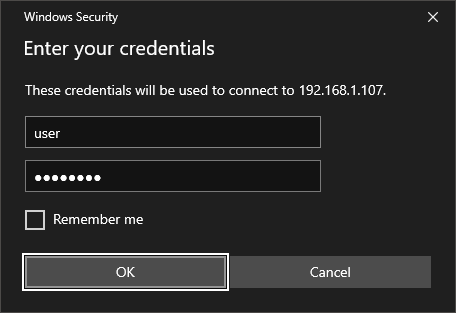
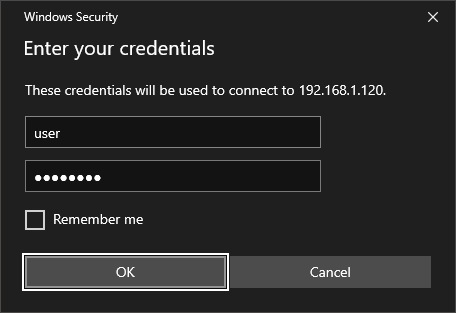
Enter the credentials for the local account created during the Windows 10 template build and press Enter, as shown in Figure 10.
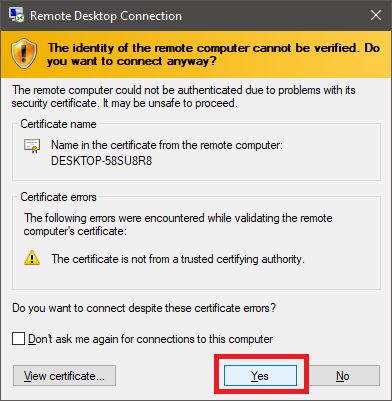
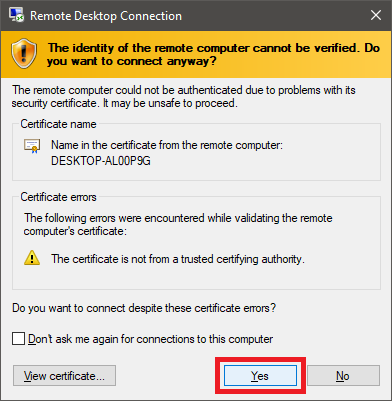
Click Yes, as shown in Figure 11.
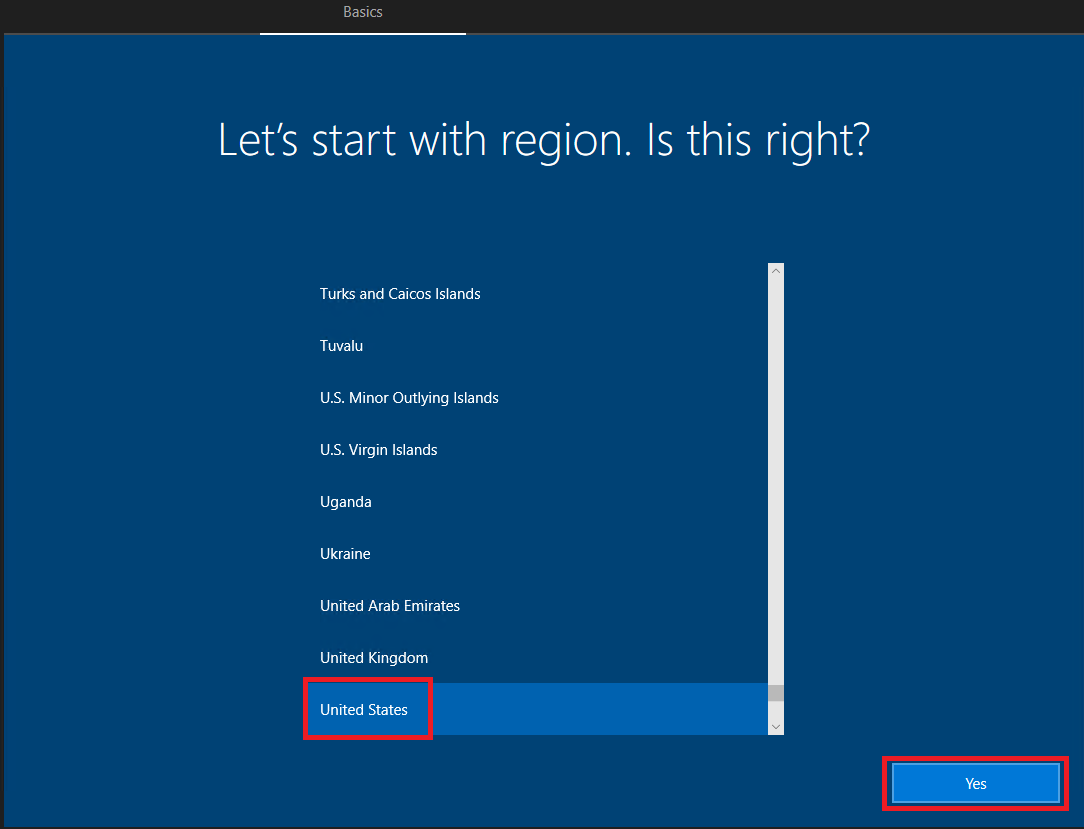
Select your region and click Yes, as shown in Figure 12.
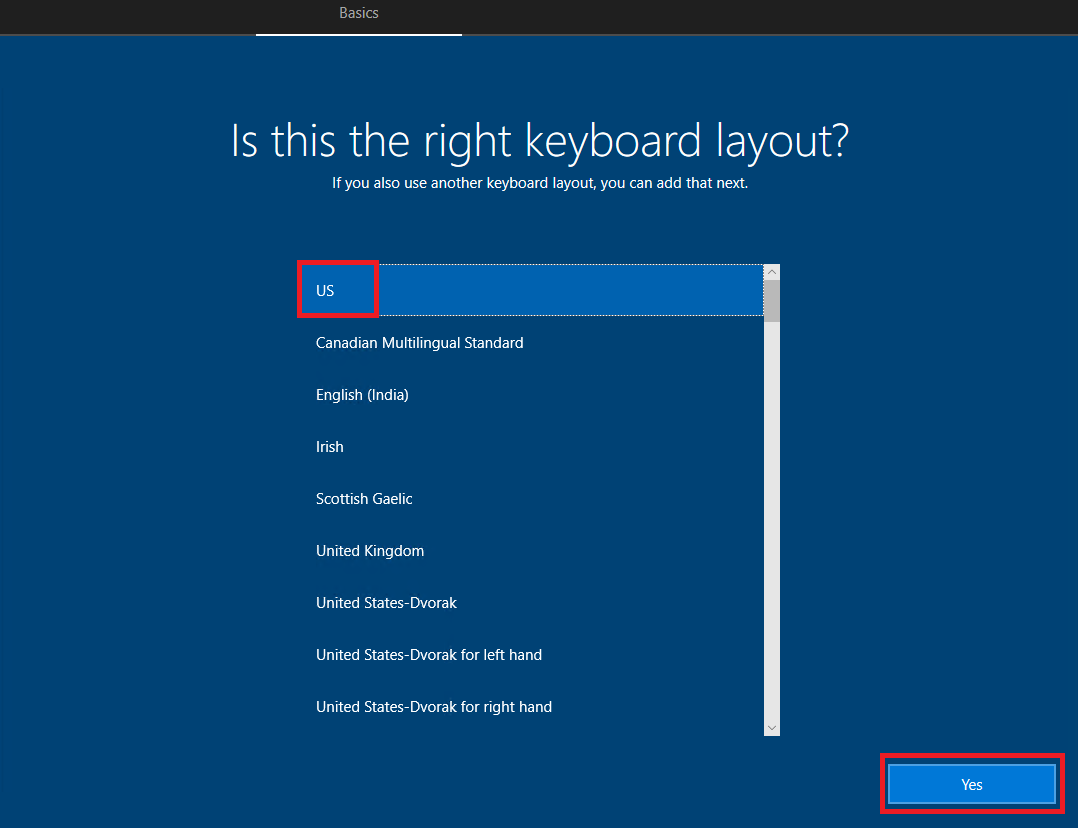
Select your keyboard layout and click Yes, as shown in Figure 13.

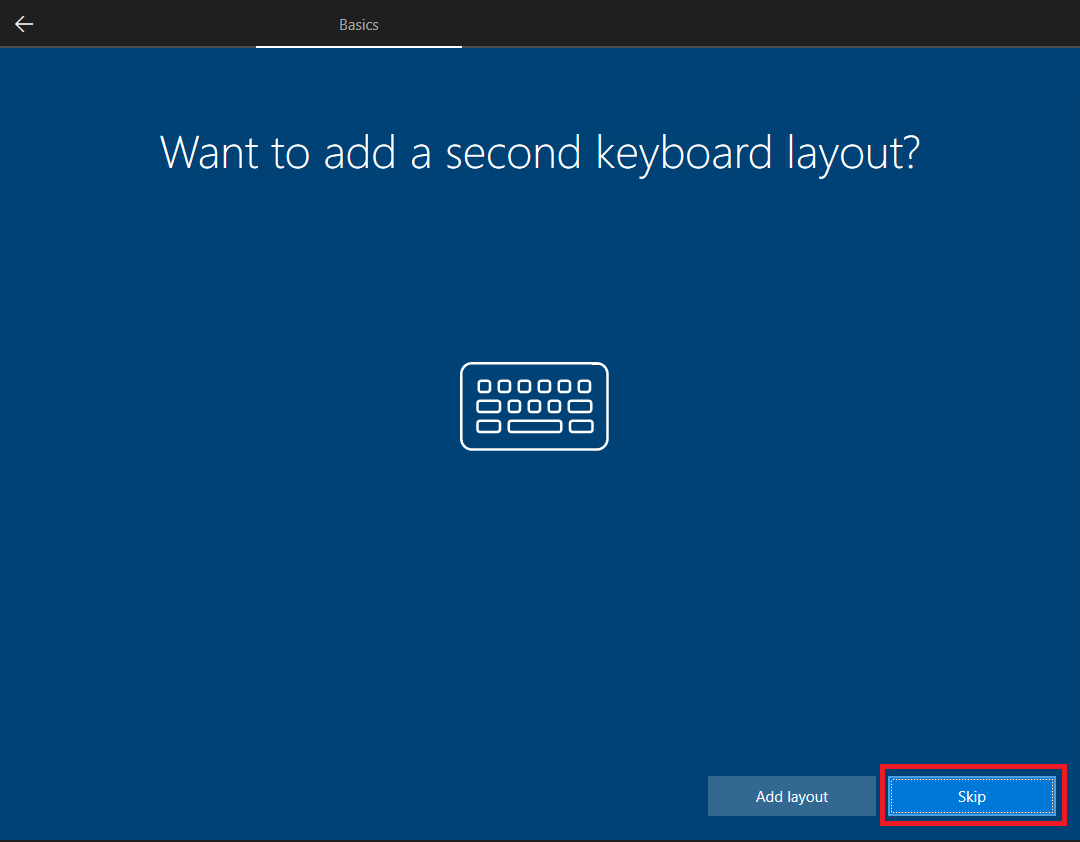
Click Skip, as shown in Figure 14.
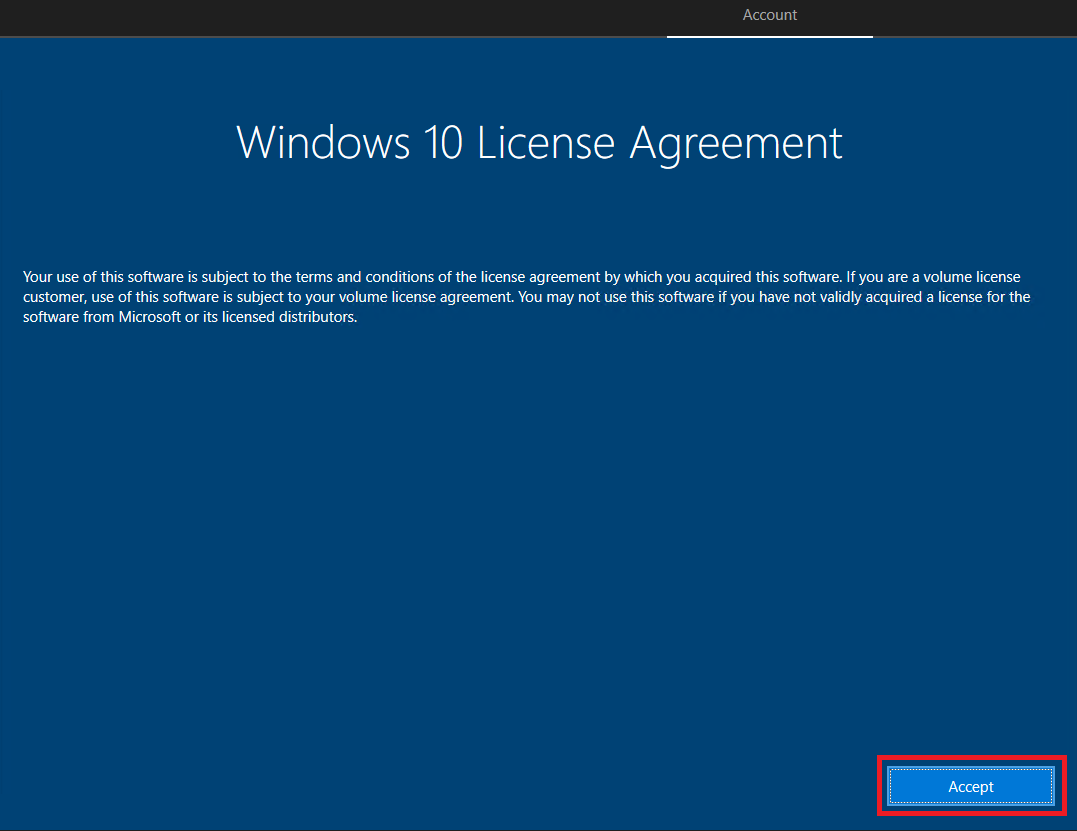
Click Accept, as shown in Figure 15.
Click Domain join instead, as shown in Figure 16.

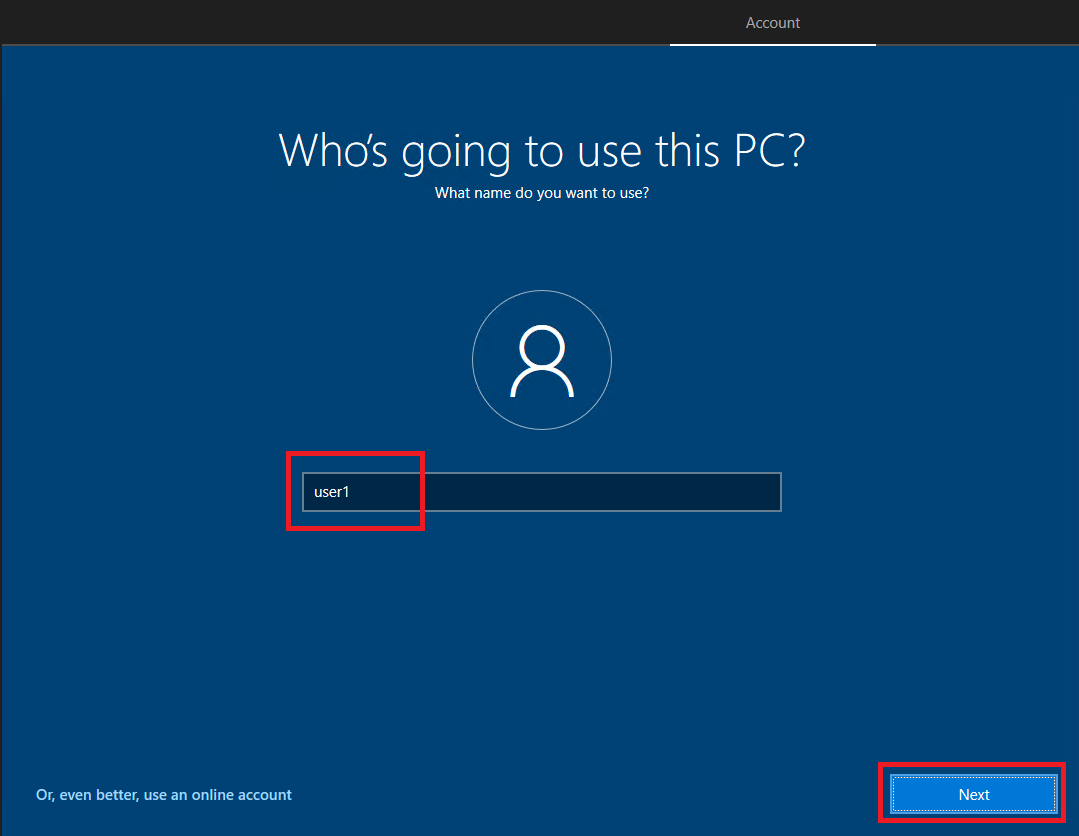
Type in a local user account name and click Next, as shown in Figure 17.

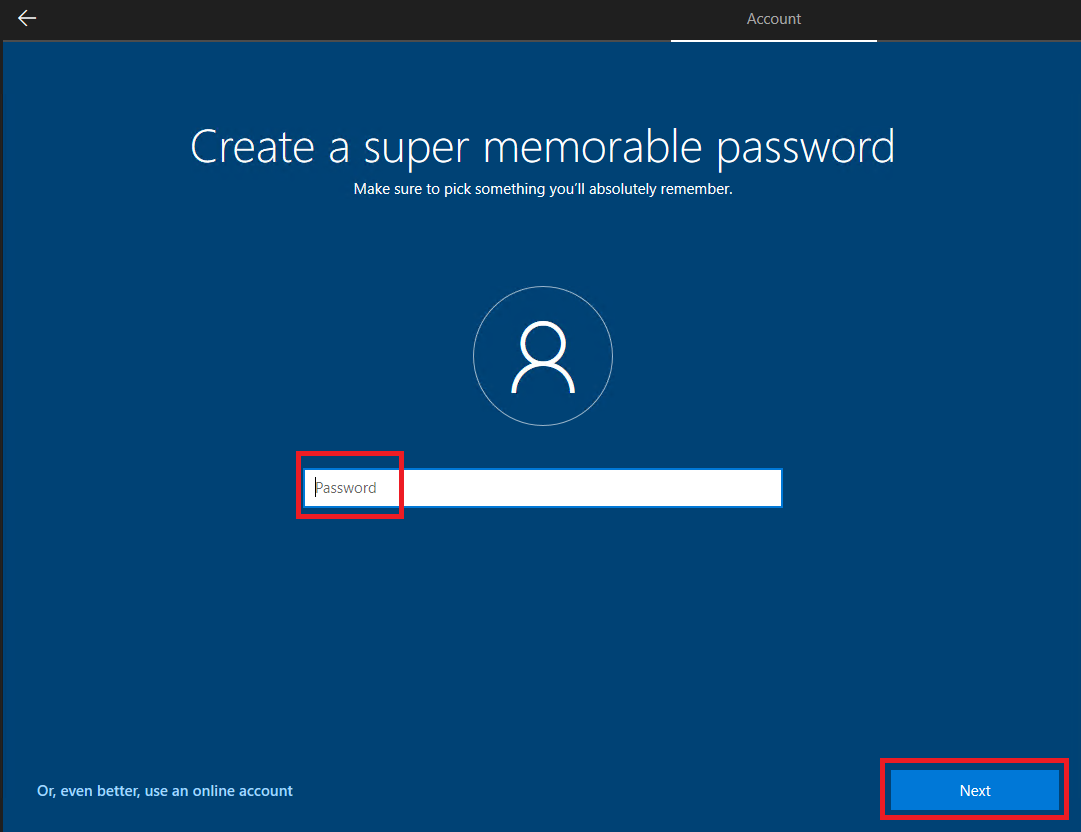
Enter a password and click Next, as shown in Figure 18.

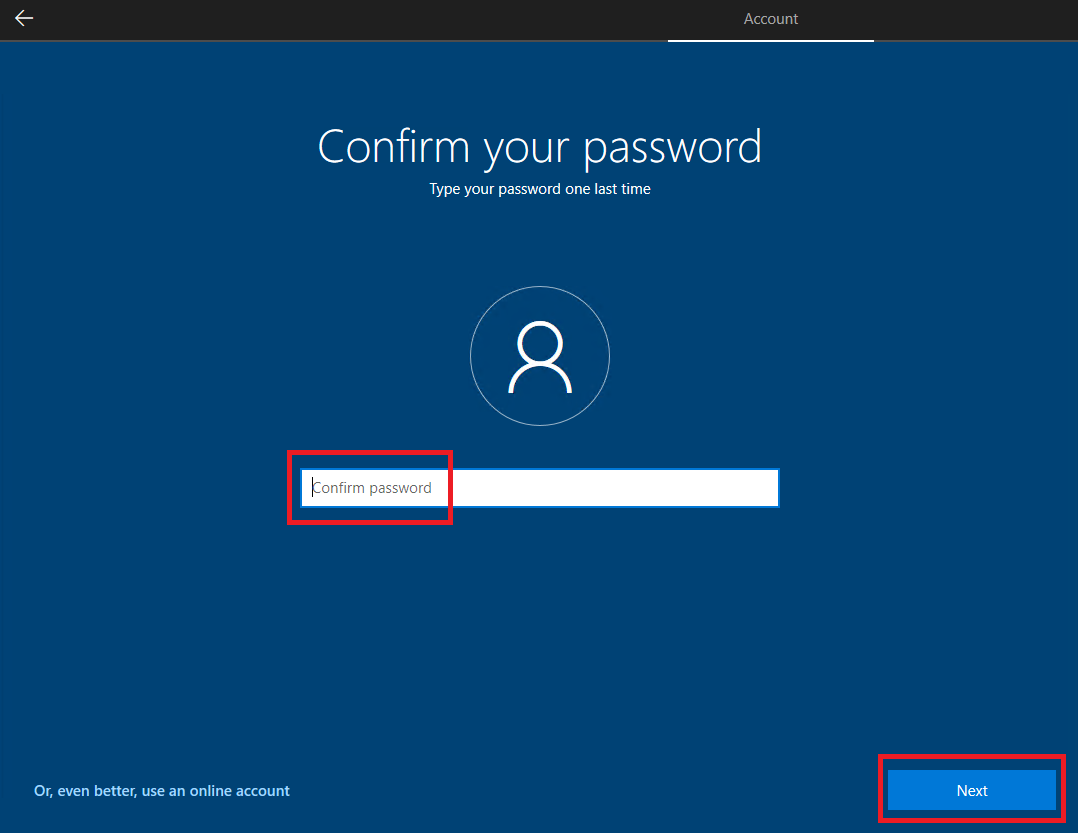
Confirm the password and click Next, as shown in Figure 19.

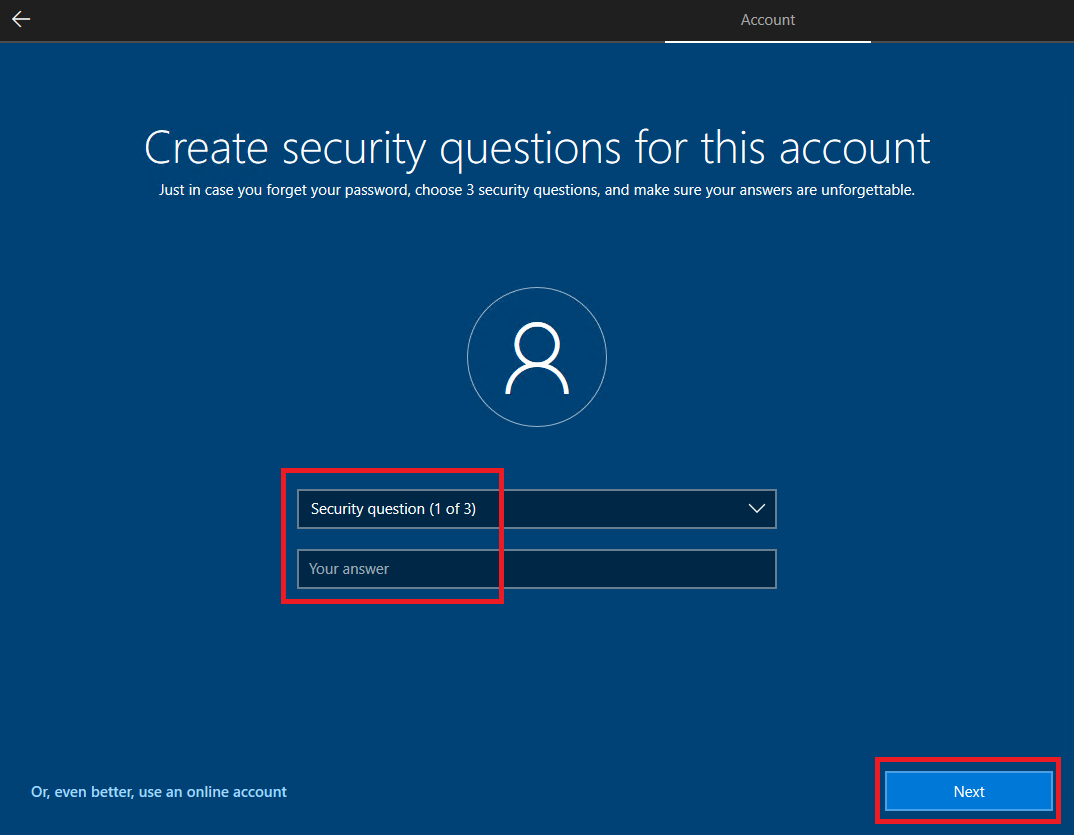
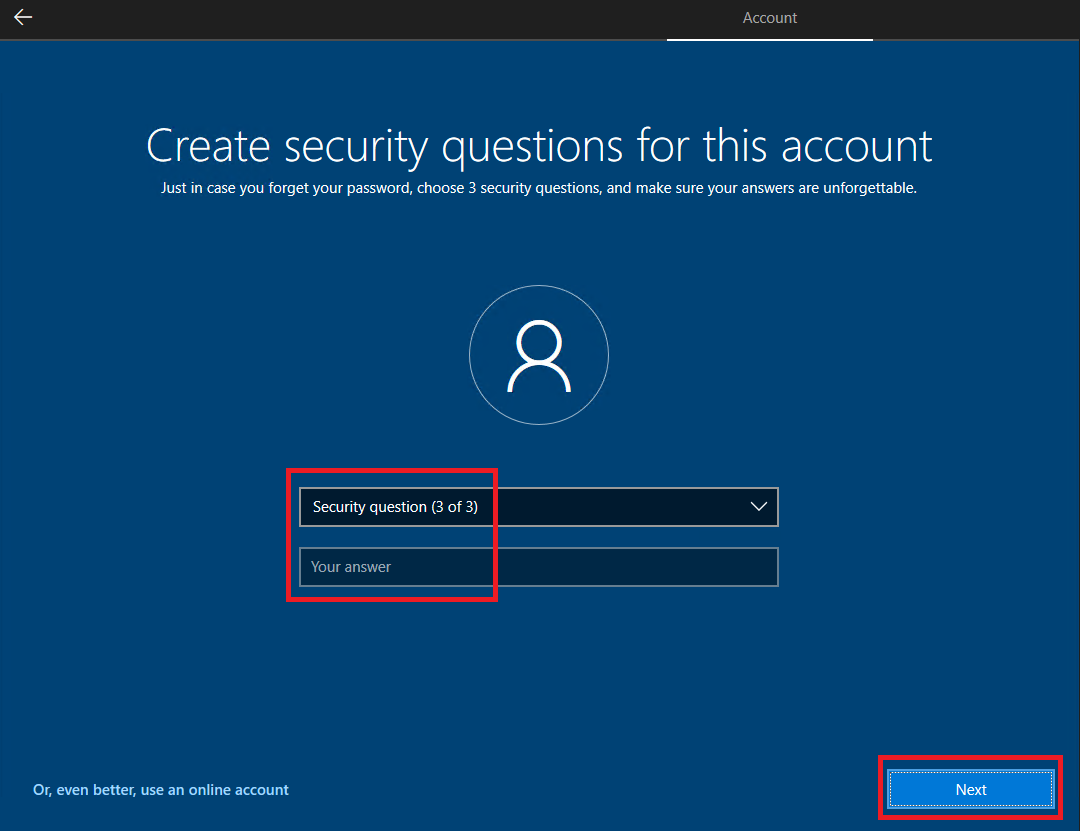
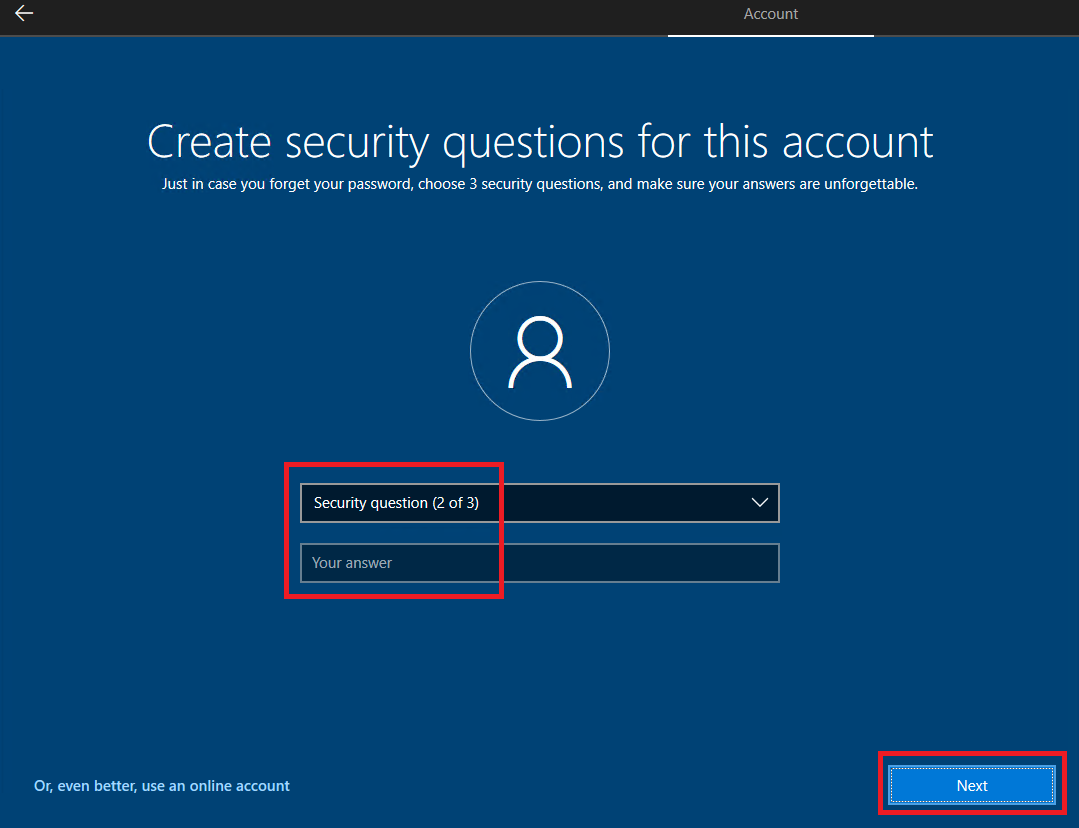
Select three security questions, enter the answer, and click Next, as shown in Figures 20 through 22.

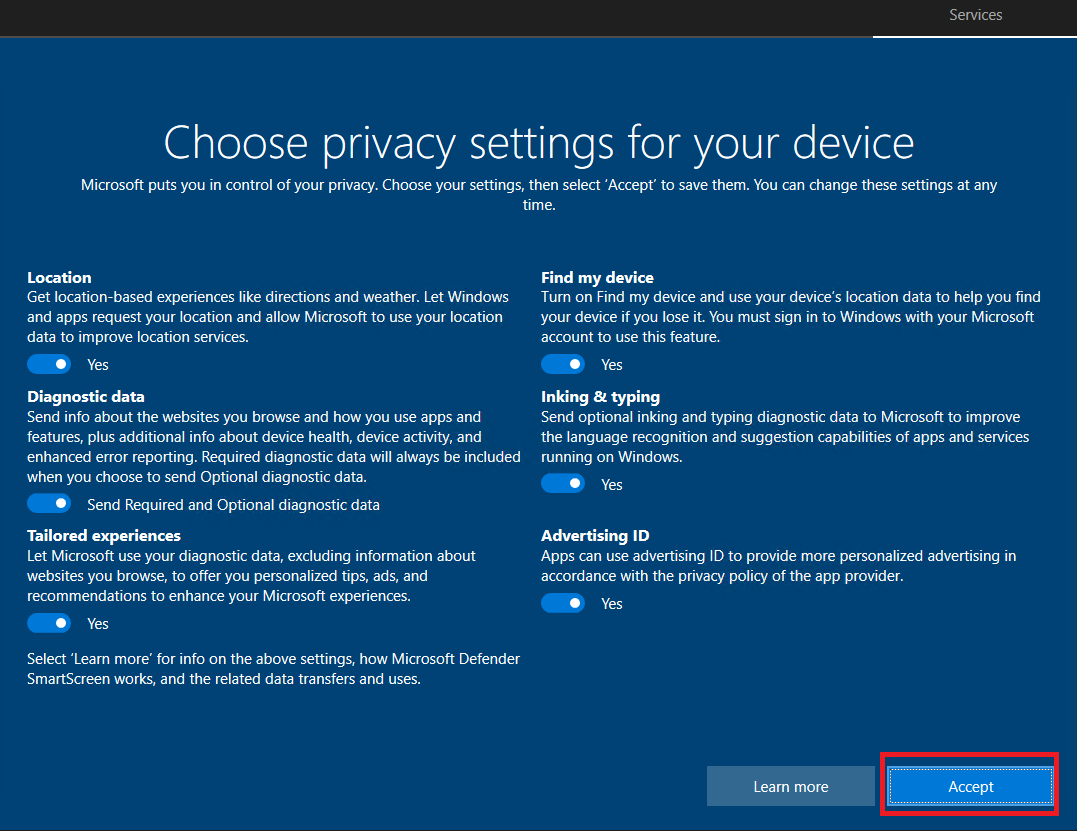
Select your privacy settings and click Accept, as shown in Figure 23. I set them all to No.

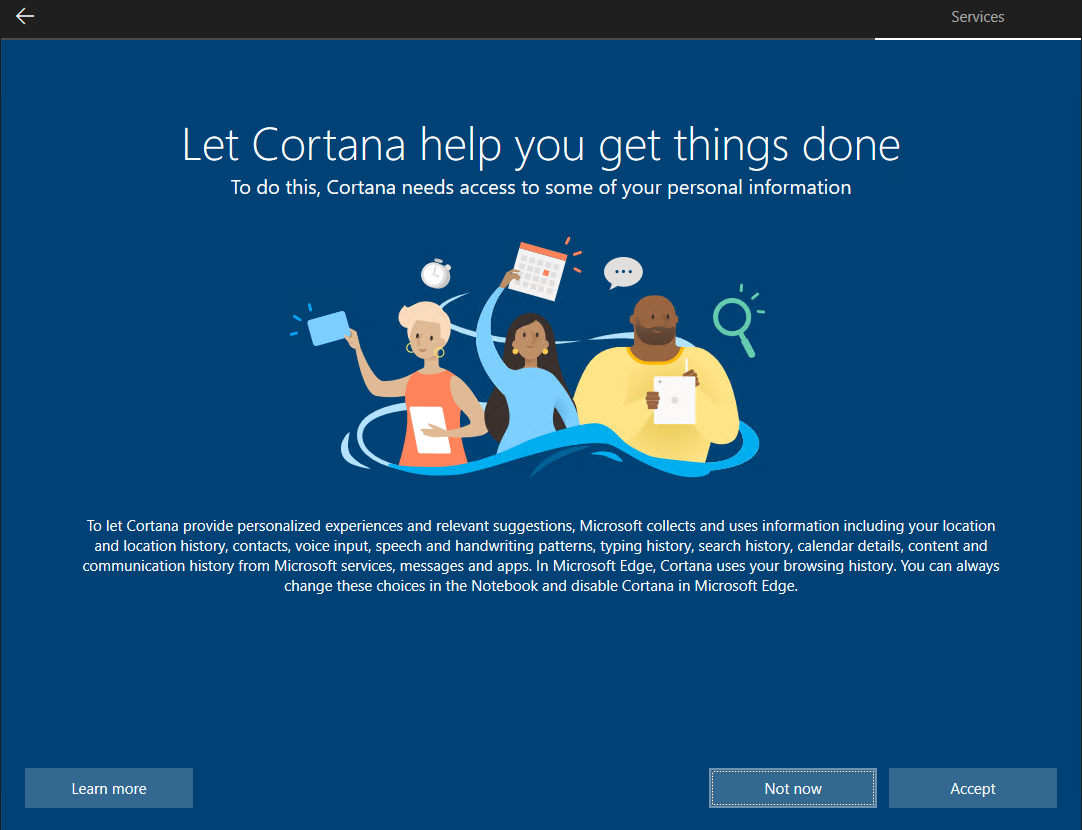
Make a selection for Cortana, as shown in Figure 24. I selected Not now, plus one of the settings in my Lab Defaults Group Policy to disable the use of Cortana.
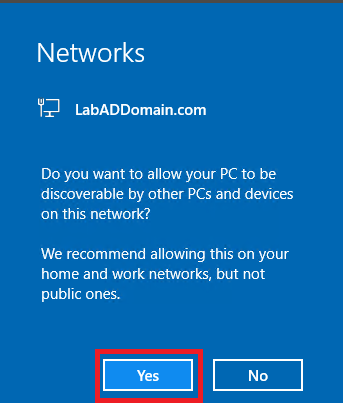
If you receive the following popup, click Yes, as shown in Figure 25. I only received this popup for VMware, not XenServer.
Right-click the network icon in the systray and click Open Network & Internet settings, as shown in Figure 26.

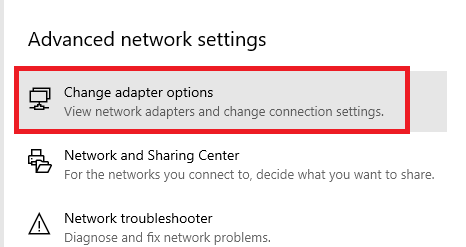
Click Change adapter options, as shown in Figure 27.
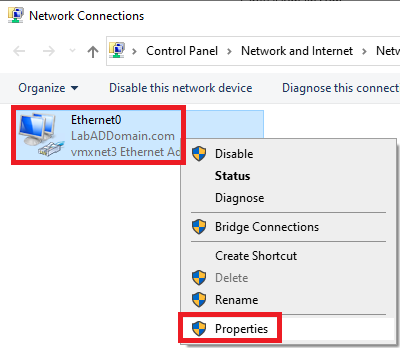
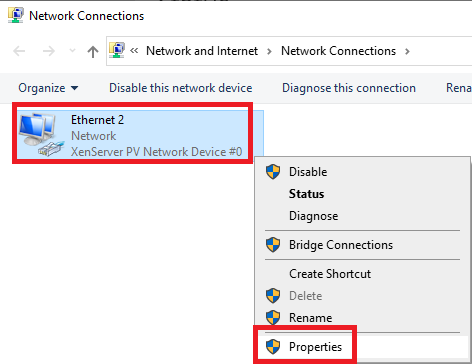
Right-click the adapter and click Properties, as shown in Figure 28.
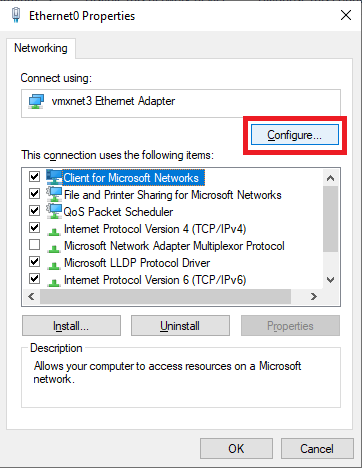
Click Configure…, as shown in Figure 29.
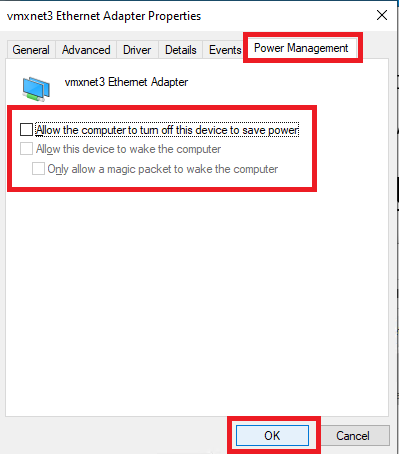
Click the Power Management tab, deselect every option, and click OK, as shown in Figure 30.
Right-click the Adapter and click Properties, as shown in Figure 28.
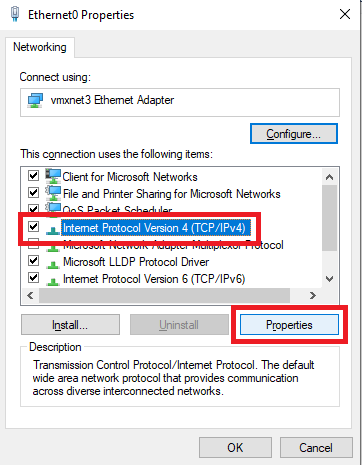
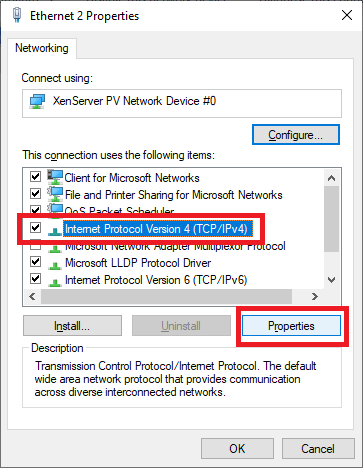
Click Internet Protocol Version 4 (TCP/IPv4) and click Properties, as shown in Figure 31.
Select Use the following IP address, enter the IP information for your network, and click OK, as shown in Figure 32. For the DNS server addresses, use the IP addresses of your domain controllers.
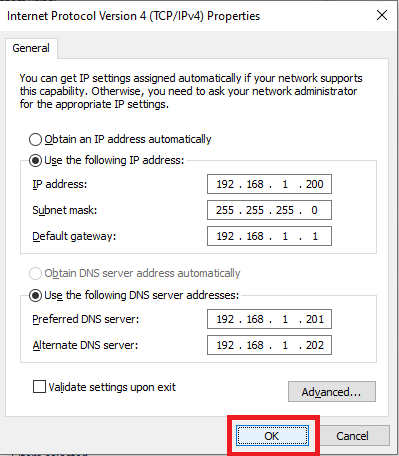
How many DNS servers should you configure on the network adapter? Not as many as you think. I recommend on DCs, a total of three where the third is always 127.0.0.1. For all other computers, also no more than three. I have seen places with 15 DCs, and every computer had all 15 DCs in the list of DNS servers. If you understand Windows DNS client resolution timeouts, limit the number of DNS entries.
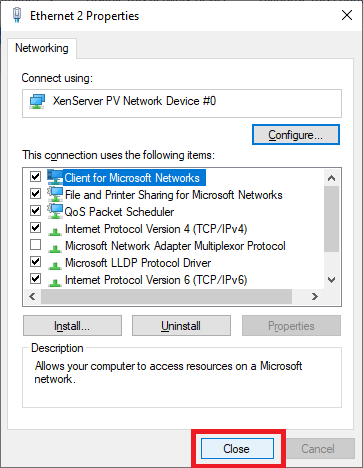
Click Close, as shown in Figure 33.
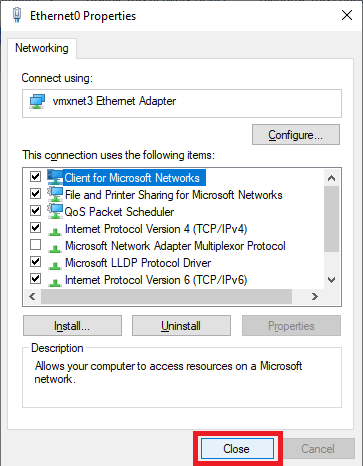
After clicking Close, you lose the connection to the RDP session. Reconnect using the new static IP address.
Close Network Connections.
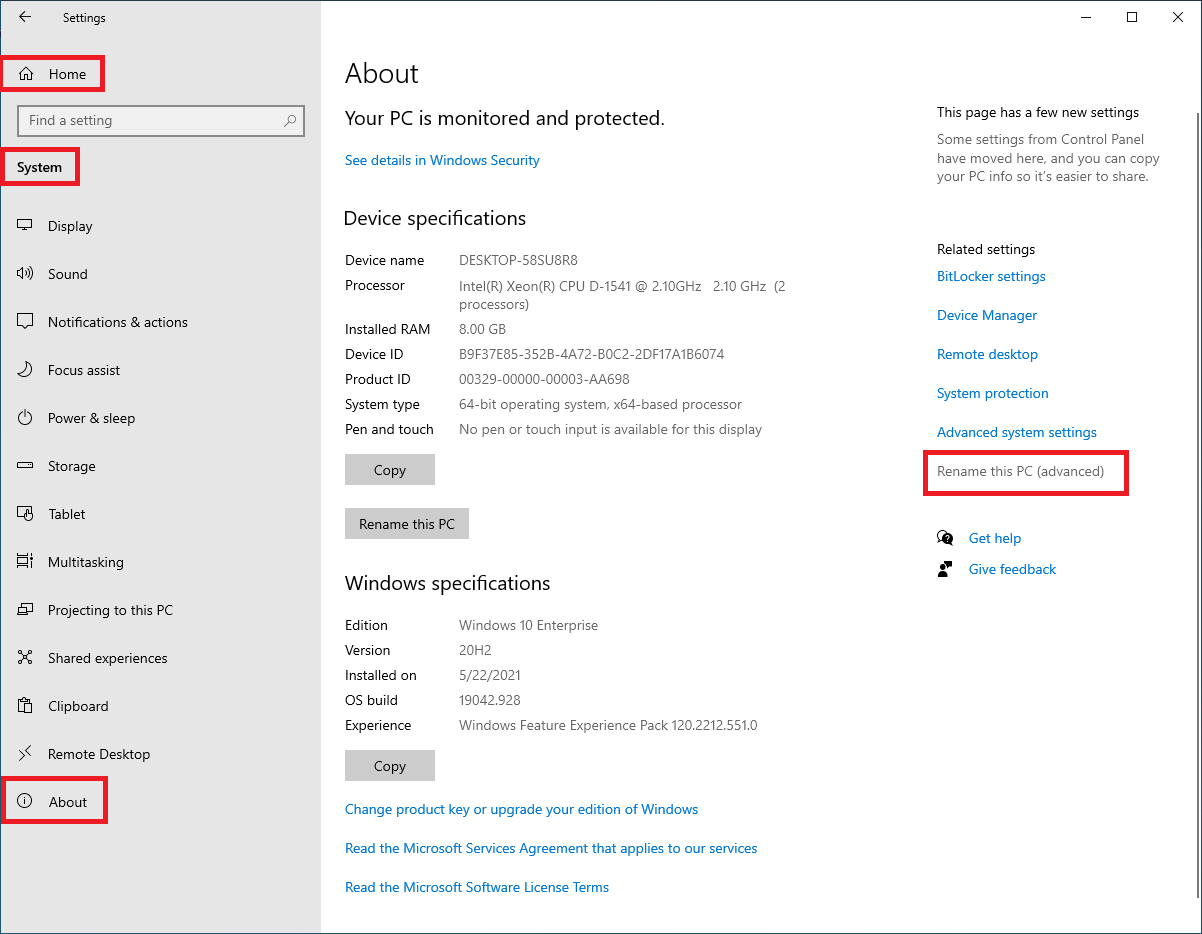
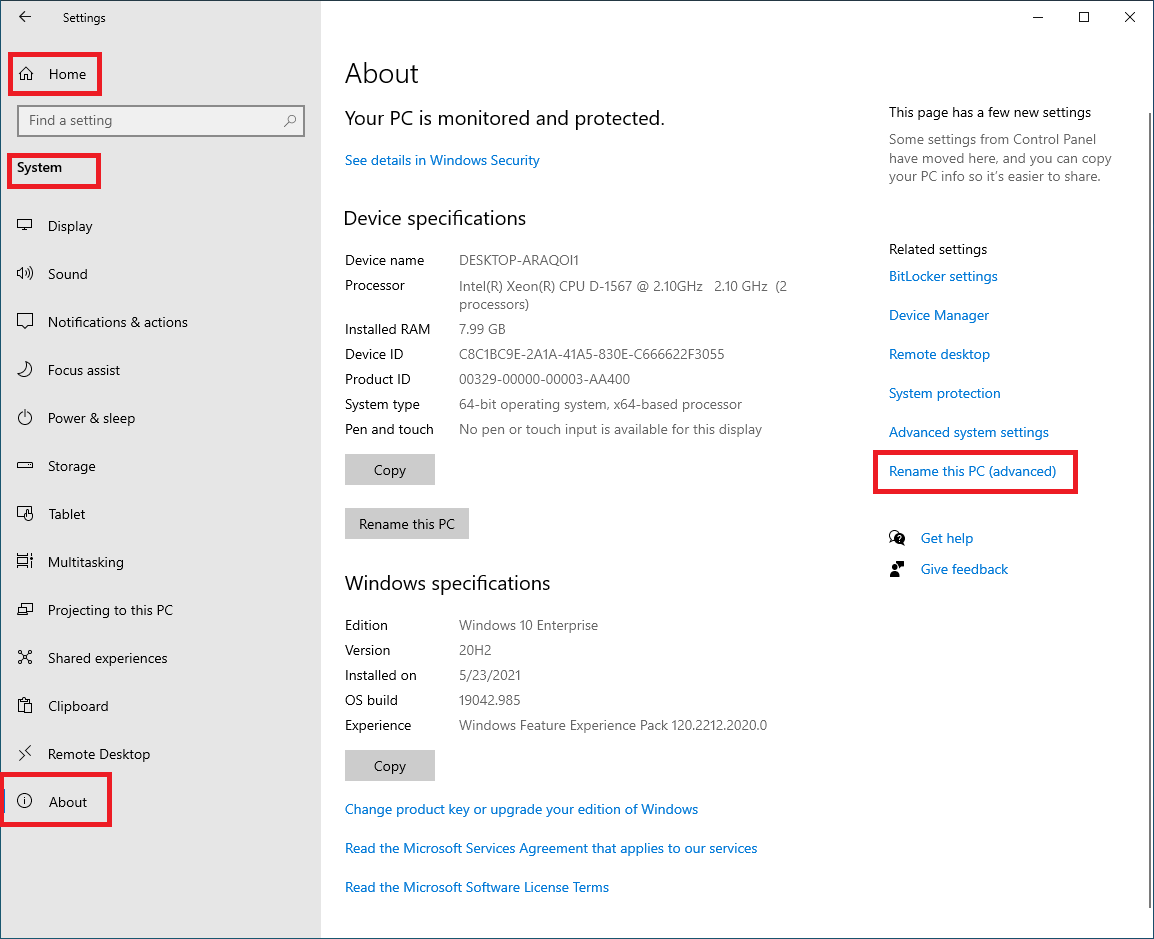
Click Home, then System, then About, and finally Rename this PC (Advanced), as shown in Figure 34.
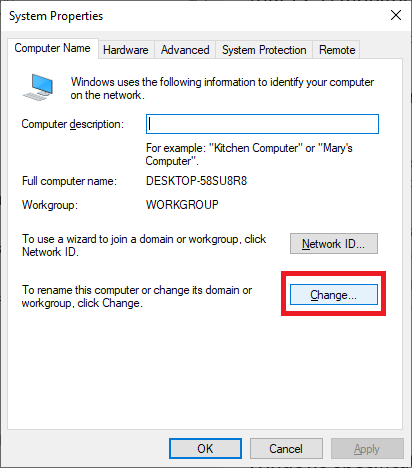
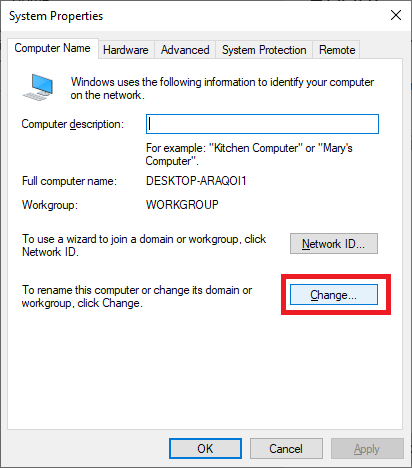
Click Change, as shown in Figure 35.
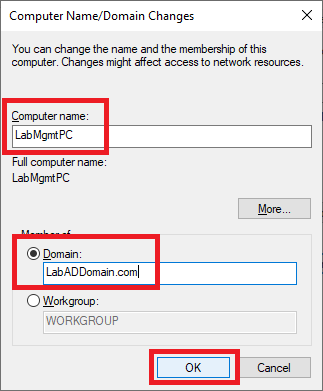
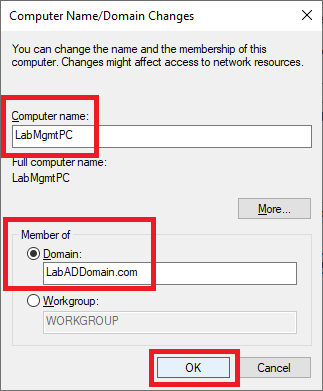
Enter a Computer name, Domain, and click OK, as shown in Figure 36.
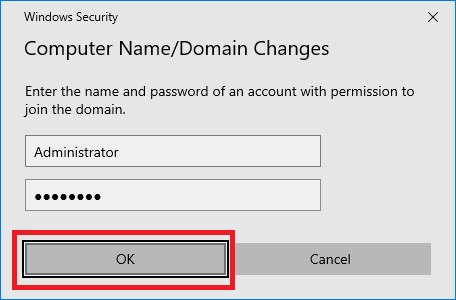
Enter the domain’s Administrator name and password and click OK, as shown in Figure 37.

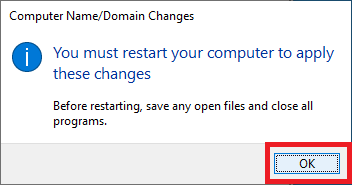
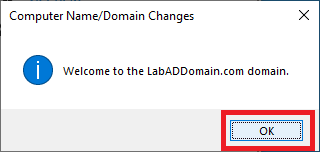
Click OK, as shown in Figure 38.

Click OK, as shown in Figure 39.
Click Close, as shown in Figure 40.
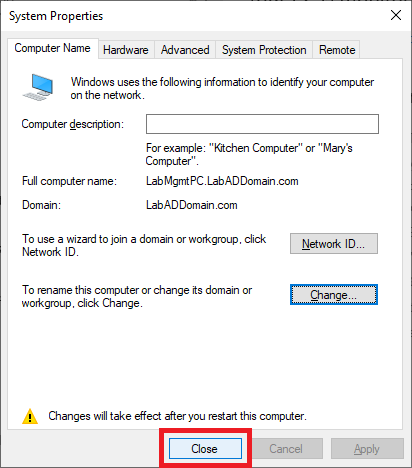
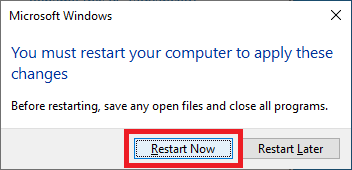
Click Restart Now, as shown in Figure 41.

When the VM restarts, log in using the domain’s Administrator account.
Make any customizations you require to the VM before we start installing consoles. I upgraded my Windows 10 20H2 VM to Windows 10 21H1.
XenServer
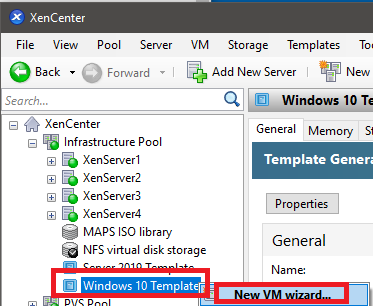
In XenCenter, right-click the Windows 10 Template and click on New VM wizard…, as shown in Figure 42.
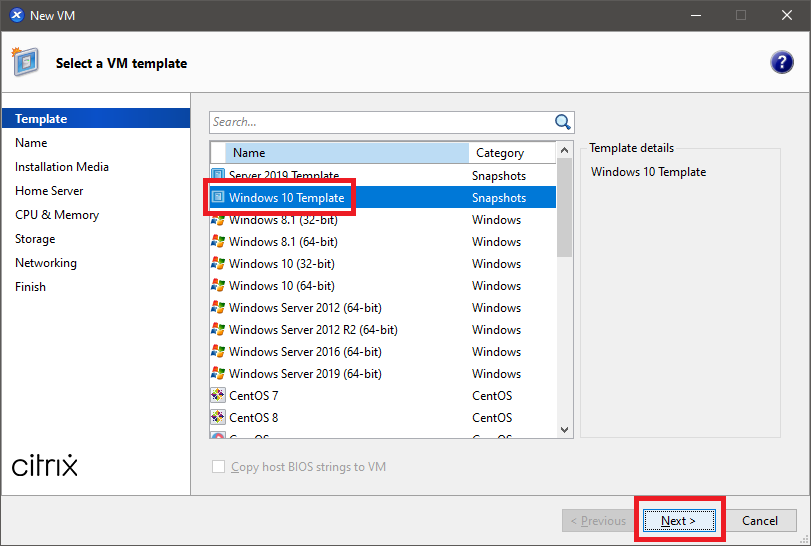
Select the Windows 10 Template template and click Next, as shown in Figure 43.
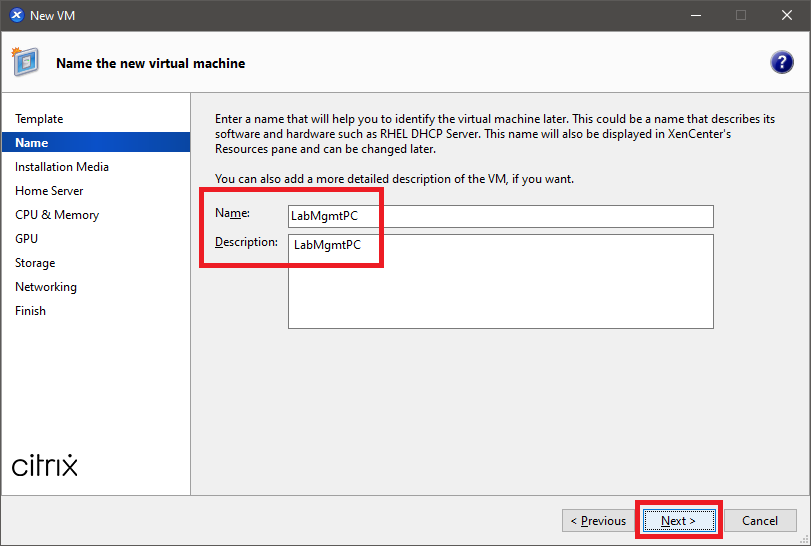
Enter a Name, an optional Description, and click Next, as shown in Figure 44.
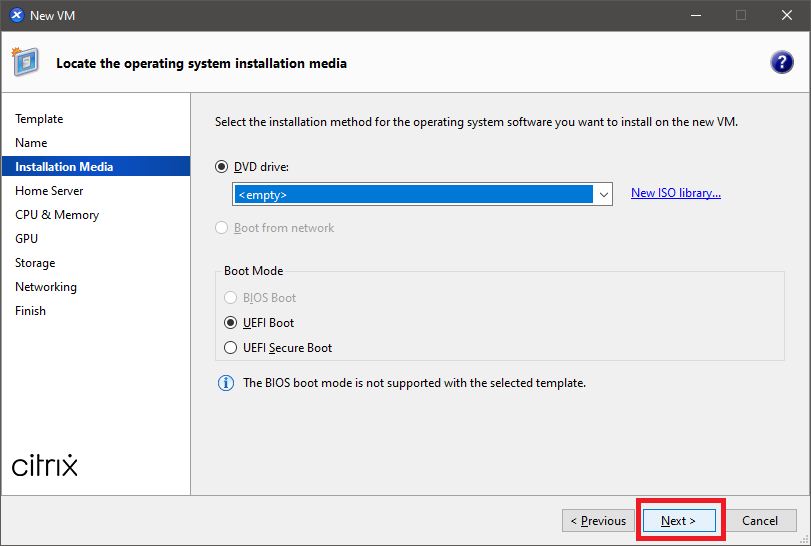
Since the operating system is installed in the template VM, Click Next, as shown in Figure 45.
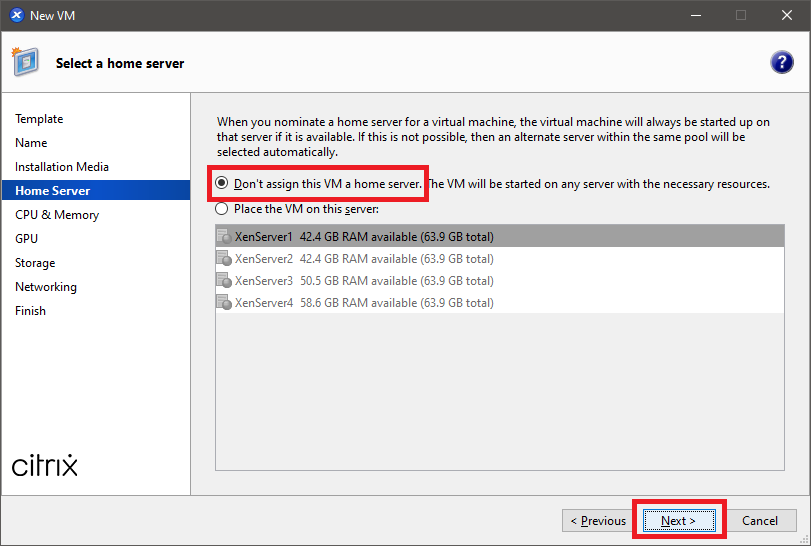
Select Don’t assign this VM a home server and click Next, as shown in Figure 46.
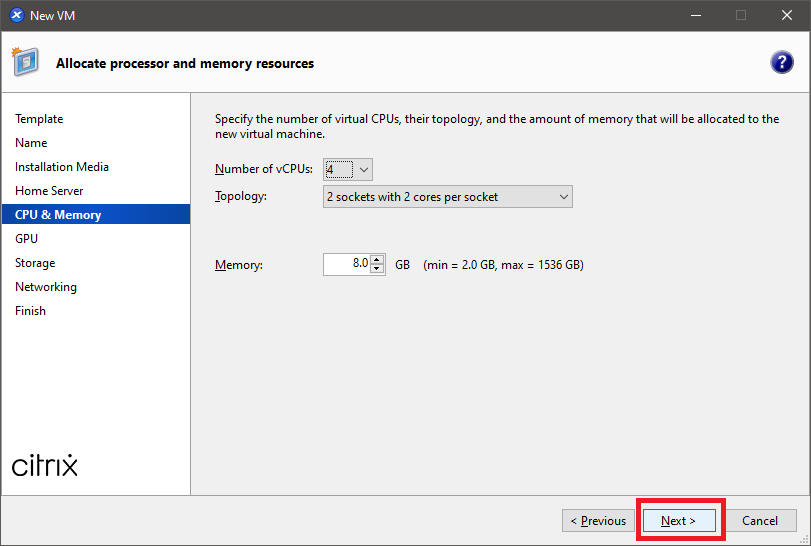
You may change the Number of vCPUs, Topology, and Memory if you wish. I left everything the same as the template VM. Click Next, as shown in Figure 47.
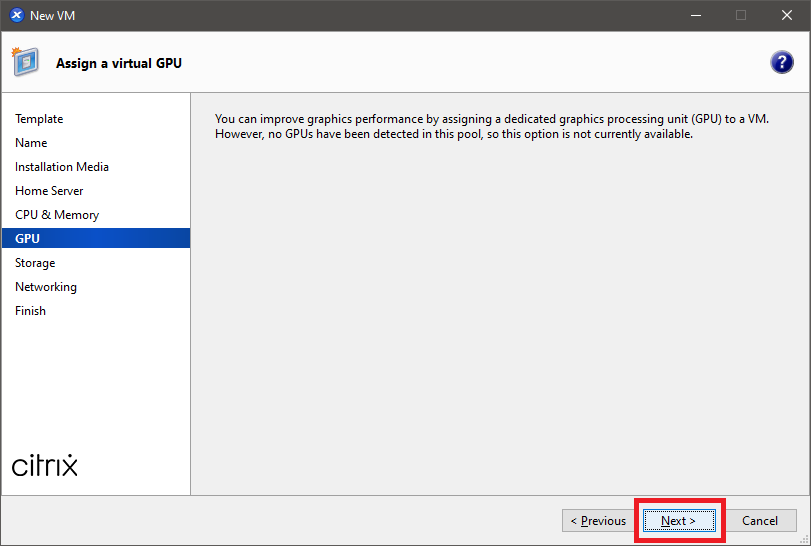
As my hosts do not have a GPU card, I clicked Next, as shown in Figure 48.
Click Edit, as shown in Figure 49.
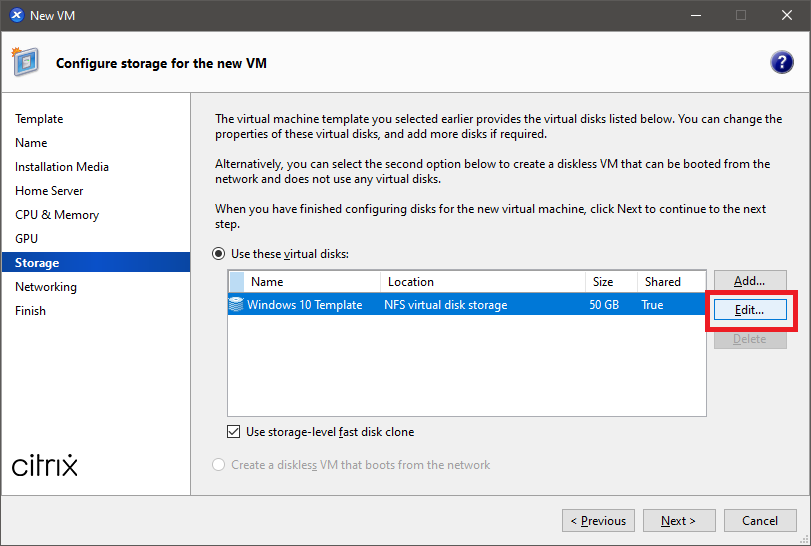
I recommend changing both the Name and Description. Doing so makes it easier later if you ever delete a VM and its attached hard disks. If all the hard disks have the same name and description, it is challenging to determine which disks go with which VM.
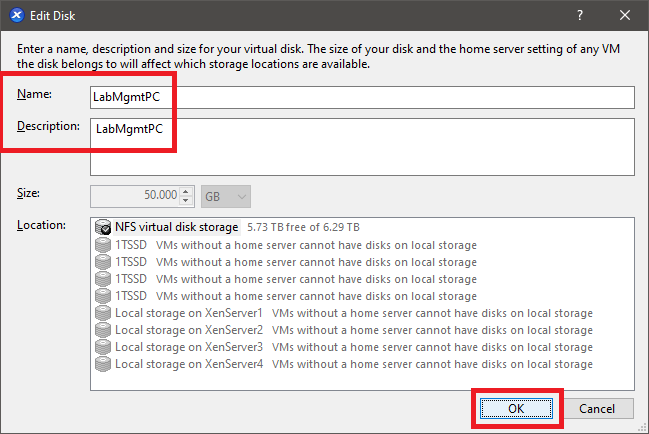
Enter a Name and Description and click OK, as shown in Figure 50.
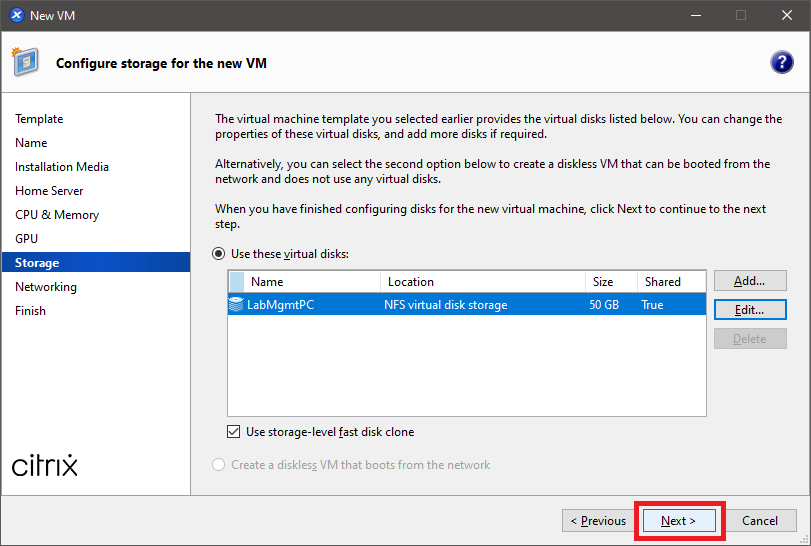
Click Next, as shown in Figure 51.
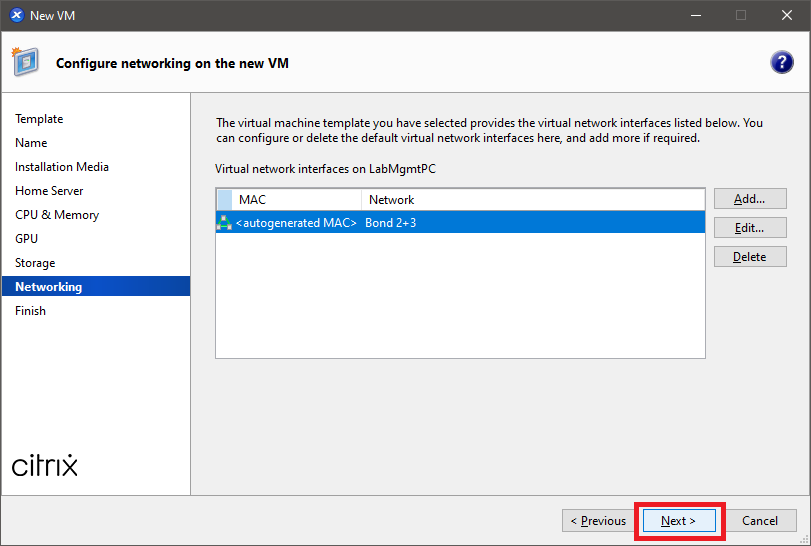
If multiple Virtual network interfaces are available, select the appropriate interface and click Next, as shown in Figure 52.
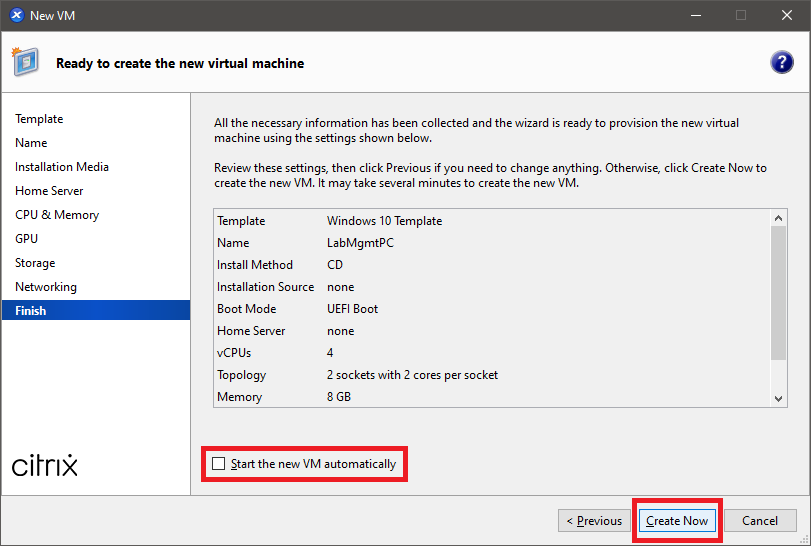
Verify all the configuration options are correct and click Create Now, as shown in Figure 53. If an option is not correct, click Previous, correct the option and then continue.
I deselected the option Start the new VM automatically since it doesn’t work.
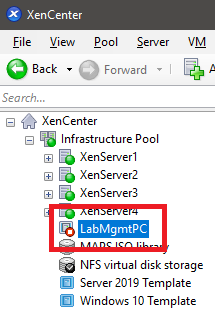
Wait for the creation of the VM to complete, as shown in Figure 54. It took about 2 seconds in my lab to create the VM from the template.
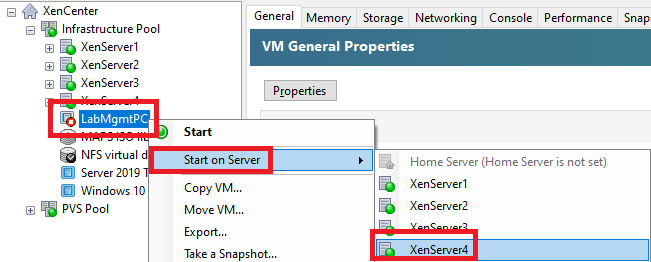
In XenCenter, right-click the new VM and click Start, as shown in Figure 55.
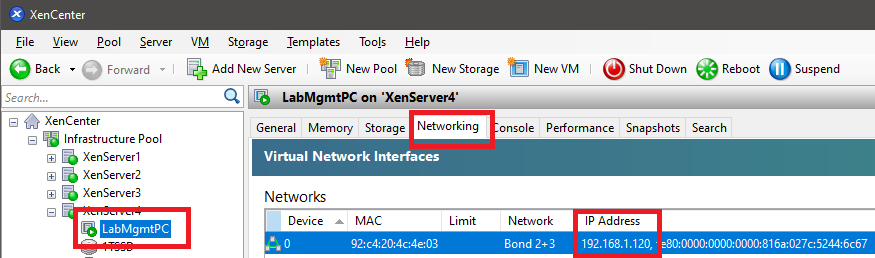
Expand the XenServer host on which you started the VM, click the VM, and click the Networking tab, as shown in Figure 56. You see the IP address assigned to the VM.
As shown in Figure 57, click Start, Run, and type in mstsc /v:ipaddress /admin, and press Enter [where IP Address is the IP address shown in Figure 56].
Using Remote Desktop at this point makes it easier for me to get screenshots.
Enter the credentials for the local account created during the Windows 10 template build and press Enter, as shown in Figure 58.
Click Yes, as shown in Figure 59.
Select your region and click Yes, as shown in Figure 60.

Select your keyboard layout and click Yes, as shown in Figure 61.
Click Skip, as shown in Figure 62.

Click Accept, as shown in Figure 63.

Click Domain join instead, as shown in Figure 64.

Type in a local user account name and click Next, as shown in Figure 65.
Enter a password and click Next, as shown in Figure 66.
Confirm the password and click Next, as shown in Figure 67.
Select three security questions, enter the answer, and click Next, as shown in Figures 68 through 70.


Select your privacy settings and click Accept, as shown in Figure 71. I set them all to No.
Make a selection for Cortana, as shown in Figure 72. I selected Not now, plus one of the settings in my Lab Defaults Group Policy to disable the use of Cortana.

If you receive the following popup, click Yes, as shown in Figure 73. I only received this popup for VMware, not XenServer.

Right-click the network icon in the systray and click Open Network & Internet settings, as shown in Figure 74.

Click Change adapter options, as shown in Figure 75.

Right-click the adapter and click Properties, as shown in Figure 76.
Click Internet Protocol Version 4 (TCP/IPv4) and click Properties, as shown in Figure 77.
Select Use the following IP address, enter the IP information for your network, and click OK, as shown in Figure 78. For the DNS server addresses, use the IP addresses of your domain controllers.
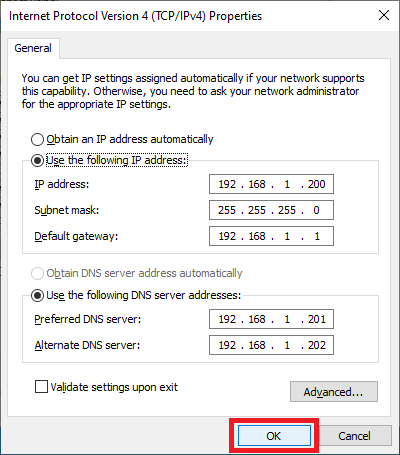
How many DNS servers should you configure on the network adapter? Not as many as you think. I recommend on DCs, a total of three where the third is always 127.0.0.1. For all other computers, also no more than three. I have seen places with 15 DCs, and every computer had all 15 DCs in the list of DNS servers. If you understand Windows DNS client resolution timeouts, limit the number of DNS entries.
Click Close, as shown in Figure 79.
After clicking Close, you lose the connection to the RDP session. Reconnect using the new static IP address.
Close Network Connections.
Click Home, then System, then About, and finally Rename this PC (Advanced), as shown in Figure 80.
Click Change, as shown in Figure 81.
Enter a Computer name, Domain, and click OK, as shown in Figure 82.
Enter the domain’s Administrator name and password and click OK, as shown in Figure 83.
Click OK, as shown in Figure 84.
Click OK, as shown in Figure 85.

Click Close, as shown in Figure 86.

Click Restart Now, as shown in Figure 87.
When the VM restarts, log in using the domain’s Administrator account.
Make any customizations you require to the VM before we start installing consoles. I upgraded my Windows 10 20H2 VM to Windows 10 21H1.
Install Active Directory Consoles
There are no Citrix Virtual Apps and Desktops or Parallels Remote Application Server or VMware Horizon environments at this point in the lab’s building process. The only consoles to install at this point are for the Microsoft products in the lab.
Before the October 2018 update to Windows 10, a download was available for the Remote Server Administrative Tools (RSAT). The old approach to RSAT was that the Windows 10 upgrade removed the RSAT from the computer. The new approach allows the RSAT to persist between Windows 10 upgrades.
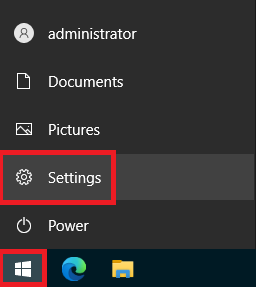
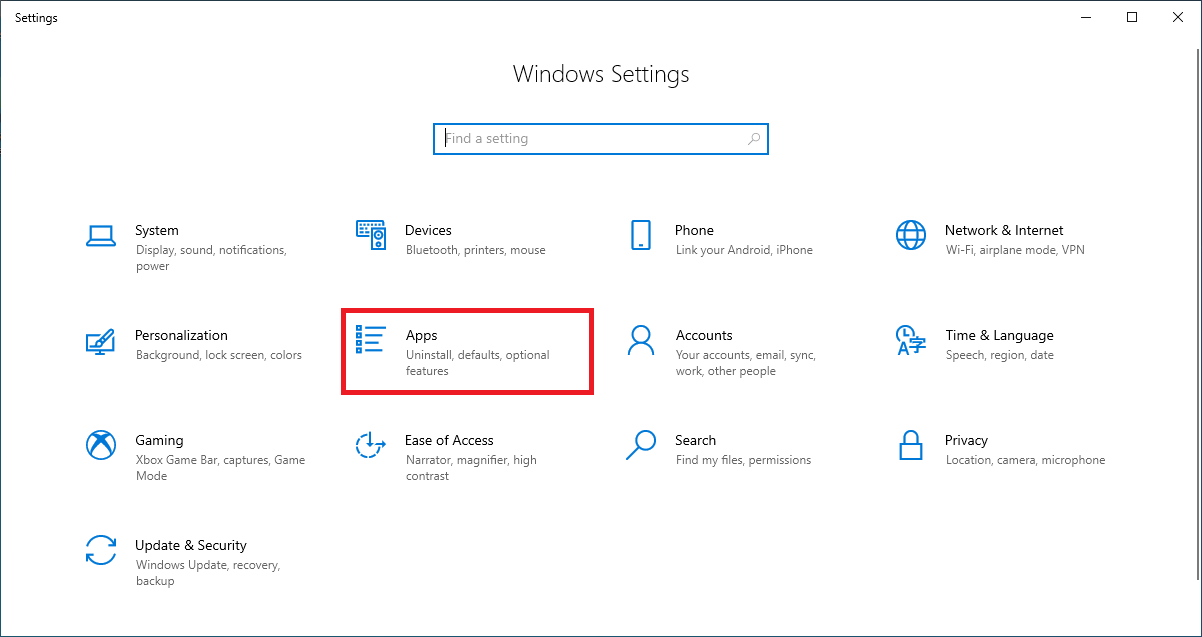
Click the Start button and click Settings, as shown in Figure 88.
Click Apps, as shown in Figure 89.
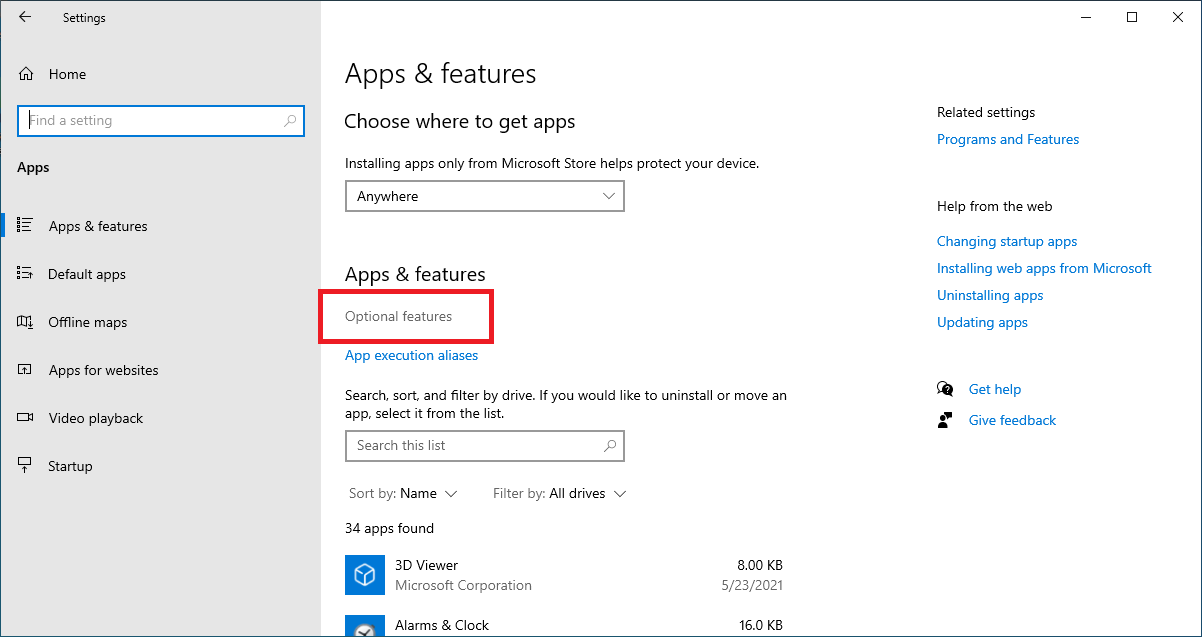
Click Optional features, as shown in Figure 90.
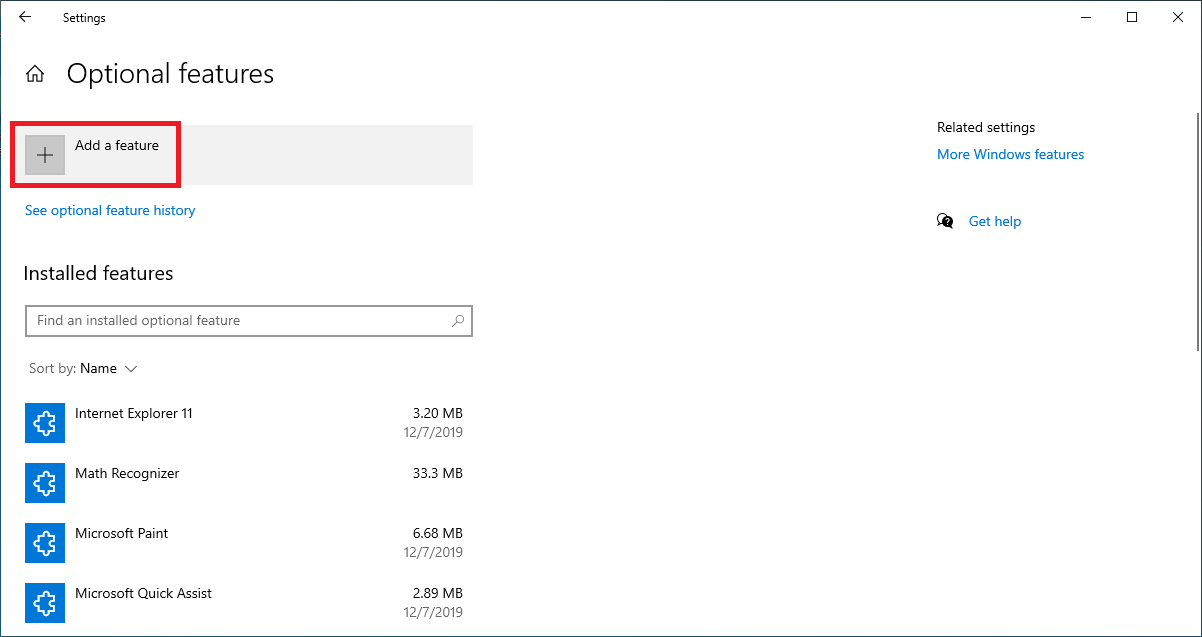
Click Add a feature, as shown in Figure 91.
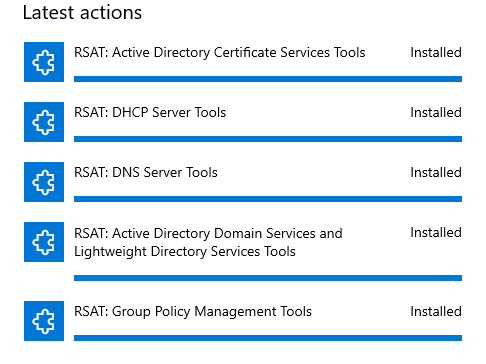
Select the following items and click Install, as shown in Figure 92.
- RSAT: Active Directory Certificate Services Tools
- RSAT: Active Directory Domain Services and Lightweight Directory Services Tools
- RSAT: DHCP Server Tools
- RSAT: DNS Server Tools
- RSAT: Group Policy Management Tools

The tools install, as shown in Figure 93.
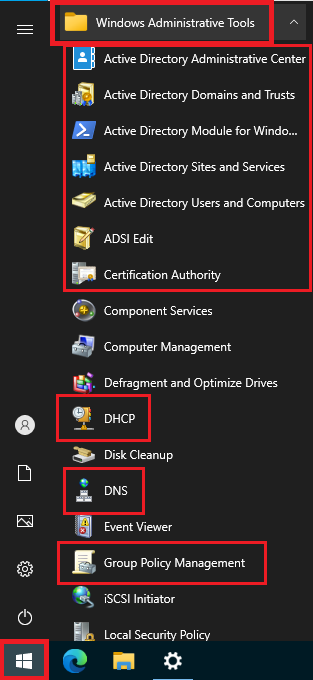
You can find the tools by clicking Start, scrolling down to, and expanding Windows Administrative Tools, as shown in Figure 94.
Installing RSAT installed several PowerShell modules. To ensure that we have current help text for every PowerShell module, start an elevated PowerShell session.
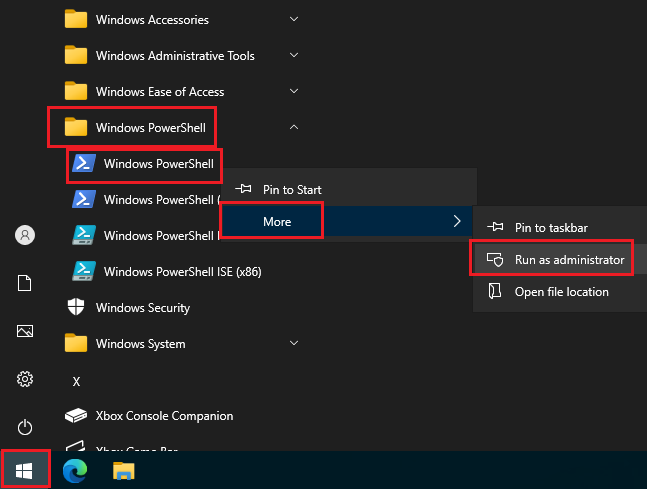
Click Start, scroll down to and expand Windows Powershell, right-click Windows PowerShell, click More, and click Run as administrator, as shown in Figure 95.
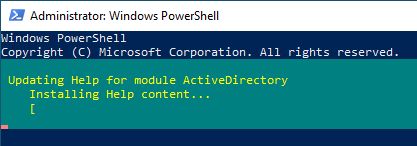
Type in the following in the PowerShell window, as shown in Figure 96.
update-help -force
The help text updates, as shown in Figure 96. You can safely ignore any warnings or errors.
To verify that PowerShell Remoting is enabled, type the following in the PowerShell window, as shown in Figure 97.
enable-psremoting

You can access each of the RSAT consoles from the start menu or build an MMC console containing all the snap-ins you use often.
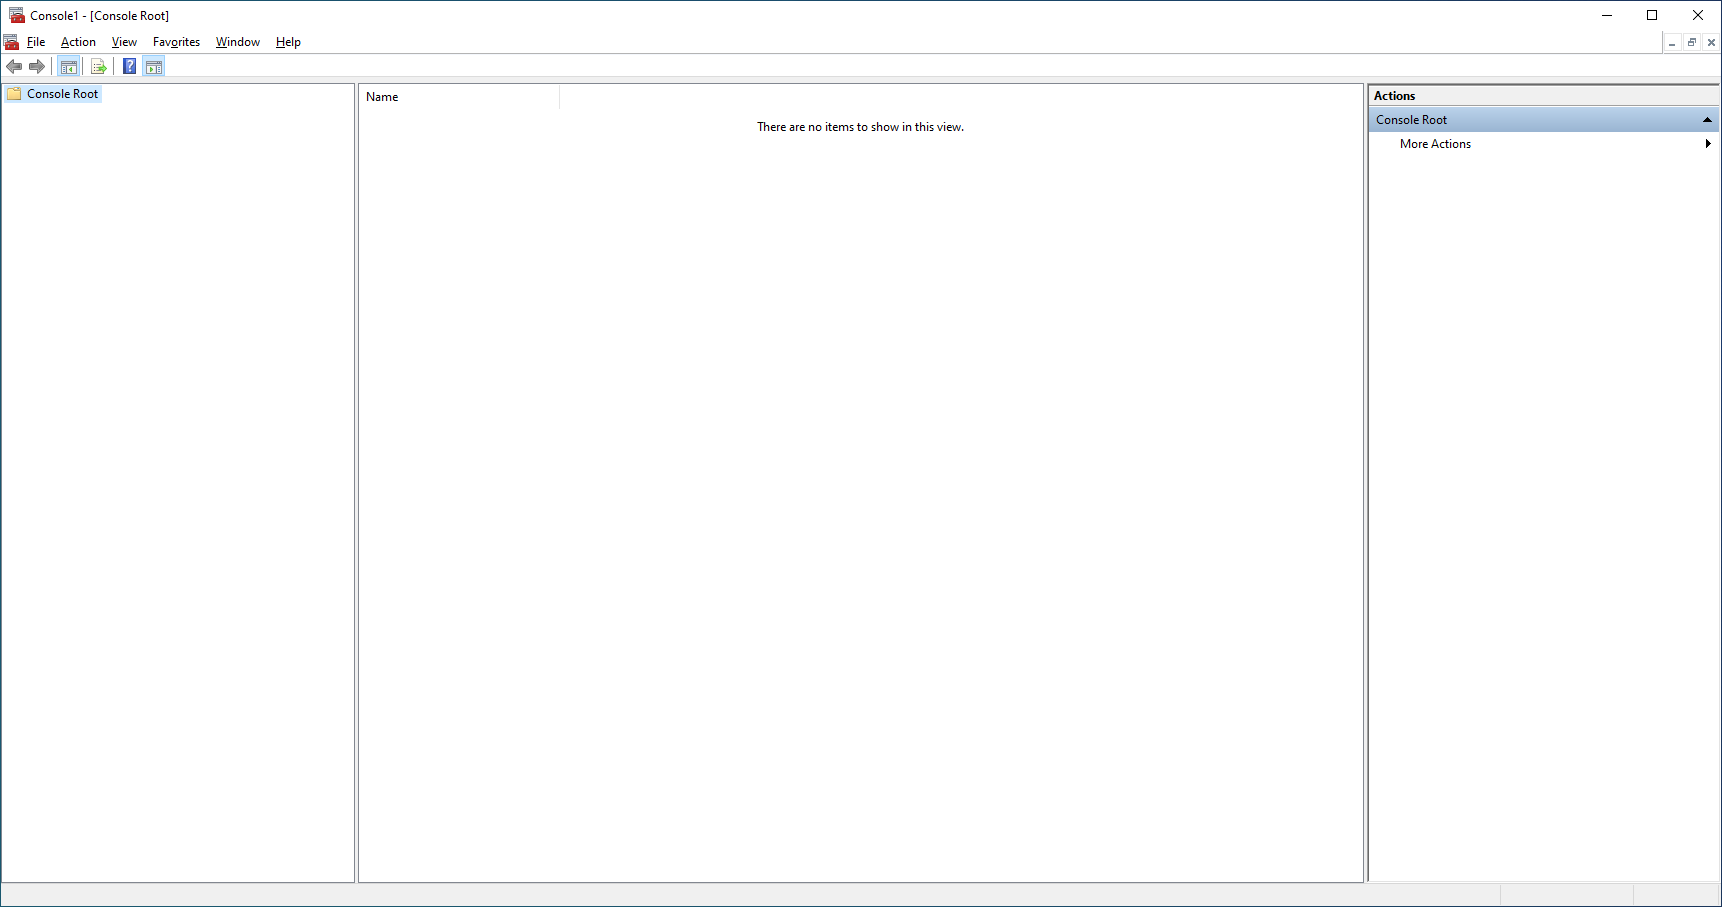
Type mmc and press Enter in the PowerShell window and then exit PowerShell.
The mmc console opens, as shown in Figure 98.
Click File, click Add/Remove Snap-in…, or press Ctrl+M (my preference), as shown in Figure 99.

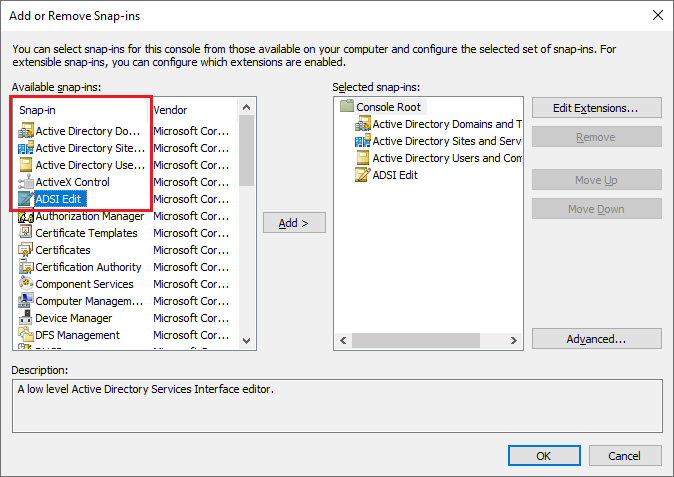
Double-click the following items, as shown in Figure 100.
- Active Directory Do…
- Active Directory Site…
- Active Directory Use…
- ADSI Edit
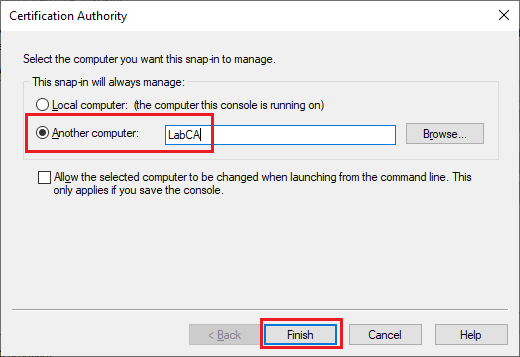
Double-click Certification Authority, and on the popup, type in the name of your Certification Authority server and click Finish, as shown in Figure 101.
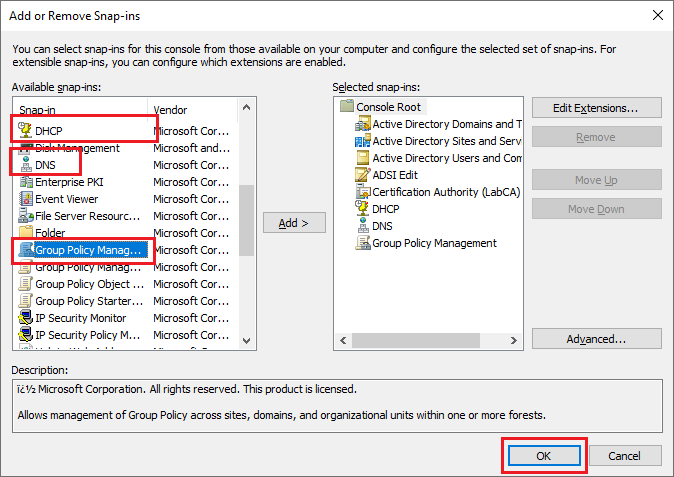
Scroll down, double-click the following and click OK, as shown in Figure 102.
- DHCP
- DNS
- Group Policy Manag…
Click on and expand each node. Connect to the appropriate server when requested.
Figure 103 shows my console.
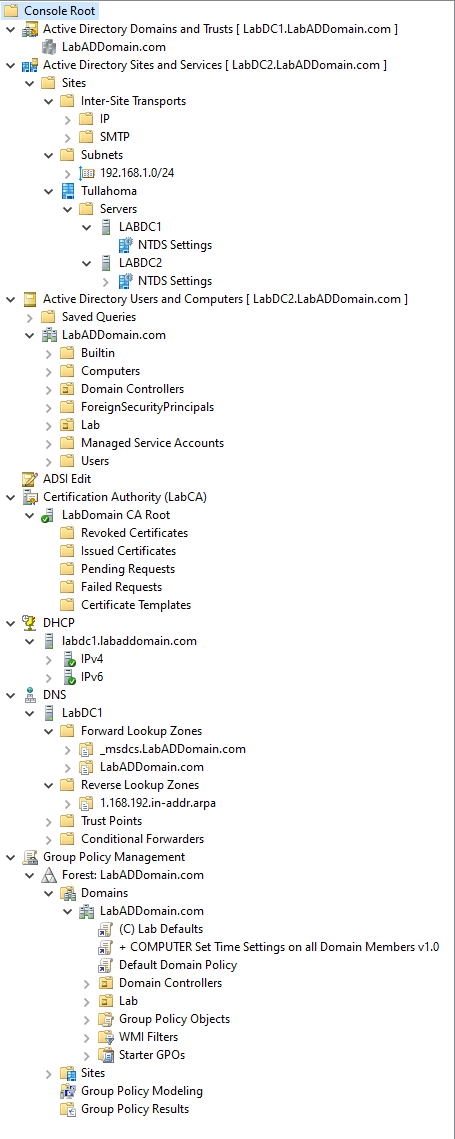
I always recommend using these consoles installed on a management computer to avoid logging in on a production server (i.e., domain controller or certificate authority). While our lab servers may not be “production” level servers, we learn a valuable habit: stay off production servers when possible.
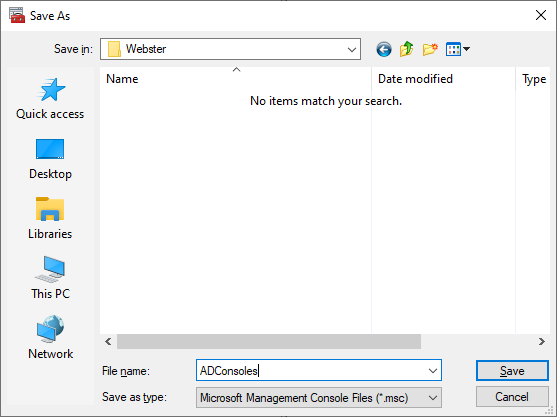
Save the mmc console to the location and name of your choice, as shown in Figure 104.
Install SQL Server Management Studio
We install the SQL Server Management Studio (SSMS) in the management computer to avoid logging in to a production SQL Server. While our lab servers may not be “production” level servers, we learn a valuable habit: stay off production servers when possible.
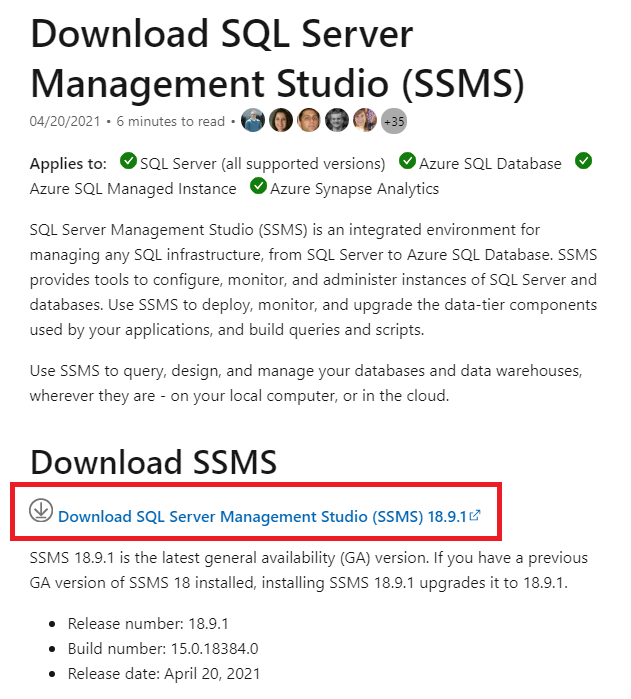
In your internet browser, browse to https://docs.microsoft.com/en-us/sql/ssms/download-sql-server-management-studio-ssms?view=sql-server-ver15, and click the link to Download SQL Server Management Studio (SSMS), as shown in Figure 105.
Note: The version number may change.
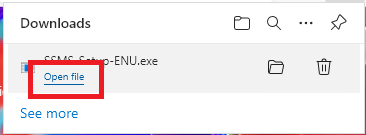
Click the link your browser provides to open the downloaded file, as shown in Figure 106.
Click Run on the popup, as shown in Figure 107.
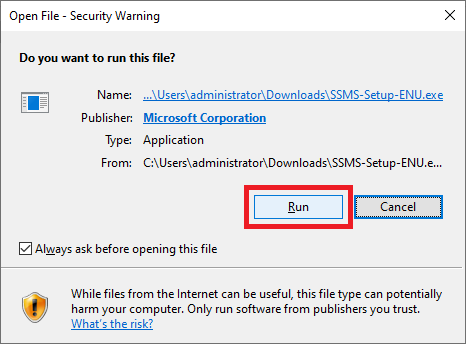
You can exit your browser at this point.
Click Install, as shown in Figure 108.

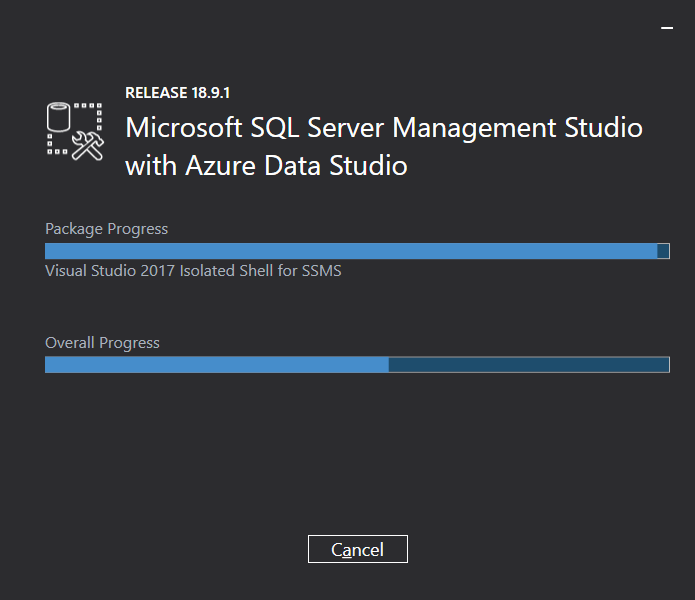
SSMS begins installing, as shown in Figure 109. The installation takes a few minutes.
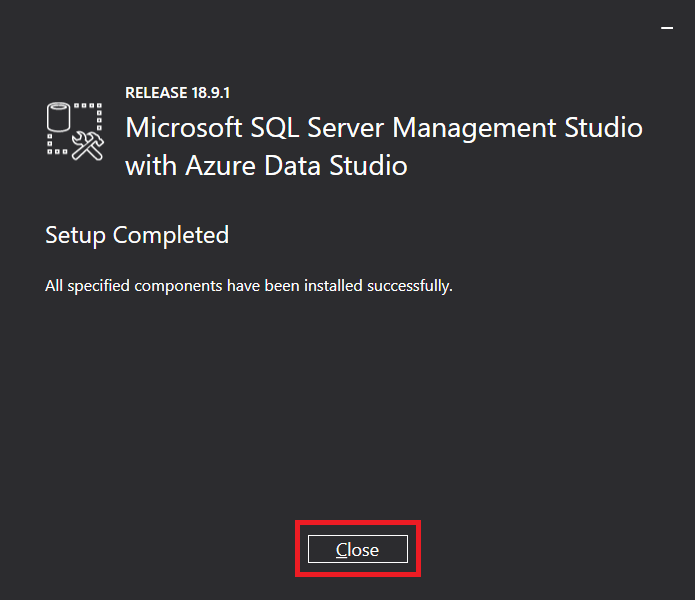
Click Close, as shown in Figure 110.
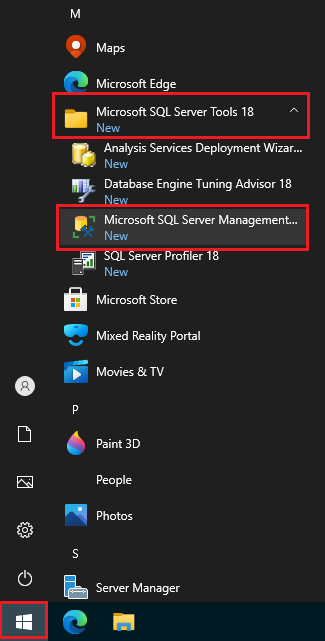
Click Start, scroll to and expand Microsoft SQL Server Tools 18, click Microsoft SQL Server Management…, as shown in Figure 111.
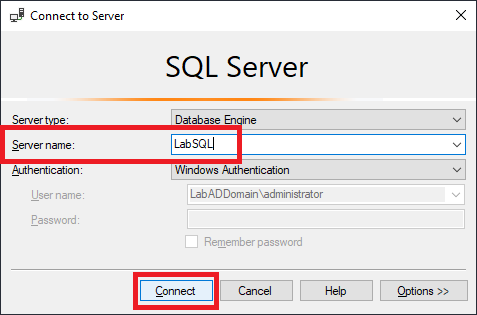
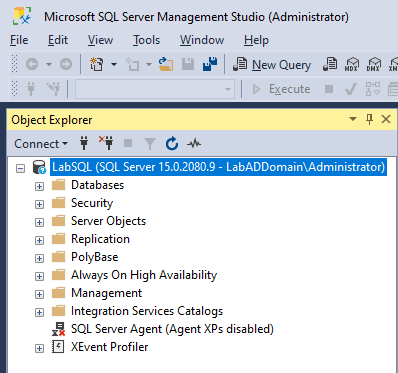
Enter the name of your SQL Server and click Connect, as shown in Figure 112.
As shown in Figure 113, we made a connection to the SQL Server.
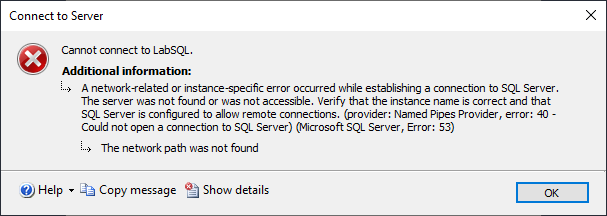
If you get the error shown in Figure 114, did you remember to create the Inbound TCP Port 1433 firewall rule on the SQL Server?
Exit SSMS.
Install Microsoft Office
I only need Microsoft Excel and Word on my management PC for use with scripting. Unfortunately, if you tell the Office 365 site to install Office or select the Install option from the Office ISO, you get every Office component installed. To restrict what you download, install, and configure, you must use an XML file.
Microsoft makes the Office Customization Tool if you do not know how to create the required XML file.
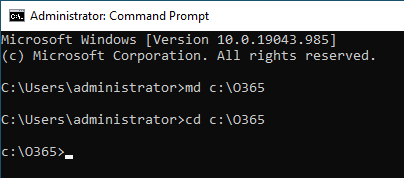
Open a command prompt.
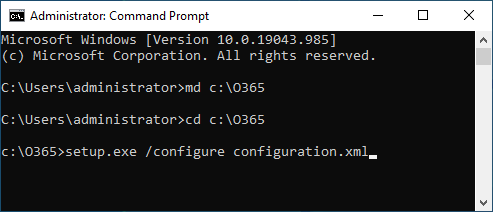
Make a folder named O365 on the C drive by typing md c:\O365 followed by cd c:\O365, as shown in Figure 115.
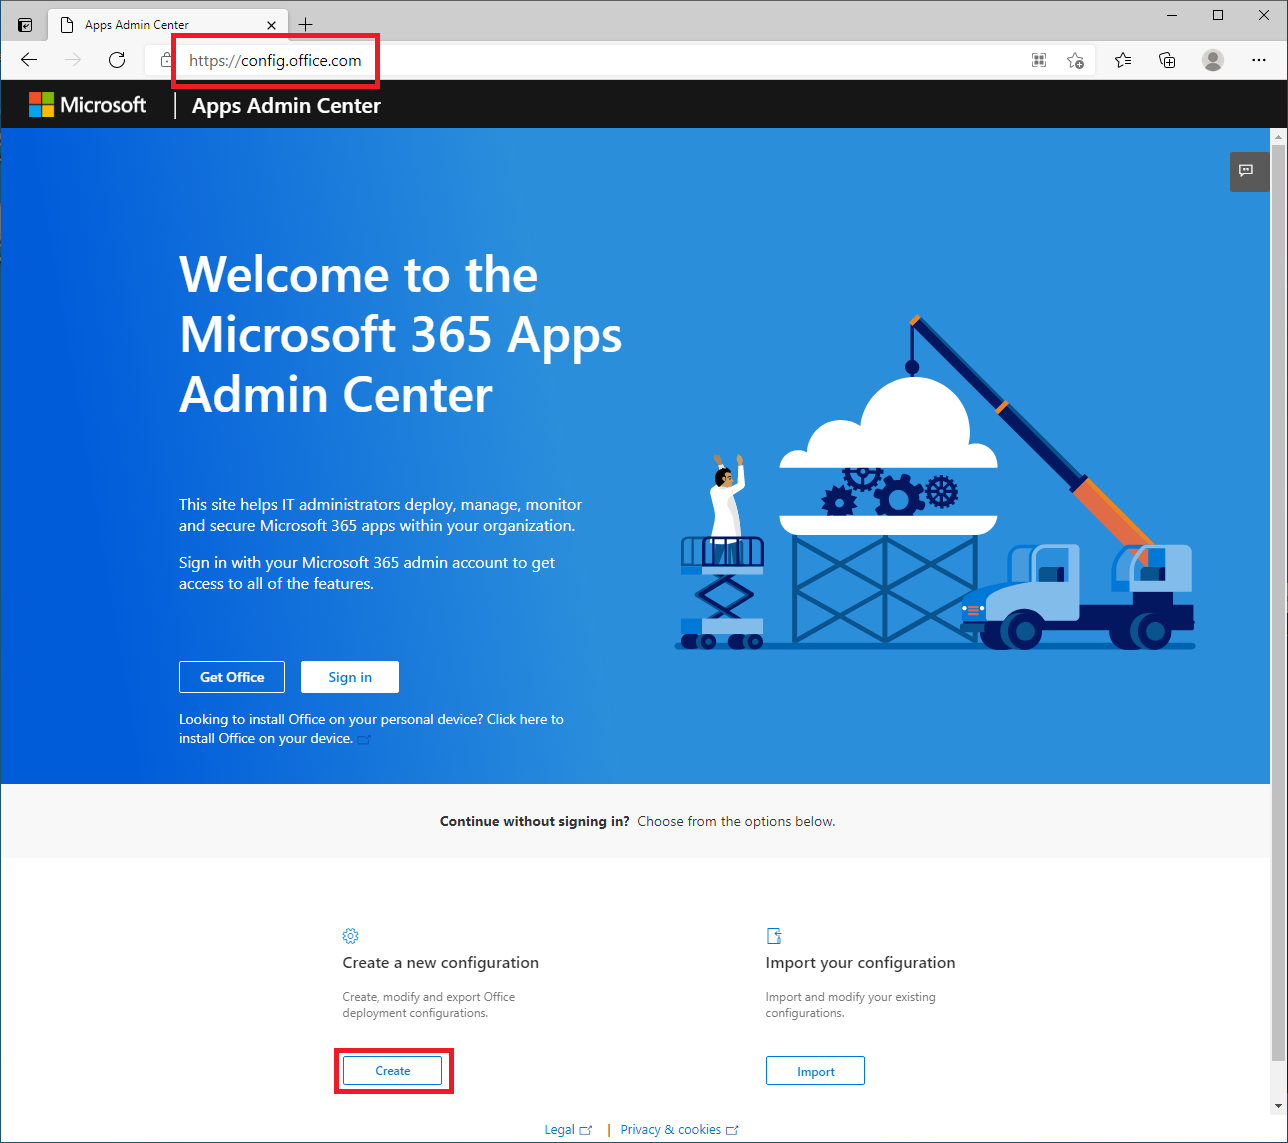
In your internet browser, browse to https://config.office.com/ and click Create, as shown in Figure 116.
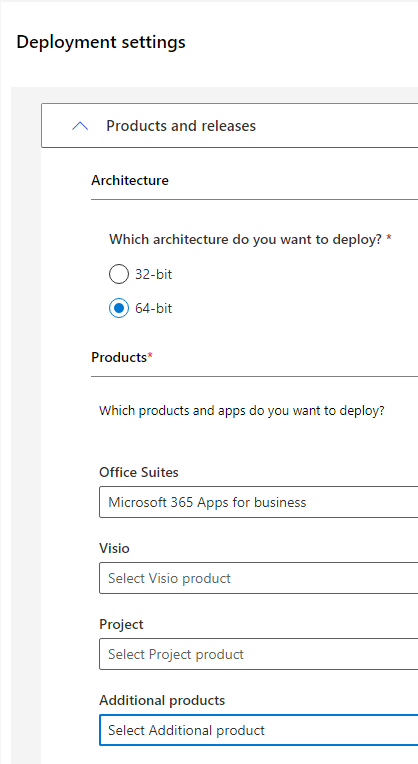
Select the following, as shown in Figure 117:
Architecture: 64-bit
Office Suites: Microsoft 365 Apps for business
Viso: None (shows as Select Visio product)
Project: None (shows as Select Project product)
Additional products: None (shows as Select Additional product)
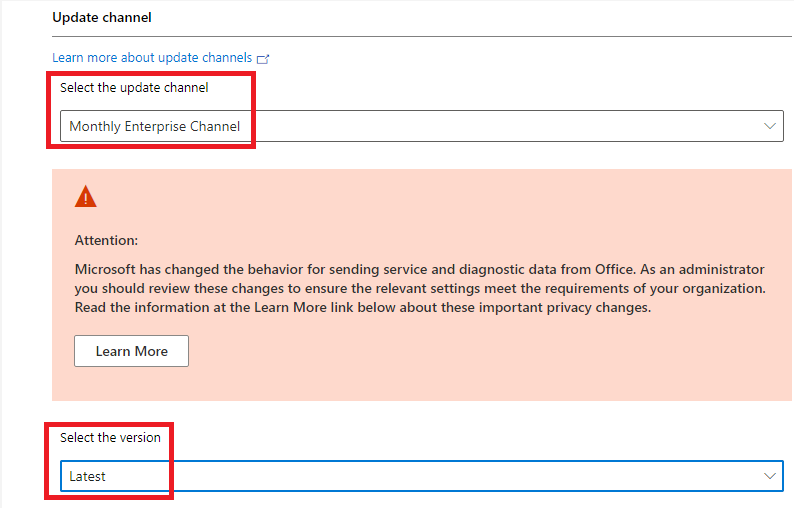
Select the update channel and Select the version you prefer, as shown in Figure 118.
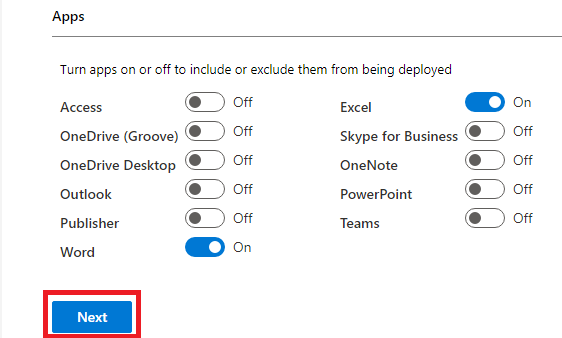
Deselect the apps you do NOT want to be installed and click Next, as shown in Figure 119.
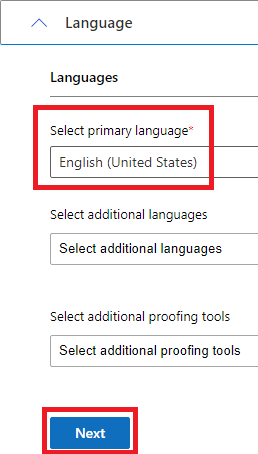
Select primary language and any additional languages or proofing tools required and click Next, as shown in Figure 120.
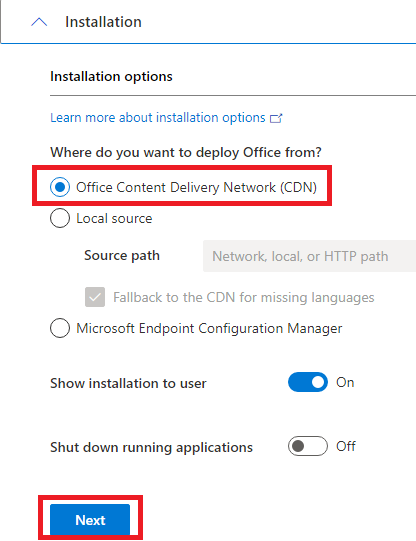
Select Office Content Delivery Network (CDN), leave the other two options at the default settings, and click Next, as shown in Figure 121.
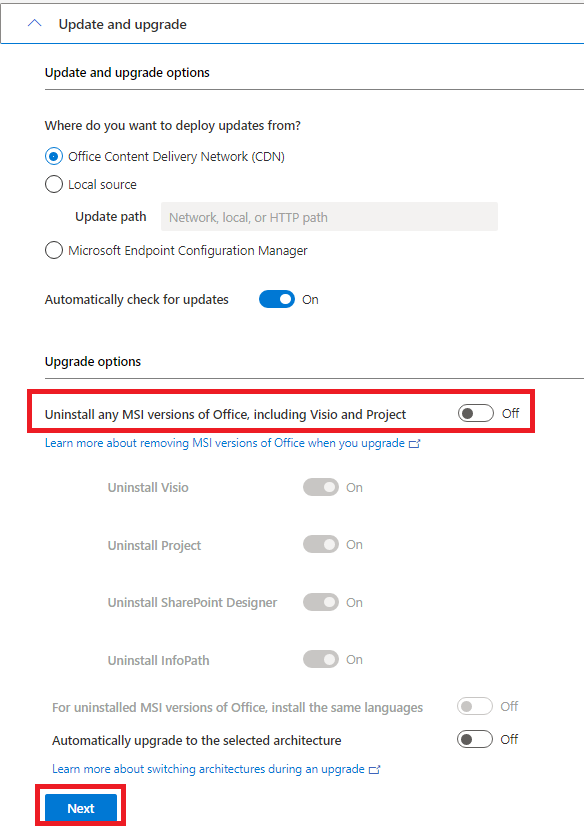
Deselect Uninstall any MSI versions of Office, including Visio and Project, leave the other options at their default settings, and click Next, as shown in Figure 122.
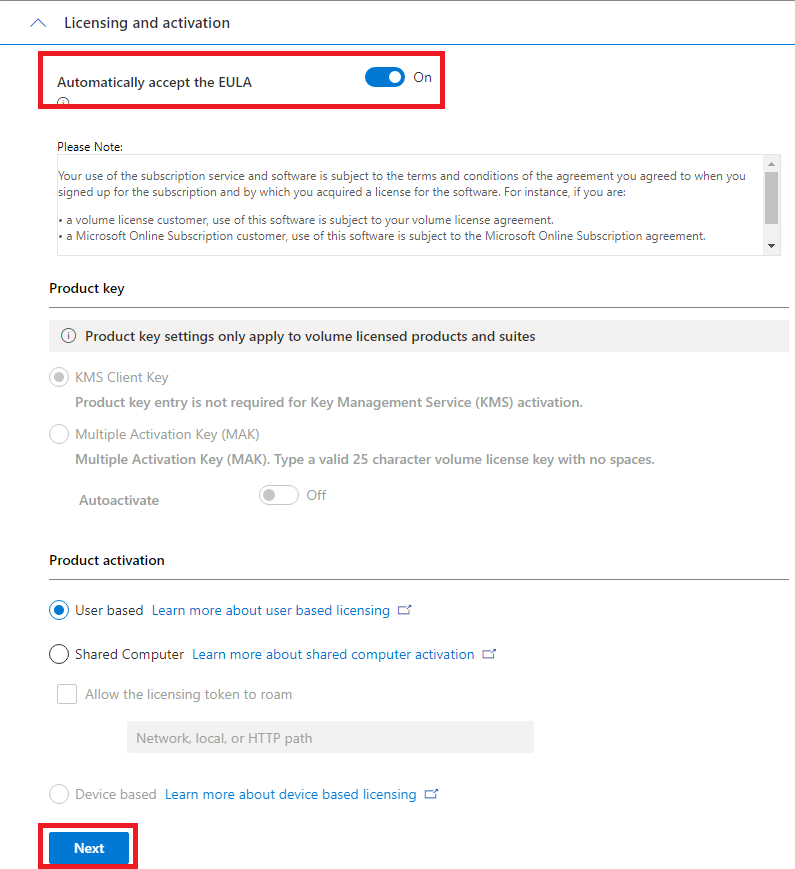
Select Automatically accept the EULA and click Next, as shown in Figure 123.
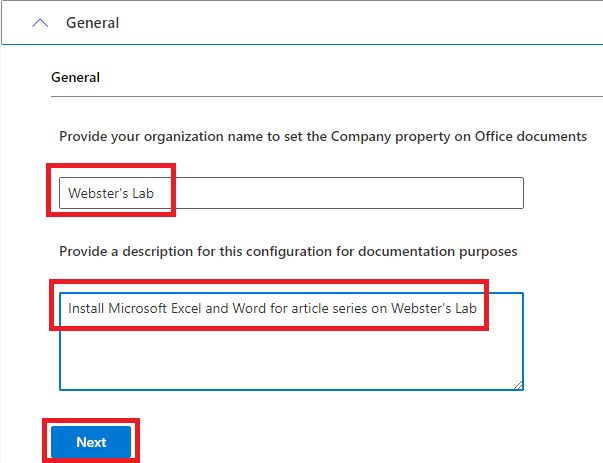
Enter your organization’s name, an optional description, and click Next, as shown in Figure 124.
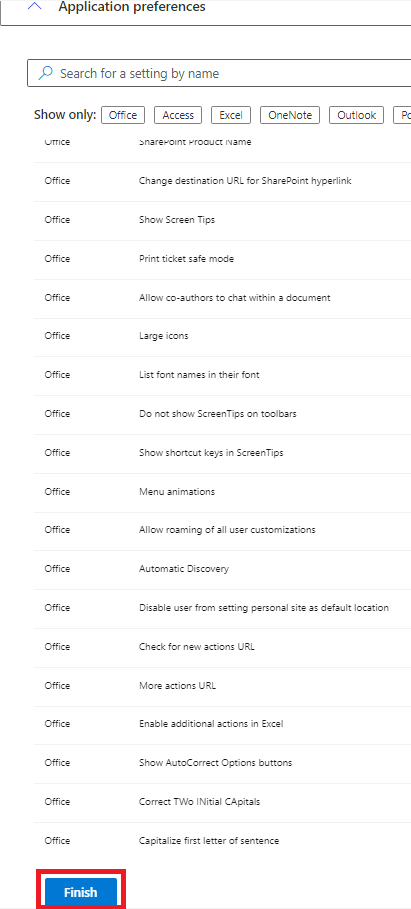
Microsoft offers numerous settings for configuring Office applications. If you wish, you can review the options and make any configuration changes required. After reviewing the Application preferences, click Finish, as shown in Figure 125.
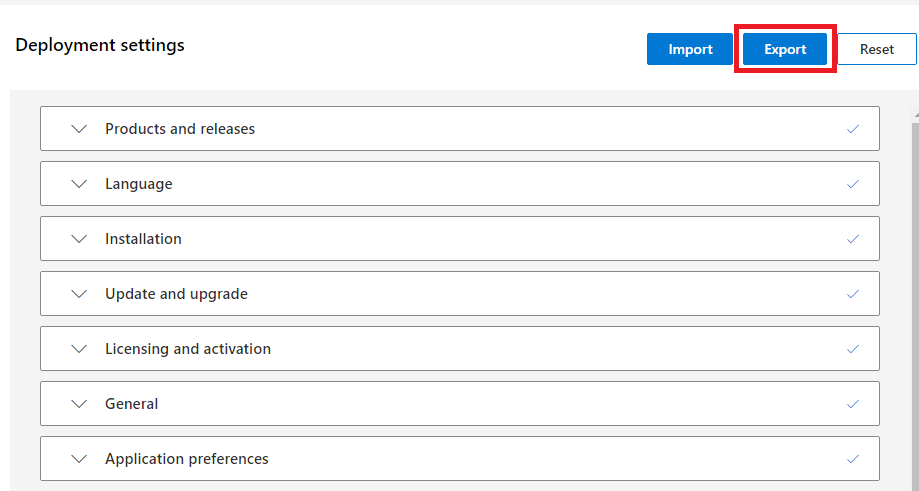
Click Export, as shown in Figure 126.
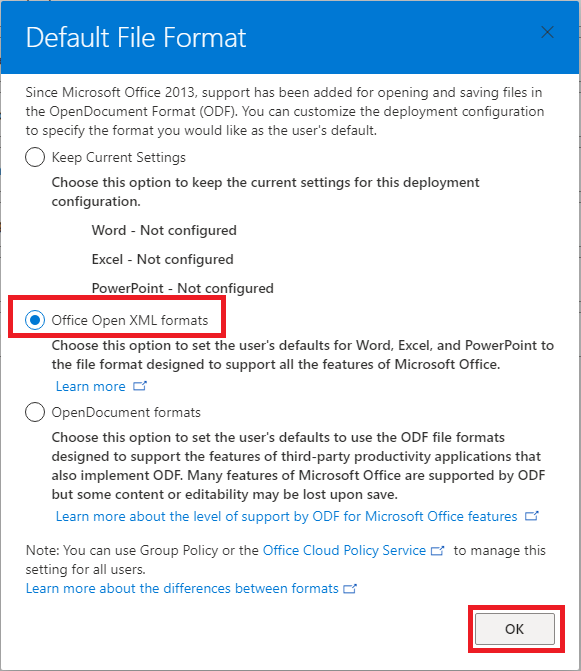
Select your desired Default File Format and click OK. As shown in Figure 127, I prefer using Office Open XML formats.
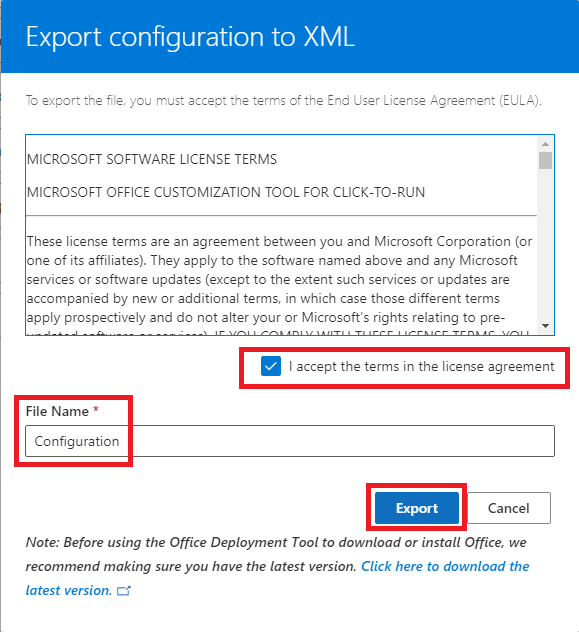
Select I accept the terms in the license agreement, enter a File Name for the XML file, and click Export, as shown in Figure 128.
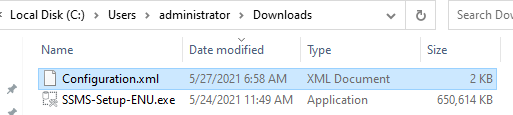
Using Windows File Explorer, browse to the location your internet browser save the XML file, typically your user account’s Downloads folder, as shown in Figure 129.
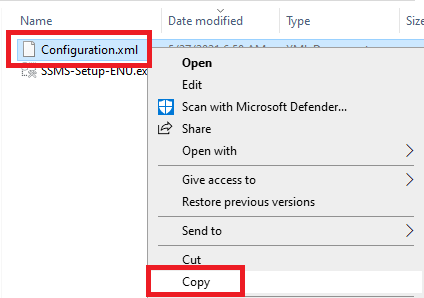
Right-click the XML file and click Copy, as shown in Figure 130.
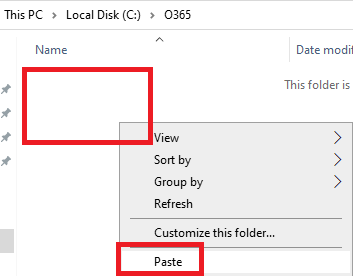
In Windows File Explorer, browse to C:\O365, right-click in the empty space and click Paste, as shown in Figure 131.
Exit Windows File Explorer.
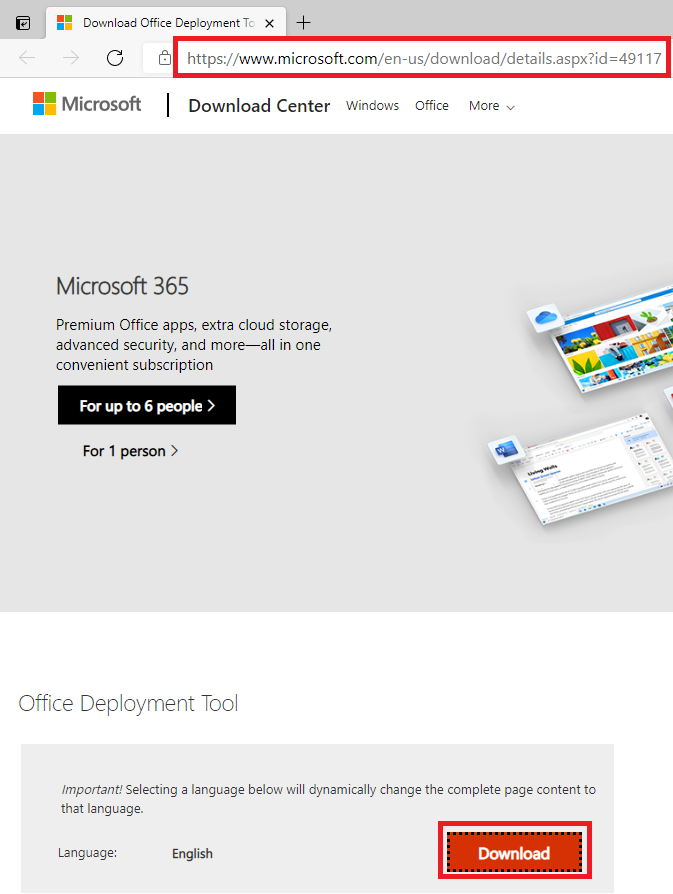
Now we need to download the Office Deployment Toolkit.
In your internet browser, browse to https://www.microsoft.com/en-us/download/details.aspx?id=49117, and click Download, as shown in Figure 132.
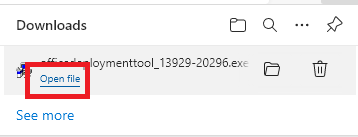
Click the link your browser provides to open the file, as shown in Figure 133.
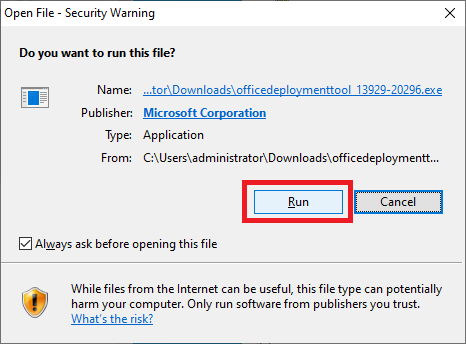
Click Run, as shown in Figure 134.
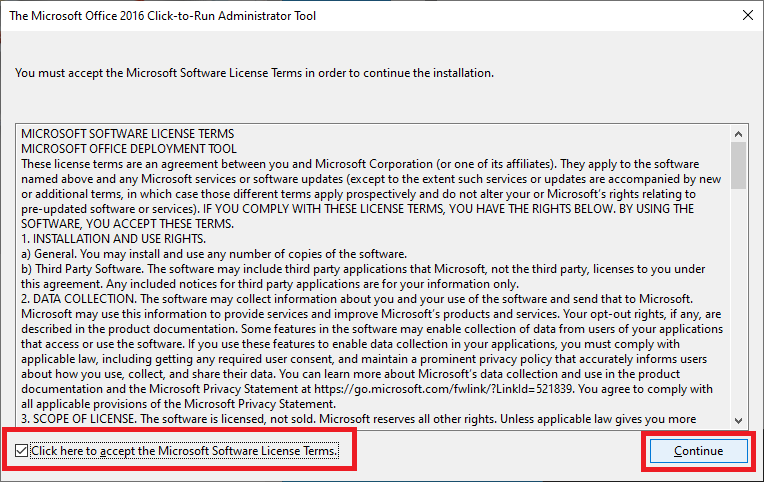
Select Click here to accept the Microsoft Software License Terms and click Continue, as shown in Figure 135.
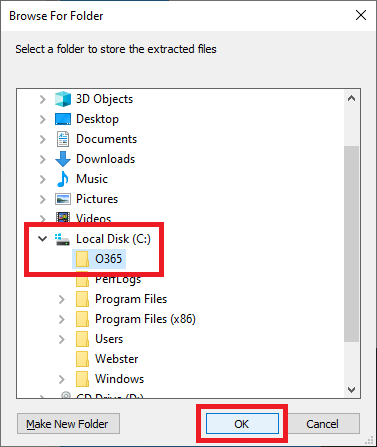
Browse to C:\O365 and click OK, as shown in Figure 136.
Click OK, as shown in Figure 137.
Exit your internet browser.
In the command prompt, type in setup.exe /configure configuration.xml (use your XML file name) and press Enter, as shown in Figure 138.
Office starts installing, as shown in Figures 139 and 140.

When the installation and configuration are complete, click Close, as shown in Figure 141.
Exit the command prompt.
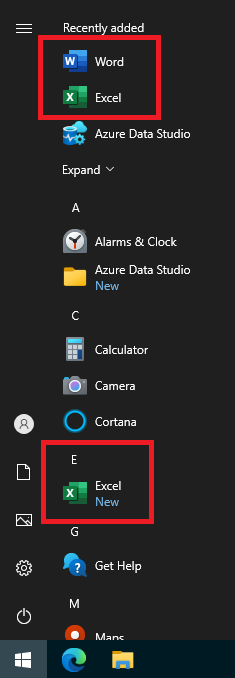
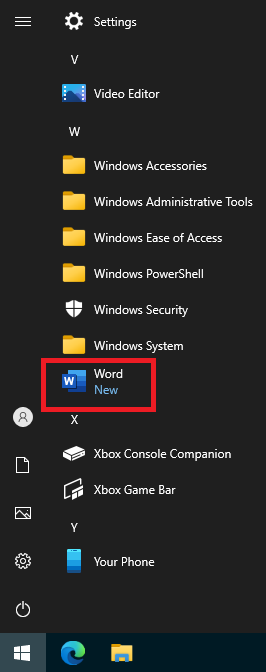
Click Start and verify that only the Office applications you installed are there. I installed only Microsoft Excel and Word, as shown in Figures 142 and 143.
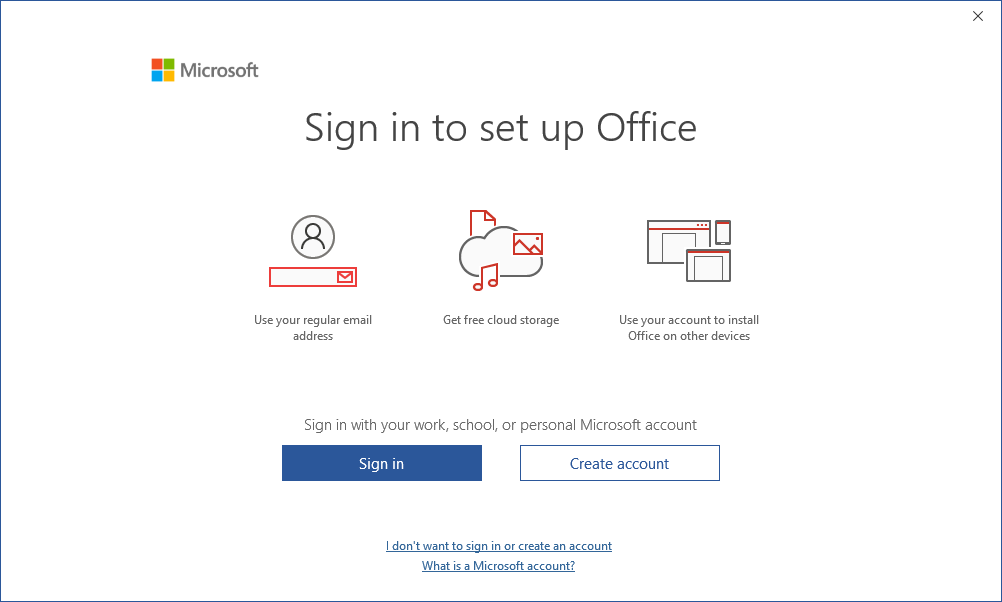
Start any installed Office product to start the licensing and activation process, as shown in Figure 144.
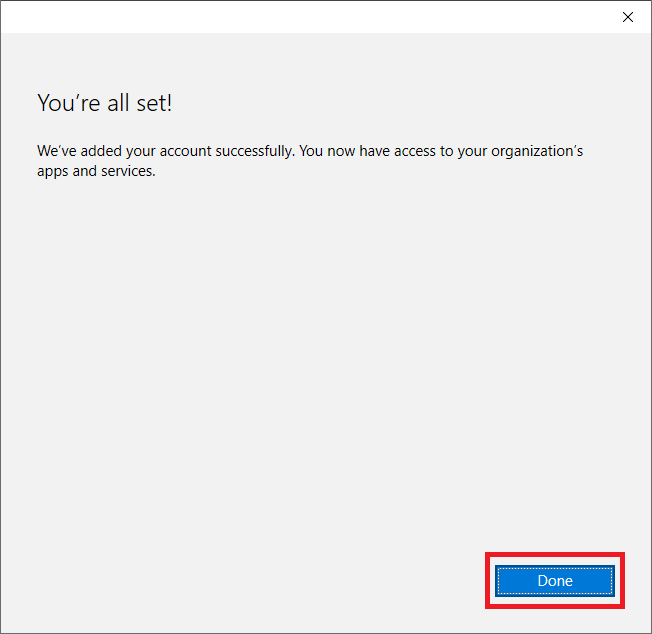
After the activation process completes, click Done, as shown in Figure 145.
Additional Applications
There are many other applications you can install. Feel free to install and configure any software you require.
Here is some of the software I use.
- Citrix PVS Console (Can’t install yet)
- Citrix Studio Console (Can’t install yet)
- Google Chrome
- Notepad++
- Parallels Remote Application Server Console and PowerShell (Can’t install yet)
- PuTTY
- VMware Horizon Dynamic Environment Manager Management Console (Can’t install yet)
- WinSCP
Many management consoles are web-based—for example, vCenter, Citrix Director, VMware Horizon Connection Server, and others. I manage my Netgear switches and WiFi router and my two Synology units using a browser.
Install vCenter Root Certificate
The vCenter root certificate requires installing to manage vCenter from this computer. Citrix Studio also requires it to create a hosting connection to vCenter.
In Part 6, we downloaded the root certificate from vCenter.
Browse to the certs\win folder, as shown in Figure 146.
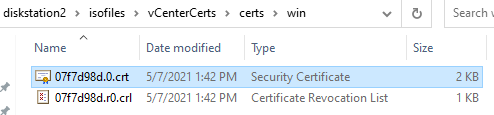
Double-click the file with the extension “crt”.
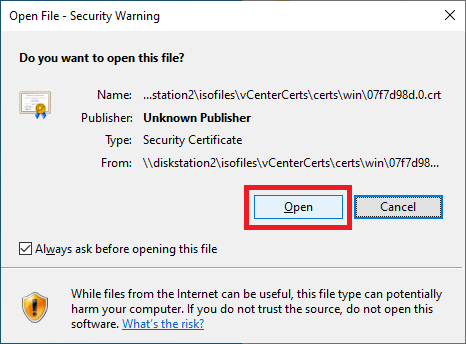
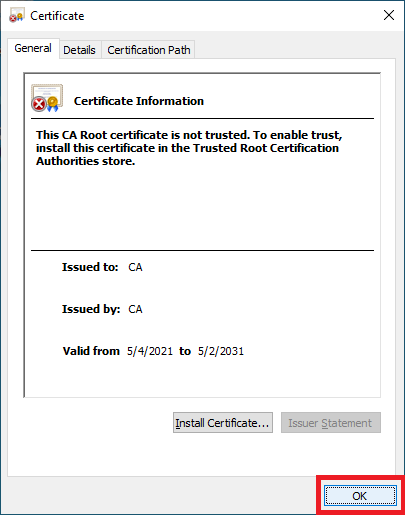
Click Open if you receive a file security warning, as shown in Figure 147.
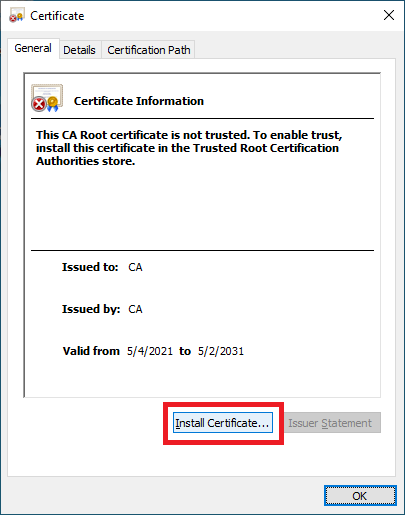
Click Install Certificate…, as shown in Figure 148.
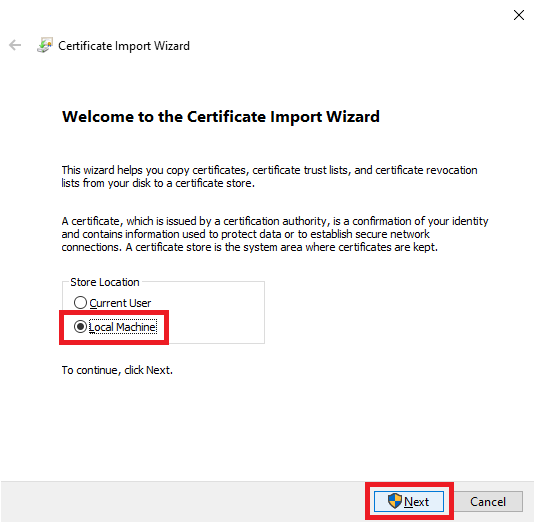
Click Local machine and Next, as shown in Figure 149.
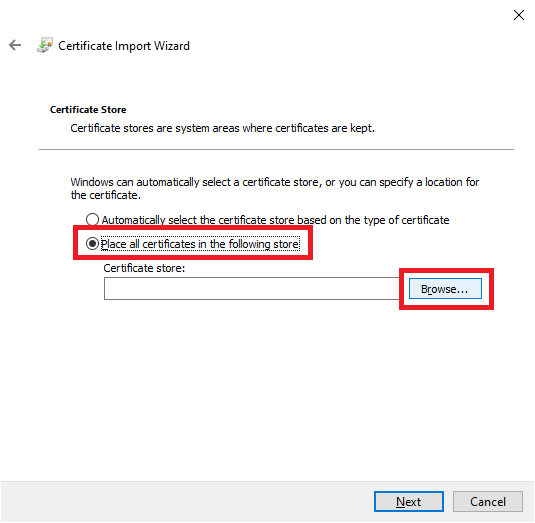
Select Place all certificates in the following store and click Browse…, as shown in Figure 150.
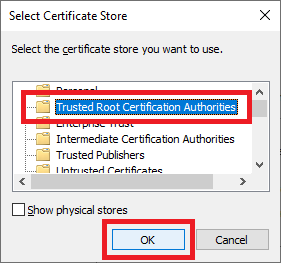
Click on Trusted Root Certification Authorities and click OK, as shown in Figure 151.
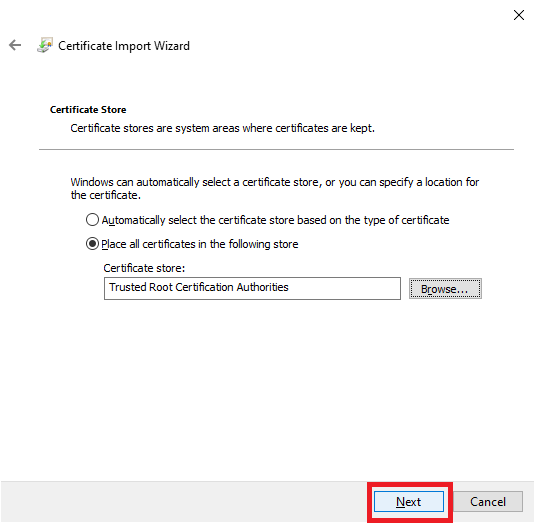
Click Next, as shown in Figure 152.
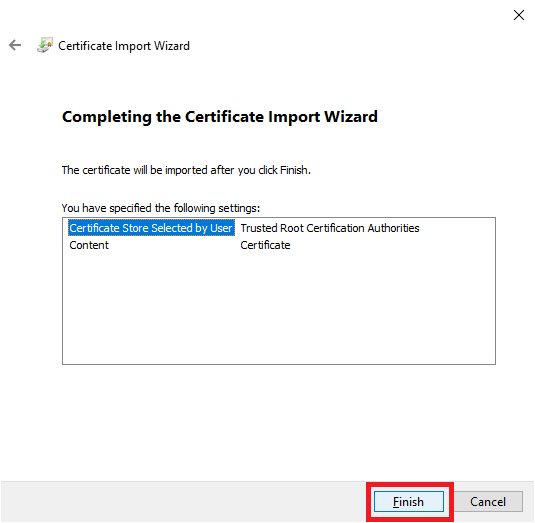
Click Finish, as shown in Figure 153.
Click OK, as shown in Figure 154.
Click OK, as shown in Figure 155.
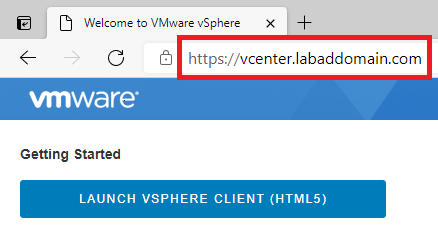
Using your browser, go to the link for the vCenter Getting Started Page. For me, that is https://vcenter.labaddomain.com, as shown in Figure 156.
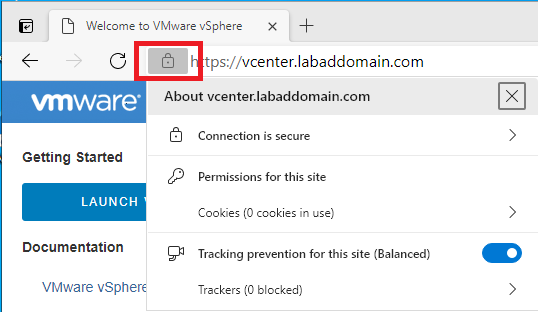
Click the padlock symbol, as shown in Figure 157.
Activate Windows 10
If you have a MAPS or similar subscription service, you can activate your copy of Windows 10.
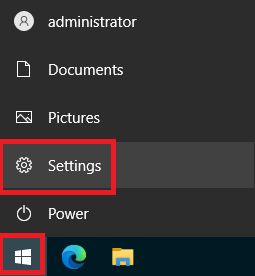
Click Start, Settings, as shown in Figure 158.
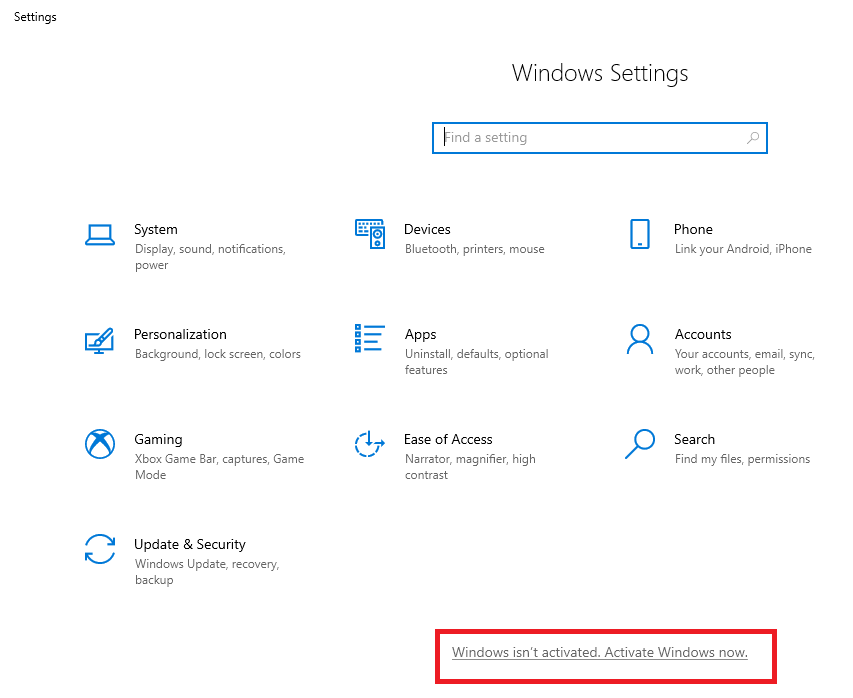
Click Windows isn’t activated. Activate Windows now., as shown in Figure 159.
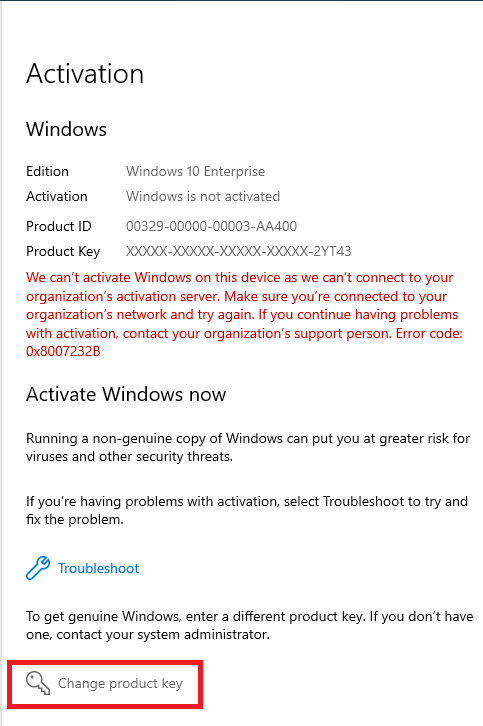
Click Change product key, as shown in Figure 160.
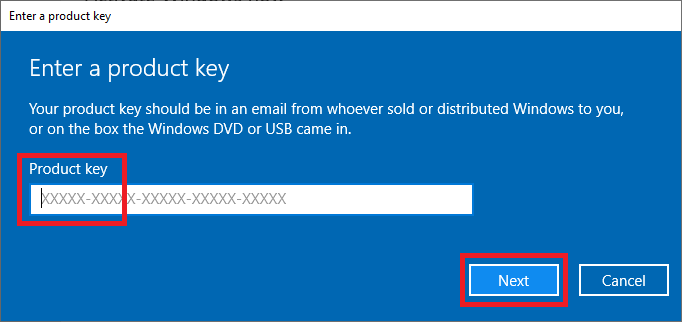
Enter your Windows 10 Product key and click Next, as shown in Figure 161.
Click Activate, as shown in Figure 162.
If your copy of Windows 10 activated successfully, click Close, as shown in Figure 163. If activation was not successful, resolve the issue and attempt the activation again.
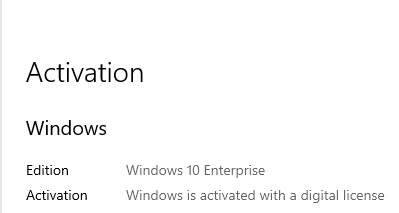
Windows 10 now shows as activated.
Exit all open windows.
Up next: Create a 10ZiG Management Server